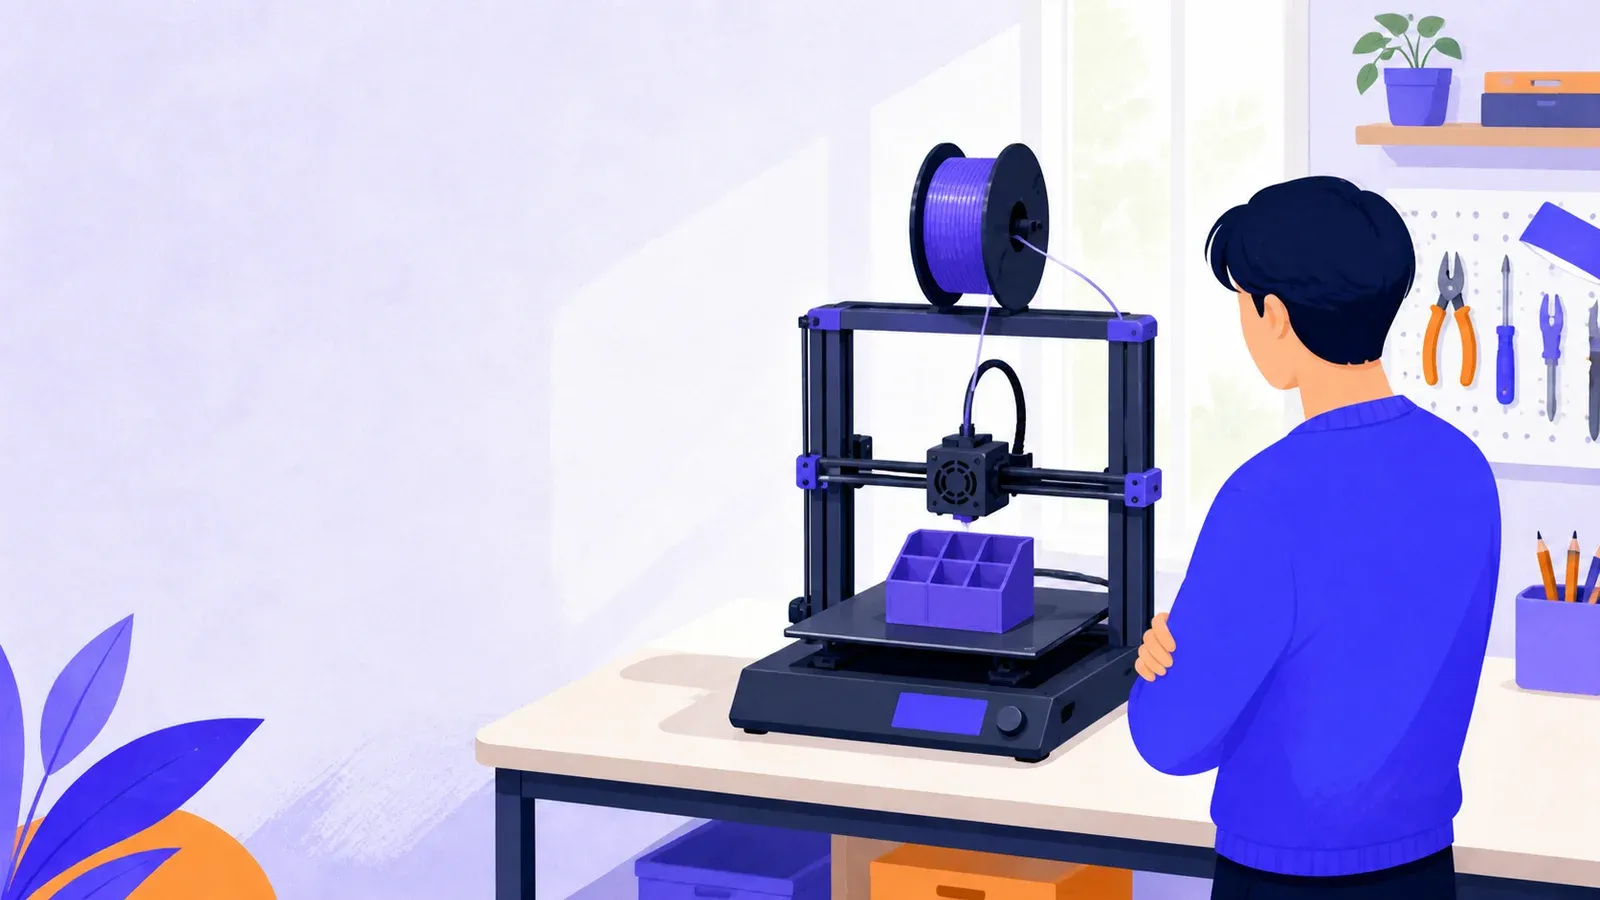
How to start 3D printing with a reliable first print
- Cost to start
- ~$300
- Difficulty
- Beginner
- First result
- 2-4 hours
Printer, PLA, basic hand tools
Presets simplify the first setup
A small finished PLA object
Learn the filament-printing workflow, set up a safer workspace, and turn a simple digital model into a useful first object without endless upgrades.
What you need to know
-
Start with filament printing and plain PLA
A spool-fed FFF/FDM printer avoids the gloves, washing, curing and chemical-waste workflow that liquid resin requires.
-
Put the printer in a ventilated working area
Desktop printers can emit ultrafine particles and gases. Follow the manufacturer's safeguards and keep the machine away from sleeping spaces.
-
Use the exact printer and material presets
Slice a model for your machine, nozzle and PLA profile. Never run unknown G-code prepared for somebody else's printer.
-
Watch the whole first layer
Smooth, touching lines form the foundation of the print. Stop early if filament drags, bunches around the nozzle or fails to stay on the plate.
-
Change only one setting at a time
Return to a known default, record the symptom, make one justified adjustment and print a small test before changing anything else.
3D printing is less like pressing a futuristic copy button and more like learning a small workshop process. You choose or design a model, prepare it in a slicer, load material, check the machine and then watch a hot nozzle build the object one thin layer at a time. The satisfying part is not merely owning the printer. It is learning how an idea becomes a physical part, then improving that part after you can hold it and see what was wrong.
For a first weekend, concentrate on filament printing, also called FFF or FDM. It feeds solid plastic from a spool and is the most approachable route to brackets, organizers, prototypes and toys. Liquid-resin printing can produce remarkable fine detail, but uncured resin requires a separate routine for skin and eye protection, ventilation, washing, curing and hazardous waste. Learn that process deliberately later if miniature detail becomes your real goal.
Try the workflow before buying a printer
A library, school lab, community workshop or makerspace is an excellent first stop. You can see the space, noise and time a printer needs while an experienced person checks your file. Some services charge by material weight or machine time; others include a basic print in an induction session. Bring a small practical idea rather than a huge decorative model. A cable label, simple hook or box lid reveals more about the workflow than a day-long showpiece.
If you decide to buy, favor a current filament printer with automatic bed probing, a removable build plate, thermal-runaway protection, clear documentation and available replacement parts. A fully assembled machine costs more than a kit but lets you learn printing before printer construction. A kit is worthwhile when mechanical assembly is itself the hobby you want.
Ignore maximum speed, multicolor systems and giant build volumes at first. Look at the complete footprint with the bed and spool moving, the support reputation and whether your preferred slicer contains a maintained profile for the exact model. The cheapest machine can become expensive when every evening is spent diagnosing hardware rather than making things.
Prepare a safer, simpler workspace
Set the printer on a stable surface with the clearances its manual specifies. The hot end can exceed 200 degrees Celsius, the bed may be hot enough to burn, and axes move without noticing fingers, hair or loose sleeves. Keep children and pets away, do not defeat guards or electrical protections, and inspect the plug, cable and machine before use. Stay nearby for early prints and never assume remote monitoring turns an unattended machine into a safe one.
Ventilation matters even with ordinary filament. NIOSH has measured ultrafine particles and gases from material-extrusion printers and recommends controlling emissions at their source. Use a well-ventilated working area separated from where people sleep or spend long periods. A ventilated enclosure or local exhaust routed appropriately outdoors is stronger protection than relying on odor. Filtration has to address particles and gases; a decorative enclosure is not automatically an emission control.
Begin with a reputable spool of unfilled PLA approved for your printer. PLA often emits less than ABS under comparable conditions, but it is not emission-free. Avoid carbon-fiber, glow, wood-filled and other abrasive or unfamiliar blends until you understand nozzle compatibility and the material’s safety information.
Your useful extras are modest: flush cutters for the filament, the plate-cleaning supplies named by its manufacturer and perhaps a small deburring tool used away from your body. Safety glasses help when clipped supports can fly. Do not buy a box of nozzles and upgrades before the stock machine has produced repeatable results.
Learn the model-to-print workflow
A printable mesh file, commonly STL or 3MF, describes geometry; it does not normally tell the printer how to move. Slicer software places that geometry on a virtual plate and calculates layers, walls, infill, supports, temperatures and toolpaths. It exports machine instructions commonly called G-code. Those instructions are specific to a printer configuration, so do not run a stranger’s G-code merely because the pictured object looks right.
Install the slicer recommended by the printer maker or a well-supported alternative such as Cura or PrusaSlicer. Select the exact printer, nozzle diameter and filament profile. For a first model, keep the tested defaults: a normal-quality layer height, ordinary walls and infill, and automatic supports only when the model genuinely needs them. More infill does not fix every weakness; wall count, orientation and geometry often matter more.
Choose a small model whose author supplies a photo, print orientation, material notes and a clear license. Open the sliced preview before exporting. Confirm that the object sits flat on the plate, begins where expected and contains no mysterious mid-air islands. Read the time and material estimates. This preview catches errors more cheaply than a moving nozzle does.
Complete a controlled first print
Use the manufacturer’s supplied sample first if it was prepared for your exact machine. It separates setup problems from choices in a downloaded model. Load PLA, run the startup calibration and prepare the build surface exactly as its manual requires. Different coatings need different cleaners and release layers, so internet advice about glue, alcohol or acetone is not universal.
Start the job and watch the entire first layer. The extruded paths should be slightly flattened, continuous and touching their neighbors. Round strands with gaps usually mean the nozzle is too far from the plate; rough ridges or translucent scraping can mean it is too close. Loose filament, a growing blob on the nozzle or an object moving with the toolhead is a reason to stop, not an invitation to hope.
When the sample succeeds, slice one simple object yourself with the same material profile. Change no advanced settings. Stay close enough to notice detachment, unusual noises or a stalled spool. After completion, let the nozzle, plate and object cool. A flexible plate should release the part with gentle bending; follow the manual for other surfaces and never lever a sharp scraper toward your hand.
Success is a cleanly completed workflow, not a flawless surface. Save the slicer project as well as the exported file so you can see exactly which model, orientation and settings produced the result.
Troubleshoot one variable at a time
Most early failures are more legible than they first appear. A part that will not stick points you toward surface cleanliness, first-layer calibration and the chosen plate profile. Fine hairs between features suggest material moisture, temperature or retraction. Lifted corners point toward adhesion, cooling, drafts or geometry. Missing lines can indicate a feed obstruction or partial clog.
Return to a known manufacturer profile before tuning. Photograph the symptom, note the filament and settings, then change one relevant variable and run a short test. Changing temperature, speed, flow and nozzle height together may produce a better print without teaching you why. It can also hide a mechanical fault under fragile settings.
Keep the spool path free and store opened filament sealed with desiccant. Check the machine’s maintenance schedule rather than lubricating or tightening parts by intuition. Firmware and slicer updates can change behavior, so finish important work before updating and keep a record of the version that produced a dependable profile.
Failed plastic is part of learning, but it should not become the product of the hobby. Stop bad jobs early, reuse short tests when possible and investigate local recycling options without assuming curbside recycling accepts printed PLA.
Design a useful second project
Once two downloaded prints succeed, make a tiny custom object. Tinkercad is enough for combining boxes, cylinders, holes and text into a label, spacer or tray. Measure the real object with a ruler or calipers, leave intentional clearance between fitting parts and print only the uncertain section before committing to the full design.
Expect version one to teach you something. Mark the file with its dimensions, change one feature and print version two in the same orientation. This loop is the heart of 3D printing: design, slice, observe, measure and revise. It develops more skill than downloading a succession of unrelated trinkets.
Treat printed parts according to what they are: layered plastic whose strength, temperature resistance and additives vary. Do not use an early print for life-safety loads, mains electricity, medical purposes or food contact. A model being downloadable does not make it suitable for a critical job.
Your next useful milestone is not an upgraded hot end. It is a small object you designed, printed twice and improved for a real need. Keep the successful profile, write down what the revision fixed and choose another problem of similar scale.
Safety, setup and design
- NIOSH safe 3D printing guideEvidence-based guidance on emissions, ventilation, enclosures and safer working practices for non-industrial printers.
- Prusa first-layer troubleshootingClear photographs and explanations for cleaning the plate, checking nozzle height and recognizing a sound first layer.
- UltiMaker CuraOfficial home of the free slicer, with downloads and support resources for a broad range of filament printers.
- Tinkercad learning centerShort guided lessons for making printable objects from simple shapes without learning professional CAD first.
Apps for your phone
-
Prusa
Browse Printables and monitor compatible Prusa machines; useful only if your printer belongs to that ecosystem.