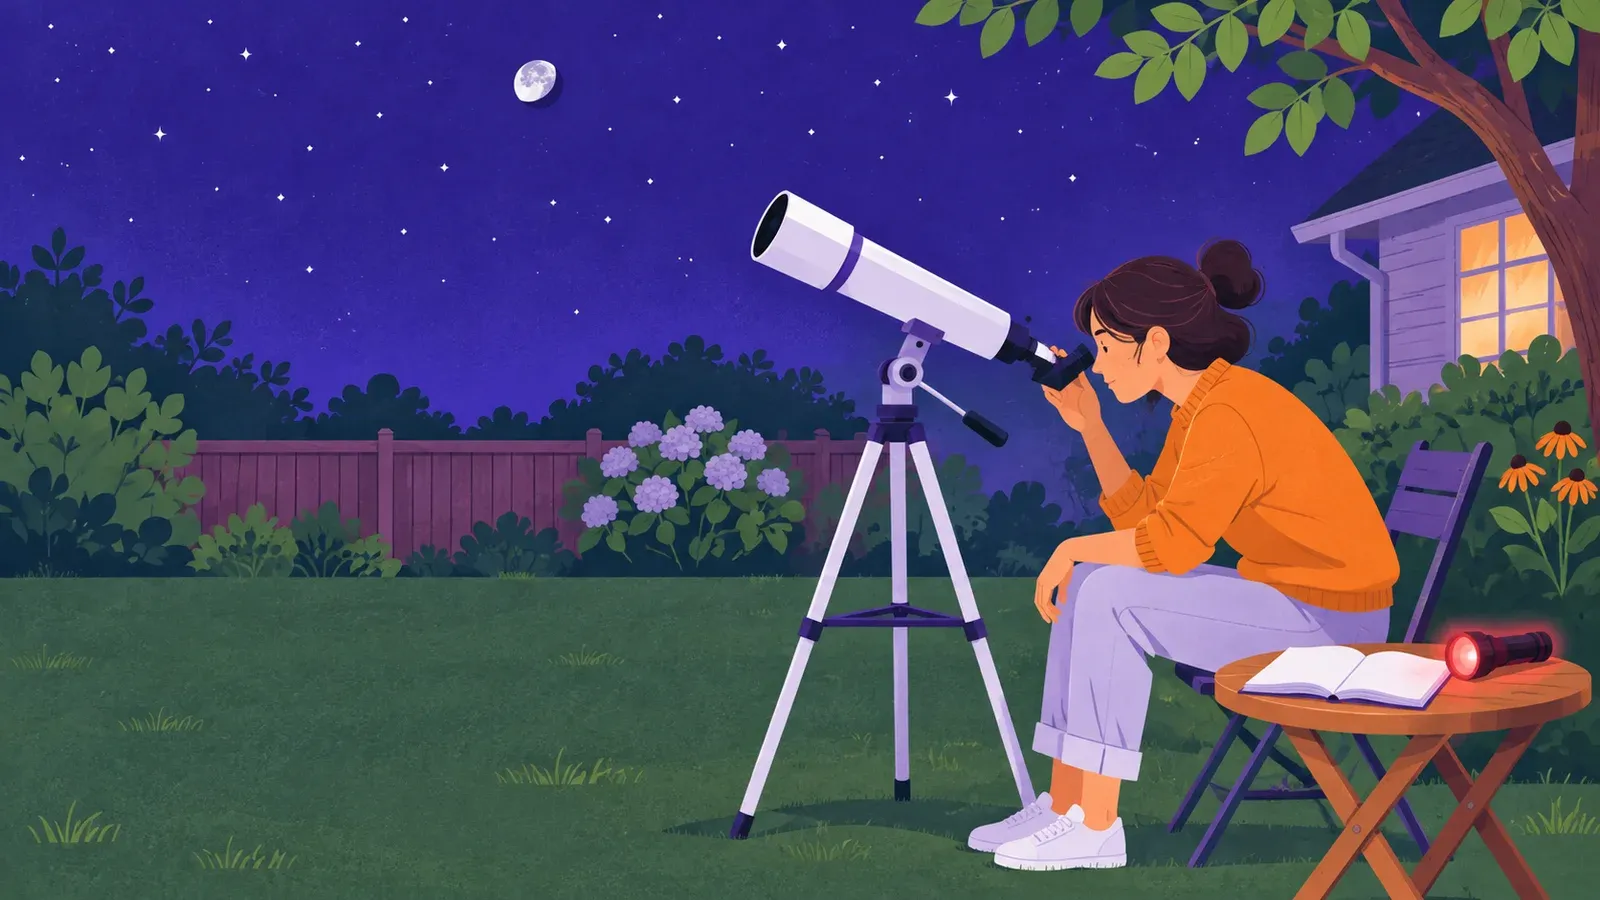
How to start amateur astronomy with a first telescope
- Cost to start
- Borrowed scope + possible fees
- Difficulty
- Beginner
- First result
- A Moon sketch and telescope log
Excludes buying equipment and travel; confirm any club fee
Learn the controls at low power with an owner
Allow 30–45 minutes after setup when the Moon is visible
Try a borrowed telescope on the Moon after dark, learn its mount, finder and focus controls, then make a sketch and log before deciding what equipment suits you.
What you need to know
-
A borrowed telescope and an introduction
Arrange a hands-on trial with the owner or a club. Ask about access and fees, and have someone show you the mount controls and the instrument's instructions.
-
Its finder and lowest-power eyepiece
Ask the owner to check finder alignment and identify the supplied eyepiece with the lowest magnification. Leave any Barlow lens aside.
-
A steady place and a notebook
Use a familiar, permitted site with firm ground. Bring warm clothing, a pencil and enough light to move safely; a dim red torch is optional while stationary.
-
A nighttime-only plan
Never aim the telescope or finder at the Sun. Eclipse glasses and sunglasses do not make looking at the Sun through an unfiltered telescope safe.
After learning a few sky landmarks, try a borrowed telescope on the Moon. Make one sketch and log how you obtained the view.
Choose a usable instrument
Ask a club or owner for a hands-on introduction; some public events allow viewing only. Check whether you can carry the telescope, steady its mount, reach the eyepiece and move it. A small manual refractor or Dobsonian can work. Ignore advertised maximum magnification when judging usability.
Use a current sky chart and forecast to choose a night when the Moon is visible after dark. A partly lit Moon shows shadows near the boundary of light and dark. If clouds intervene, learn the controls with caps on and reschedule.
Find and focus on the Moon
Have the owner demonstrate assembly, mount locks, finder alignment and focus using its manual. Set it firmly and fit its lowest-power eyepiece, usually the fixed eyepiece with the largest focal-length number in millimetres. Ask if unsure.
After dark, aim with the aligned finder. Look through the main eyepiece and turn the focus knob slowly until the Moon’s edge sharpens. If the image shakes, release the telescope and let it settle. Use the mount controls to recenter the drifting Moon. If you lose it, return to the finder. Do not force a locked control or add magnification to solve an aiming problem.
Sketch and judge the trial
Sketch one visible crater rim, shadow or dark patch. Record local date and time, site, sky conditions, telescope, eyepiece focal length and one control that helped. Compare the view on another suitable night. Before buying, assess carrying, setup, aiming and focusing; try another instrument if these felt awkward.

Choose and use a first telescope
- NASA Night Sky Network: choosing a first telescopeRead why a sturdy, manageable scope and a club trial matter more than advertised magnification.
- Celestron: using telescope eyepiecesLearn how to identify a low-power eyepiece, position your eye and adjust focus; follow your own instrument's manual.
- NASA: Moon viewing tipsSee how shadows near the boundary between lunar light and dark make details easier to sketch.
- American Astronomical Society: solar filters for opticsLearn why eclipse glasses cannot protect your eyes when viewing the Sun through unfiltered optics.