Skip to content
How to start
Menu
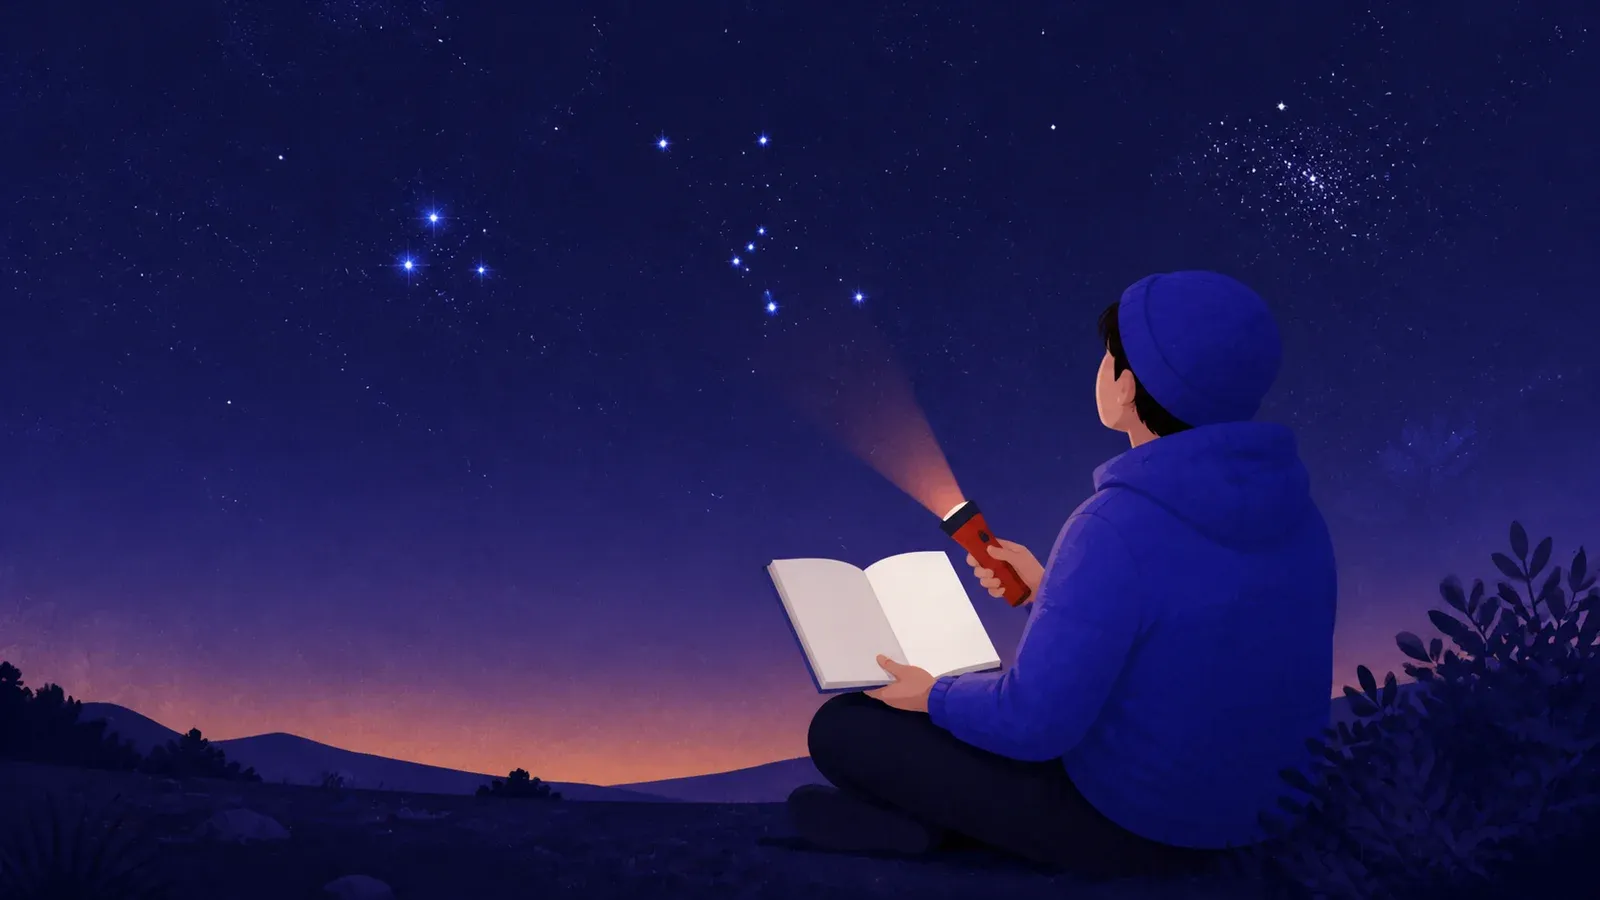
A beginner stargazer using a notebook beneath a clear night sky

Outdoor hobbies

How to start astronomy with three night-sky landmarks

By István Vigh
Cost to start
~$0-30

Chart, notebook and dim red light

Difficulty
Beginner

Begin with the unaided eye

First result
30-45 minutes

Three landmarks and a sky log

Plan a safe first stargazing session, find three reliable sky landmarks, keep a useful observing log, and delay buying a telescope until you know what helps.

What you need to know

  1. Plan for one exact place and time

    The visible sky changes with location, date and hour. Preview the session in a current chart instead of relying on a generic list of objects.

  2. Use your unaided eyes first

    Learn the horizon, directions and one large star pattern before adding magnification. These anchors make every later observation easier.

  3. Choose a legal, familiar site

    Check weather and closing hours, inspect the ground in daylight and bring a companion or tell someone where you will be and when you will return.

  4. Protect night vision without risking a fall

    Dim a red chart light while stationary, but use enough white light to cross roads, avoid obstacles and move safely whenever conditions require.

  5. Never improvise solar viewing

    Ordinary sunglasses are not safe for looking at the Sun. Never point binoculars or a telescope toward it without a correctly fitted front filter and expert guidance.

Astronomy begins when you notice where something is in the sky, look carefully enough to describe it and return later to see what changed. It does not begin with owning a telescope. For a first result, spend one short evening learning three landmarks and making a one-page observing log. That gives you a reusable map of the sky rather than a blur of disconnected names.

Your targets depend on location, date and time. Use a current sky chart to choose what is actually visible, and treat uncertainty as part of observing. “Bright point, probably Jupiter” is better than a confident, untested label.

Plan one safe, specific observing session

Choose a familiar garden, balcony, courtyard or permitted public site with a broad view. A moderately light-polluted place is fine for learning bright landmarks. There is no need to make your first attempt a remote dark-sky trip. Inspect an unfamiliar site in daylight, check its access and closing rules, and notice steps, water, uneven ground, traffic and private property boundaries. Bring someone or tell a trusted person where you are going and when you expect to return.

Check the forecast for cloud, temperature, precipitation and wind. Dress for standing still, which often feels colder than walking, and bring water plus locally appropriate insect protection. A chair can make careful looking more comfortable. If weather, footing, wildlife, traffic or another person makes the site feel unsafe, leave. Preserving dark adaptation never takes priority over seeing a real hazard.

Pack a notebook, pencil, charged phone or printed chart, and a dim red flashlight. Use a normal white light for walking and road safety; switch to dim red only when stationary and reading. Give your eyes roughly 15 to 30 minutes away from bright screens to settle into the darkness.

There is one absolute boundary: do not look at the Sun, with or without optical equipment, even through thin cloud. Ordinary sunglasses are not solar filters. Binoculars and telescopes concentrate light, so eclipse glasses held behind them are also unsafe. Direct solar observing requires current expert guidance and a suitable filter secured over the instrument’s front aperture. Leave it for a supervised event rather than improvising.

Learn the sky with unaided eyes

Before dark, identify north, east, south and west using a map or compass and match them to permanent ground features. After dark, stand still and scan from the horizon upward. Start with the whole scene: which direction is darkest, where clouds interrupt the stars, and where buildings or trees define the horizon? This orientation prevents a sky app from becoming a moving picture with no connection to the real world.

Set the chart to your exact location, date and time. Choose one obvious anchor, such as the Moon when it is above the horizon or the brightest star or planet shown in an unobstructed direction. Then choose one large, recognizable star pattern suited to your season and latitude. Your third target can be a second bright point or simply the same anchor observed again near the end of the session.

Look for shapes and spacing instead of expecting connecting lines to appear. Match a triangle, curve or uneven row of stars, then compare its position with a tree, roofline or cardinal direction. Lower the phone between checks. Its sensors can be inaccurate, so the labeled view is a hypothesis to test, not proof that you found the object.

Do not worry about memorizing an entire constellation. Learn one pattern and one relationship, such as “the bright object is two pattern-widths above the southern roof.” That small piece of sky becomes a starting point for star-hopping, the practice of moving from a known pattern to a nearby target.

Run a 30–45 minute first observation

Spend the first five minutes orienting yourself without magnification. Write the date, local time, location and weather, then sketch the horizon and label the four directions you can identify. Record anything that limits the view, including cloud, haze, trees, nearby lamps or a bright Moon.

For the next ten minutes, find your first anchor. Note its direction and rough height above the horizon. Is it steady or apparently twinkling, alone or part of a pattern? Compare those clues with the chart before naming it. Aircraft blink, satellites usually cross the sky, and stars and planets move slowly with the whole sky.

Move to the large star pattern for another ten minutes. Sketch only the brightest points and their relative spacing; artistic accuracy is irrelevant. Try locating it once with the chart and once after putting the chart away. Add the third target if the sky is clear, but do not chase an object hidden by a building or cloud. A careful observation of two targets is still a successful session.

During the final ten minutes, return to the first anchor and compare it with a fixed landmark. Over a short session the change may be subtle, but repeating this exercise over longer intervals reveals the sky’s apparent westward motion. Finish while you are still comfortable and attentive. The result is not a count of objects; it is three tested relationships you can find again.

Keep a useful observing log

A useful log captures enough context to repeat the observation. For every session, include date and local time, location, weather, cloud and sky brightness, equipment used, target name or tentative identification, and a short description or sketch. Record what you actually saw before consulting a photograph. Professional images use long exposures and processing, so faint objects will often look smaller, dimmer and less colorful to your eyes.

Write questions beside the evidence that prompted them. On the next day, compare the notes with a reliable chart or guide. Correcting a label is progress, not a failed observation.

Use the same page format each time so comparisons are easy. Returning to one site at roughly the same hour once a week can teach more than visiting many places once. Add one new landmark per session and redraw one familiar pattern. After several weeks, the changing position of the Moon and the gradual seasonal shift of evening stars become visible in your own records.

Add binoculars or a telescope only after practice

When the unaided-eye map feels familiar, borrow binoculars at a club event or use a pair already available at home. A designation such as 8x42 means eight times magnification and 42-millimeter front lenses. Common 7x35, 8x42 or 10x50 binoculars are manageable; more than 10x is harder to hold steady. Sit down and begin with a bright target you can already locate.

Never sweep binoculars near the Sun, including during daytime practice. Learn how to focus and aim them on a safe distant land object while the Sun is well away from that direction, or wait until night. If a borrowed pair causes double vision, cannot focus or is too heavy to hold comfortably, ask for help rather than assuming astronomy is the problem.

Before buying a telescope, attend a public observing night and try different designs. Ask how long setup takes, how the mount tracks or moves, how much the whole kit weighs and where it will be stored. Aperture and a stable mount matter more than an extreme magnification printed on a box. The best first instrument is one you can carry, align and use regularly, not the one with the largest advertised number.

Avoid common mistakes and choose the next target

The most common beginner mistake is trying to see everything at once. A long checklist encourages hurried glances, while a bright screen erases the dark adaptation needed to notice faint detail. Keep the plan to three targets, dim the display, and spend several uninterrupted minutes looking at each one.

Clouds, haze, light pollution and moonlight change what is visible. Record them and choose a brighter target or reschedule. Do not begin with astrophotography: it adds several technical problems before you have learned where objects are.

For the next session, revisit the same pattern and add one neighboring bright star. Then practice a short star-hop between them. A local astronomy club, observatory or national astronomical society can offer a safer site, experienced advice and borrowed views through several telescopes. In the United States, the NASA Night Sky Network finder is a useful starting point; elsewhere, search for your national society or a nearby public observatory.

After three or four logged sessions, choose a direction: follow the Moon’s changing phase, learn the seasonal patterns, use binoculars on a bright star cluster, or complete a structured beginner observing program. Astronomy grows through repeated attention. One familiar patch of sky, observed well, is enough to begin.