Autograph collecting: record the story of one signed item
- Cost to start
- US$0 with materials you own
- Difficulty
- Beginner
- First result
- 30–45 minutes
Assumes an autograph and suitable folder; purchases cost extra
Separate what you witnessed from claims you cannot confirm
One paper autograph photographed, recorded and safely stored
Start an autograph collection with one paper keepsake, document how it reached you, keep uncertain claims clear, and protect the original.
What you need to know
-
One intact paper autograph
Use a dry signed card or programme you own, with any envelope, ticket, receipt or other evidence kept alongside it.
-
Notes and a camera
Use paper or a spreadsheet and a phone to record details and photograph both sides of the item.
-
A suitable folder and clear table
Use an acid-free, lignin-free folder larger than the item, supported shelf space, clean lotion-free hands and a table away from food and drinks.
Pick one intact, dry signed card or programme connected to a person you care about. In 30–45 minutes, record it, photograph it and store it safely. If you own none, find an advertised public signing first; this session starts with the item in hand.
Record what is known
Give the item an ID such as A001. Record the claimed signer, object, inscription, acquisition source and date, and condition. Keep that date separate from any claimed signing date or place. Add the price paid if known; it is not a valuation. Photograph both sides without pressing the paper flat. Use the ID in photo filenames and notes about any accompanying envelope, ticket, receipt or certificate.
Separate firsthand evidence from a seller’s claim. Write “saw it signed at the event” only if true; otherwise, “seller described it as signed there” keeps the attribution clear. Mark an unsupported signing date or history unknown. Provenance means known item history, not a certificate you create. Keep private addresses out of shared photos.
Keep authenticity questions open
Printed or machine-made signatures can resemble handwriting. An online photo cannot authenticate yours. For accompanying paperwork, identify the issuer and compare its description with the whole item. PSA’s certificate search checks PSA or PSA/DNA numbers, but real numbers can appear on counterfeit paperwork. A match does not prove the physical item is genuine. Record unresolved doubts.
PADA’s collecting guide recommends following your interests over investment pitches. Before buying later, ask for actual-item photos, history, condition and written return terms. Set a total cost limit.
House the whole item
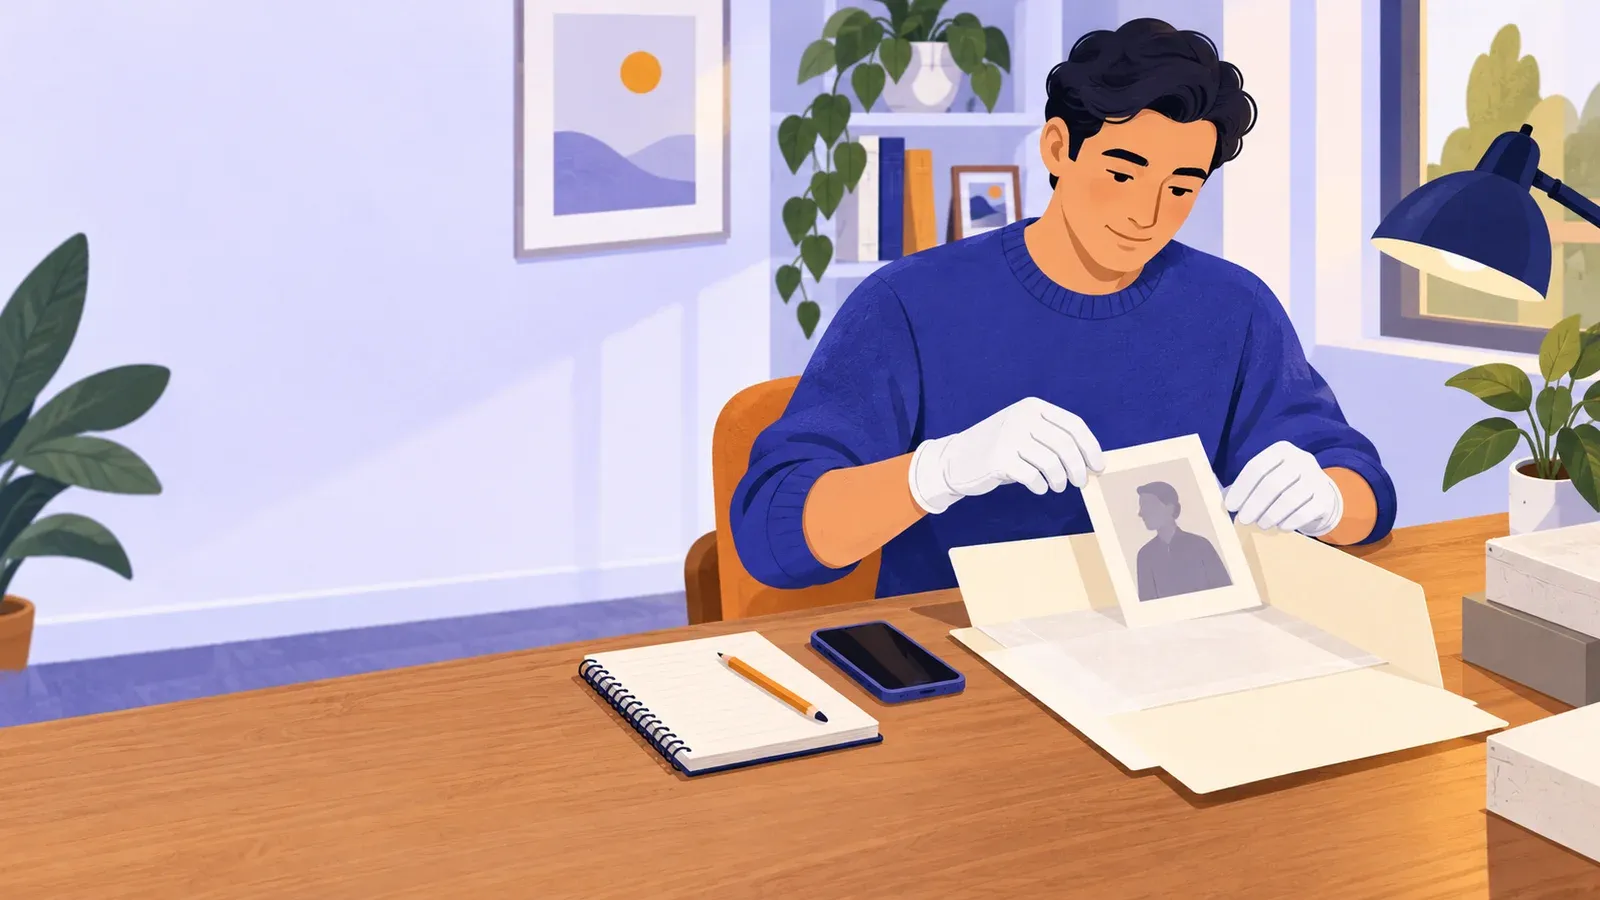
Note creases or stains without removing them. Label the empty folder in pencil, then insert the whole item without bending it; keep evidence associated but unattached. The U.S. National Archives storage advice recommends acid-free, lignin-free housing that supports the paper. Store it away from light, heat and damp. Do not tape, glue, laminate or cut out a signature. If ink flakes, paper is moldy or pages stick, stop handling it and seek conservation advice.
For a next addition, check an advertised public signing’s allowed items, charges and availability. Follow staff instructions and accept a refusal.

Check evidence and care for paper
- PADA's autograph collecting guideLearn about signed materials and buying within your interests and budget, without pressure or investment claims.
- Check a PSA certificate numberCheck existing PSA or PSA/DNA paperwork and learn why a matching number cannot guarantee the physical item.
- U.S. National Archives paper careFollow its handling and storage links to protect an intact paper original without adhesive repairs.