Skip to content
How to start
Menu
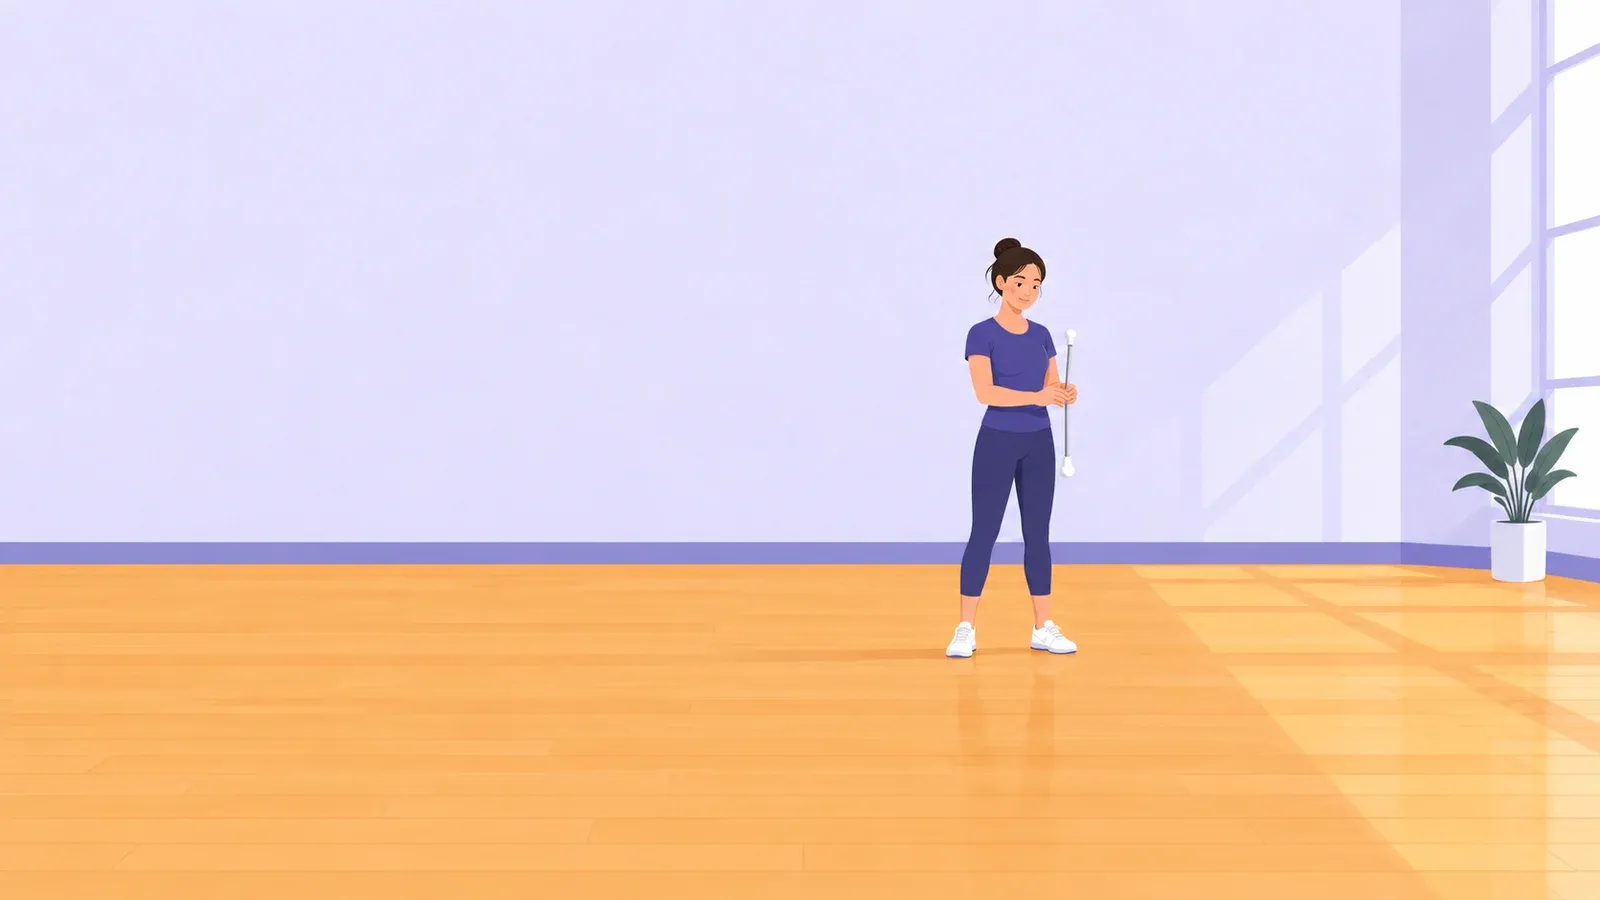
A beginner holding a twirling baton upright with both hands in a clear indoor practice space

Sports hobbies

How to start baton twirling with control and confidence

By István Vigh
Cost to start
Free with a borrowed baton

Home handling exercise; equipment and classes priced separately

Difficulty
Beginner

Start slowly; technical twirls benefit from coaching

First result
20 minutes

A controlled transfer sequence at a steady count

Choose a suitable baton, try a simple handling session, and find beginner instruction. Build control and rhythm before learning throws or longer routines.

What you need to know

  1. Borrow a suitable baton before buying

    Ask a local coach or club about loan equipment and sizing. A twirling baton has a straight shaft and fitted ends; a stick or weighted exercise bar is not a substitute.

  2. Keep the first exercise below shoulder height

    Practice slow transfers with at least one hand on the baton throughout. Learn releases, catches and technical twirls with a coach.

  3. Clear the space before moving

    Choose a dry, uncluttered floor with room for your arms and the full baton. Keep other people, pets and breakable objects outside that space.

  4. Count slowly and practice both hands

    Make a secure transfer, pause, and return the baton. A short sequence you can repeat calmly is a useful first result.

Baton twirling combines handling a small baton with movement, timing and performance. A polished routine can include quick rotations, body rolls and aerial catches, but your first session can be much smaller: learn how the baton feels in each hand and complete a short sequence without losing control.

Allow about 20 minutes for the introductory handling exercise below. It is free if you can borrow a suitable baton and use a clear space you already have. If you cannot, begin by arranging a beginner lesson with loan equipment. Your first result is a repeatable transfer sequence; a teacher can then introduce the grip changes and movement patterns used in actual twirls.

Choose a recreational starting point

This is a good hobby to explore if you enjoy rhythm, coordination and practicing a small movement until it becomes smoother. You can begin without dance experience. Progress involves repetition, and your less familiar hand may initially need more attention. Enjoying that process matters more than being able to copy a performance video.

The United States Twirling Association’s introduction describes recreational clubs as well as school and competitive participation. A weekly class or a short routine for your own enjoyment is a valid destination. You do not need to commit to competitions before trying the activity.

It helps to know what you are watching. The IBTF’s solo overview identifies aerial work, rolls and contact or connecting material within that discipline. Those are different skill families with different progressions. For now, concentrate on holding, transferring and stopping the baton deliberately. Save airborne work for instruction in an appropriate practice space.

Get the baton fitted to you

Ask a club whether it can lend you a beginner baton. Use equipment intended for twirling, with a straight shaft and securely fitted ends. Check for damage or loose parts before starting. An improvised stick, drum major’s mace or weighted fitness bar will handle differently and is unsuitable for this exercise.

Length matters, and age alone is a poor way to choose it. Star Line’s sizing guidance measures from the side or base of the neck to the tip of the middle finger with the arm held straight out sideways. Have someone help with the measurement, then ask your coach to confirm the size and model. Follow the chosen supplier’s instructions if the measurement falls between available sizes.

If you buy, compare the full price in your local currency, including delivery and any return costs. Ask the club separately about lesson fees, membership and whether performances bring extra expenses. The free first-session estimate here covers borrowed equipment at home, not paid tuition. Comfortable clothes, secure flat shoes and water are enough preparation; ask the instructor about footwear for their venue.

Prepare the floor and your starting position

Choose a dry, level floor without loose rugs or obstacles. Check the clearance in every direction, allowing for your arm and the baton together. Keep well away from windows, screens, shelves, ceiling fans, other people and pets. If you cannot make enough space, practice at a suitable hall with permission instead.

Spend a few minutes walking comfortably, opening and closing your hands and moving your shoulders gently. Keep the warm-up easy. Stand with your feet comfortably apart and your knees relaxed. Let your shoulders settle rather than lifting them toward your ears.

Hold the baton near the middle, with its shaft upright in front of you and the upper end below shoulder height. Keep it far enough from your body that neither end touches you. Adjust your stance or grip with an instructor if this feels awkward. You should be able to hold still comfortably before adding movement. Stop if a movement hurts; forcing a wrist farther is not a useful shortcut.

Try a slow hand-transfer sequence

Spend the first few minutes simply holding the baton in one hand, then the other. Use a secure but comfortable grip around the shaft. Notice whether you tense your shoulder or squeeze harder than necessary. Bring the second hand alongside the first near the middle before changing hands.

For a transfer, close the receiving hand around the shaft first. Only then release the original hand. Keep the baton upright and the movement small. At least one hand stays on it throughout; this is a placement into the other hand, with no throw or free rotation.

Repeat from right to left and back again, pausing between transfers. Start with five slow transfers in each direction. If the baton begins to slip, stop and reset with both hands. If it falls, let it land, wait until it is still and pick it up without rushing after it.

Now give the exercise a simple count. On count one, secure the baton in your right hand. On two, add your left hand. On three, release the right. On four, pause. Use the next four counts to reverse the transfer. Count aloud slowly enough that your hands stay organized.

Repeat this eight-count sequence three times, then rest. If it feels comfortable, repeat with quiet music at an easy tempo. Keep your feet still for the first session so you can focus on your hands. Finish by putting the baton down and noting which transfer felt less secure. Completing the sequence calmly is the goal, even if the tempo is very slow.

Solve one small problem at a time

If you repeatedly fumble, remove the music and slow the count. Check whether the receiving hand closes before the other opens. If your shoulders rise, pause and reset your posture. If one direction is harder, give it a few careful repetitions without turning the session into a race against your stronger side.

A short recording can help you see whether the baton stays upright and whether your body tenses. Place the phone outside the practice area and keep the clip private unless everyone visible agrees to sharing. Watch for one thing, make one adjustment and try again.

Avoid building practice around impressive tricks you cannot yet describe. A coach can show you the correct plane of rotation, grip and stopping position for a beginner twirl. Ask for a slow demonstration from an angle you can understand, then show the coach your attempt. That exchange is more useful than repeatedly guessing at a fast video.

Find instruction and build a weekly habit

In the United States, the USTA resources page links to a club finder organized by ZIP code. Elsewhere, search for your national baton-twirling association, local sports clubs or recreation providers. Confirm that the class accepts your age group and complete beginners; an existing competition team may not offer introductory tuition.

Before booking, ask about the full fee, loan batons, class size, accessible facilities and the instructor’s beginner progression. Explain any movement adaptations you need. For a child, also ask about supervision and the club’s arrangements for parents or guardians. Choose a session where there is time to see a demonstration and receive feedback.

After your first lesson, practice only the movements you have been shown, in short sessions on two or three days each week. Record the movement, a useful correction and what to ask next time. Build toward a brief routine with a clear start and finish, introducing steps or new baton skills one at a time. Let reliable control determine the pace of progression.