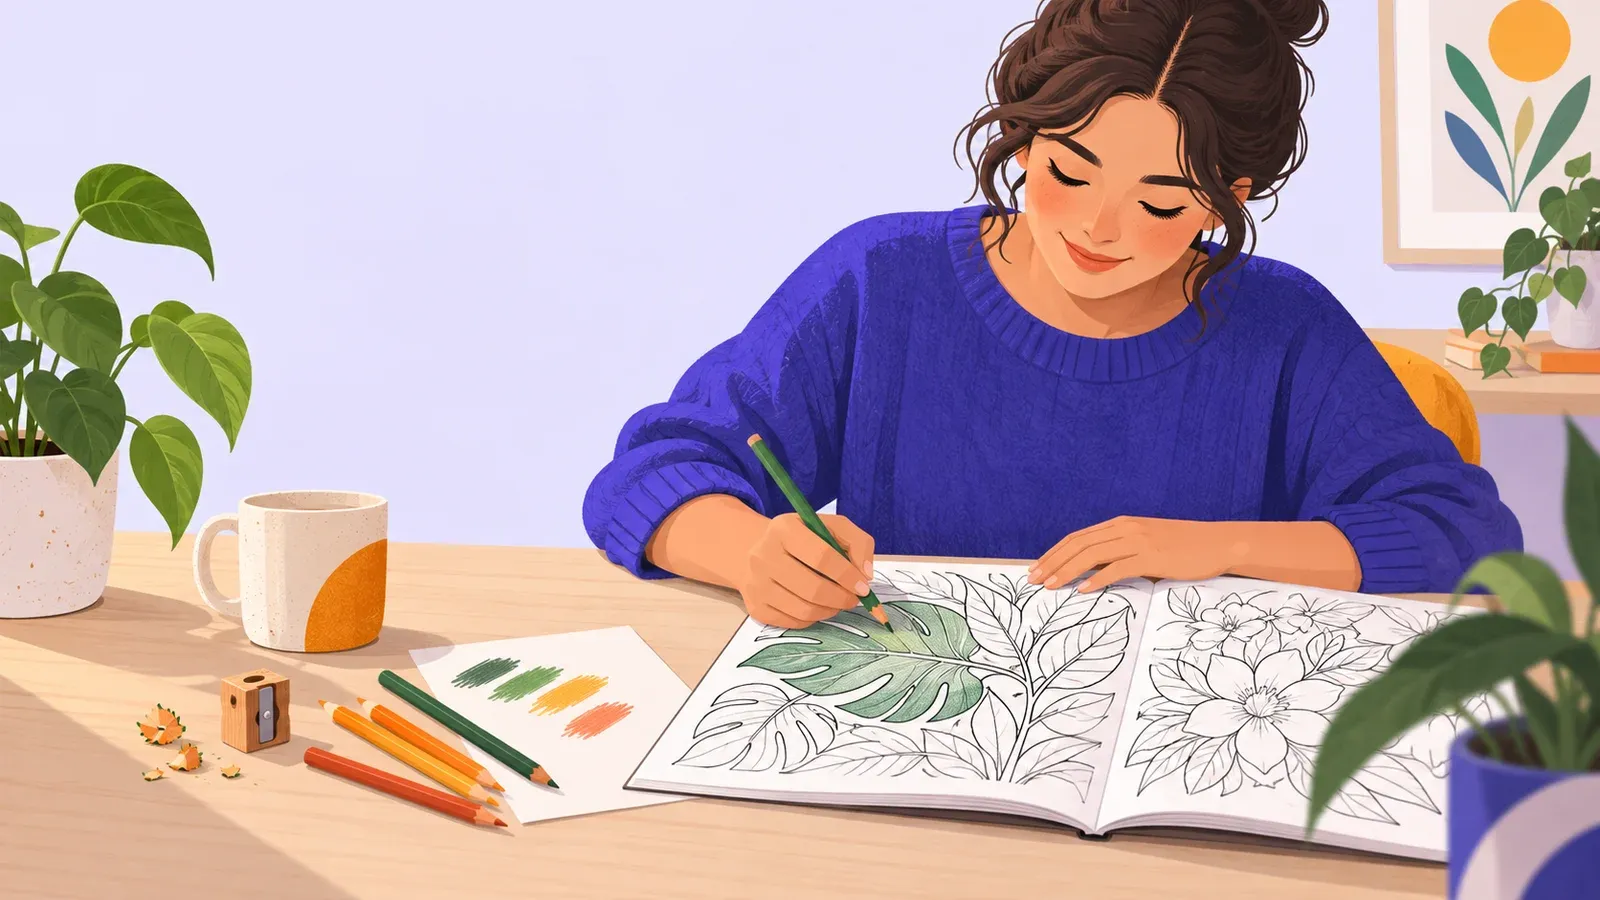
How to start coloring with a small pencil palette
- Cost to start
- ~$5–25
- Difficulty
- Easy
- First result
- 30–45 minutes
One coloring book or printable plus a basic colored-pencil set
No drawing skill needed; careful pressure improves with practice
One finished motif or a clearly defined section of a page
Complete one relaxed coloring-book section with basic colored pencils, light layers, simple color choices, and no pressure to make perfect art.
What you need to know
-
Choose a page with open shapes
Broad leaves, simple animals, or geometric areas are easier to fill than a dense page of tiny details. You do not need to begin at the front of a book.
-
Six pencils are enough
Pick two related colors, two contrasting colors, one pale shade, and one dark shade. A limited palette makes decisions manageable and still allows variation.
-
Test every color first
Make a small swatch on similar paper to see its true color, how smoothly it layers, and whether an eraser lifts it before touching the printed page.
-
Build color with light layers
Hold the pencil farther from its point, use gentle overlapping strokes, and deepen selected areas gradually. Heavy first marks are difficult to soften.
Coloring lets you work with color and pencil control without first having to draw an outline. It can be a quiet personal routine, a way to explore illustration, or simply something satisfying to do away from a screen. There is no requirement to finish every page or turn the result into serious art.
For a first session, choose one medium-size motif and color it with a palette of six pencils. Aim for an area you can finish in 30 to 45 minutes: one flower, animal, building, or cluster of geometric shapes. You will practice pressure, layering, and color choice while keeping the project small enough to enjoy.
Pick a page you actually want to touch
Browse a coloring book before buying when possible. Look for paper that feels substantial, printing that is clear on the back, and subjects you would be happy to revisit. A single-sided page is helpful if you later try markers, but colored pencils work in most ordinary books. Check whether the art runs into the binding and whether the detail suits your eyesight and patience.
Begin with open shapes about the width of a fingertip or larger. An intricate double-page cityscape may be appealing, yet it turns a trial into a multi-day commitment. You can also use a legitimate free printable from an artist, museum, or public-domain collection. Respect the stated license; downloading a scan of a commercial book is not a harmless substitute.
If hand pain, tremor, or low vision affects you, choose larger shapes, a thicker pencil grip, strong task lighting, and shorter sessions. A clipboard or sloped drawing board can bring the page closer without hunching. Comfort is part of choosing the project, not a reward for finishing it.
Assemble a modest first kit
Start with a set of 12 to 24 ordinary colored pencils, a handheld sharpener that fits them, a soft eraser, and scrap paper. School-grade pencils are enough to find out whether you like the activity. Artist pencils may have richer cores, consistent replacement colors, or lightfast ratings, but none of that is necessary for a book kept for personal enjoyment.
Protect the next page with a clean sheet of paper and put another sheet beneath your drawing hand to reduce smudges. Keep drinks on a different surface. Sharpen over a bin and stop if a pencil core repeatedly breaks; dropping, a damaged sharpener, or aggressive turning may be the cause.
The Colored Pencil Society of America collects specialist articles about colored-pencil materials and practice. Its fine-art concerns become useful if you later make original drawings or display work, but a beginner does not need solvents, electric sharpeners, dozens of brands, or a full lightfast palette.
Build a six-pencil palette
Choose one main color you like, then find a lighter and darker neighbor. Add a contrasting pair and one neutral or very pale pencil. For example: pale yellow, yellow-orange, deep orange, light green, dark green, and dark blue. The exact theory matters less than having both light and dark options.
Make a swatch strip on the back of a spare page or paper with a similar texture. For each pencil, create a light patch, a medium patch, and a small dark patch. Layer two colors over each other in both orders. A yellow layer over green may look different from green over yellow because the upper strokes remain more visible.
The Princeton University Art Museum’s pencil-palette workshop is a useful next exercise in selecting hues from an artwork. For today’s page, circle the six swatches that work together and put the remaining pencils aside. A limit reduces the urge to solve every tiny decision separately.
Color one motif in light passes
Decide where the imaginary light comes from—perhaps the upper left—and make a tiny arrow on your scrap sheet. Start with the palest pencil. Hold it a little farther back than when writing and cover the shape with small overlapping circles or consistent strokes. Leave a narrow area close to the light source almost untouched.
Add a second light layer. Turn the page so your wrist can move comfortably instead of forcing strokes in an awkward direction. Near an outline, keep the pencil sharp and move from the line inward; in a broad area, use the side of the tip gently. Crossing a printed line is not a failed page. Lift what you can with the eraser, soften the edge, or incorporate it into a darker border.
Use the darker related pencil on the side away from your imagined light and in places where one shape sits behind another. Fade it toward the middle by easing pressure. Return with the first color to connect the layers. The visible paper texture is acceptable; pressing until every white speck disappears can flatten the color and dent the sheet.
Sarah Renae Clark’s beginner coloring video demonstrates shading, highlights, texture, and palette planning. Try only one idea at a time. Pens, white highlights, and special blenders are optional additions after you understand what your pencils do.
Finish without overworking the page
Step back or view the page from arm’s length. Ask three concrete questions: Can you distinguish neighboring shapes? Is there a repeated color that ties the motif together? Does one area need to be darker so the focal point is clear? Make only the adjustment you can name.
Common beginner problems usually come from excess pressure or excess scope. A shiny, waxy surface means the paper is already heavily covered, so more pencil may slide rather than layer. A muddy mixture often comes from repeatedly adding unrelated colors. A sore hand means it is time to loosen your grip, stretch, and stop—not to force the last corner.
Sign and date the page only if that feels enjoyable. Photograph it in indirect daylight if you want a record, then close the book with a clean separator sheet. A partial page also counts as a result when the stopping point is intentional.
Choose the next small experiment
For session two, repeat the same process with a different limited palette. Try warm colors on one motif and cool colors on another, or color two matching leaves with different pressure. Changing one thing makes the result easier to understand.
If community helps you continue, r/AdultColoring is active with finished pages and works in progress. Read its current rules and remember that shared artwork may be copied outside its original context. Post only what you are comfortable making public, credit the book and illustrator, and ask a specific question such as how to separate two overlapping leaves.
After three sessions, decide what you actually want more of: softer pencils, larger subjects, marker-friendly paper, portable postcards, or instruction in colored-pencil drawing. Buy toward that experience rather than toward a huge collection. The useful next milestone is a full page completed over several comfortable sessions with a palette you planned yourself.

Colored-pencil technique and palette ideas
- Princeton Art Museum pencil-palette workshopA recent museum workshop led by an artist-instructor that demonstrates selecting a workable group of colored-pencil hues rather than reaching for every color.
- Colored Pencil Society of America articlesA specialist organization's collection on materials and colored-pencil practice. It goes beyond coloring books when you are ready to explore the medium itself.
- Sarah Renae Clark's five coloring tipsA focused video lesson showing light-and-shadow planning, highlights, texture, and palette choices on adult coloring pages. Product mentions are optional, not a required kit.
