How to start cosplaying with clothes you already own
- Cost to start
- ~$0–40
- Difficulty
- Beginner
- First result
- One weekend
Closet clothes plus optional thrifted pieces and one simple accessory
Planning and fit checks; sewing and wigs are optional
A wearable costume and three private test photographs
Build a comfortable closet cosplay in one weekend, test it at home, take a few character photos, and prepare sensibly for a first convention.
What you need to know
-
Choose a character with ordinary clothes
A recognizable color palette, silhouette, or accessory is enough for a first interpretation. Avoid a design that requires armor, a complex wig, and unfamiliar sewing at once.
-
Make a reference sheet before shopping
Collect a few legitimate images showing the front, back, colors, and key details. List what you own, what you can adapt, and what can be omitted.
-
Comfort outranks screen accuracy
You must be able to see, breathe, sit, walk, use a restroom, and regulate your temperature. Test every layer and shoe before wearing the costume in public.
-
Add one handmade focal detail
A fabric patch, foam badge, painted notebook cover, or simple accessory gives you a contained craft problem and makes an everyday outfit feel intentional.
Cosplay is the practice of interpreting a character through costume, styling, performance, or photography. Some people sew elaborate garments; others combine ordinary clothes into a recognizable “closet cosplay.” Both approaches involve creative choices. Accuracy is optional, and a costume does not need to win a contest or attract attention to count.
For your first weekend, choose a fictional character whose outfit resembles clothes you can comfortably wear. Assemble the look, make one simple focal accessory, test it for half an hour, and take three private photographs. This gives you a complete first result without a convention deadline or a pile of specialist materials.
Choose a version you can finish
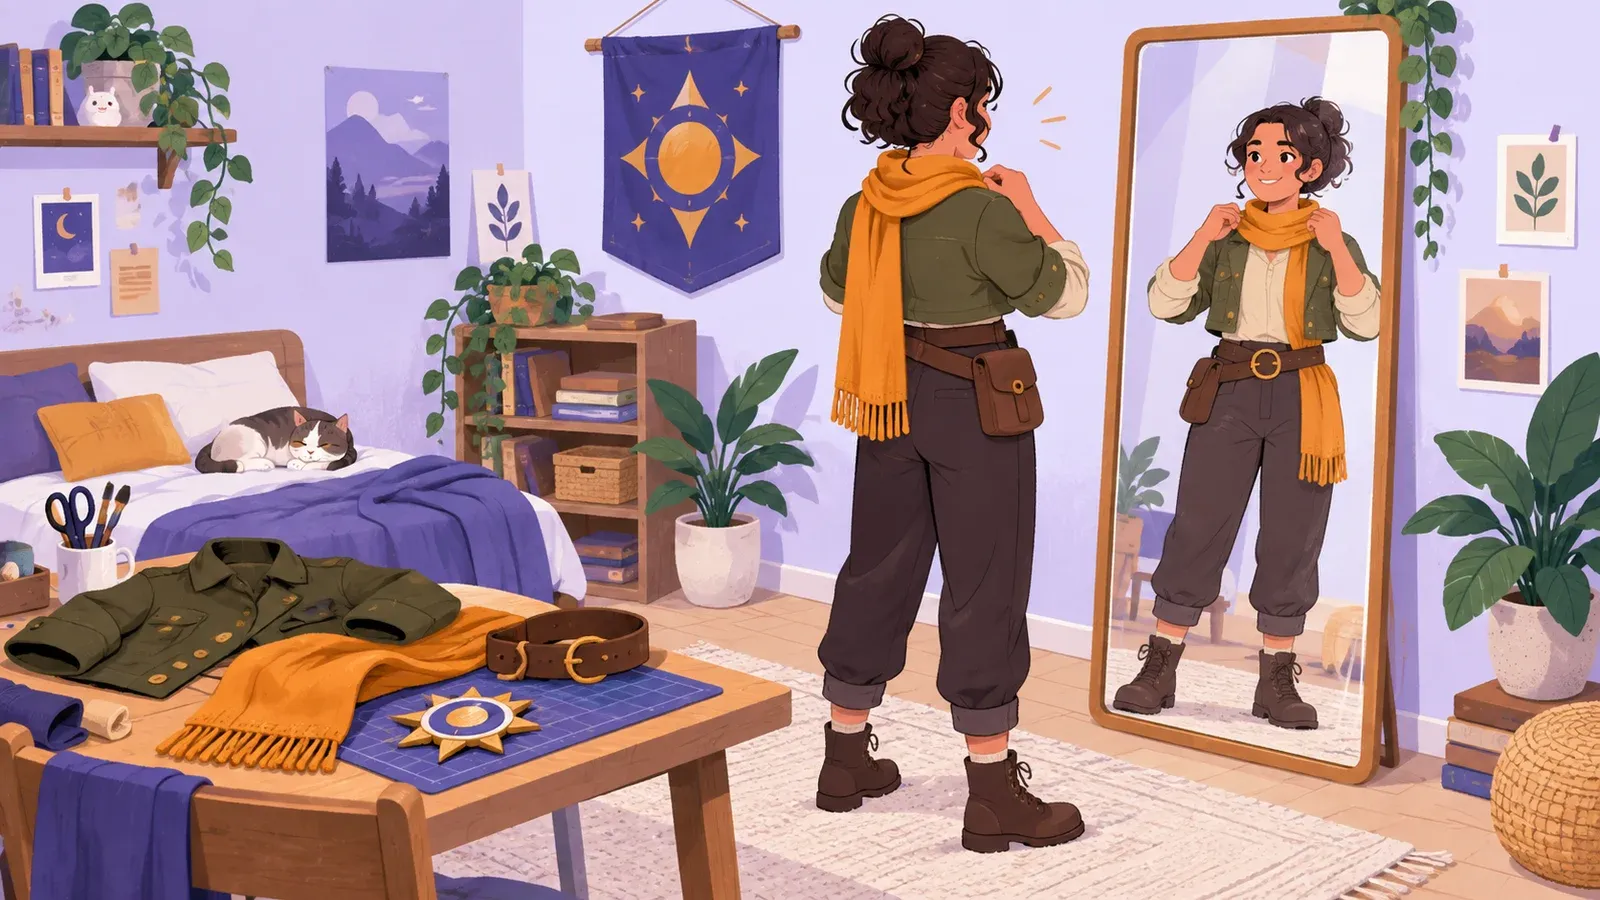
Pick a character you enjoy rather than one that seems popular. Look through their different outfits; an everyday, school, travel, or alternate design may be simpler than the iconic armored version. Your interpretation can preserve three recognizable signals—perhaps a dark jacket, orange scarf, and sun-shaped badge—while changing the rest to suit your body, climate, budget, and skills.
Make a one-page reference sheet from official art, screenshots you took legally, or images shared by the creator. Include front and back views where possible. Separate observed details from assumptions: write “brown ankle boots” rather than naming a material you cannot see. Do not copy another cosplayer’s custom solution without permission or credit.
Break the design into head, upper body, lower body, footwear, and accessories. Mark each item as own, borrow, adapt, buy, make, or omit. Set a total spending limit before browsing. Shipping dates and screen colors are unreliable, so a purchase should not become the only piece capable of making the outfit work.
Build from the wardrobe outward
Lay out the closest clothes you own. Match silhouette and color family before tiny decoration: a cropped jacket communicates differently from a long coat, while the exact button shape is unlikely to matter in a first photo. Try everything on together and check it from the front, side, and back.
Borrow or thrift one missing garment if useful. Examine seams, closures, fiber labels, and cleaning needs before altering anything. Use removable changes—safety pins placed where they cannot touch skin, fashion tape intended for fabric, or a separate sash—until you know you want the costume permanently. Never dye or cut a borrowed garment.
Make one flat accessory from craft foam or felt, such as a simple fictional badge. Draw the shape on paper, test its size against the outfit, transfer it, and cut on a protected surface with a suitable tool. Rounded scissors are enough for thin foam or felt. Add color with the material maker’s recommended paint or use layered colored pieces. Attach it to a separate strap or pin backing so the garment remains usable.
The Punished Props Academy library contains hundreds of technique videos. Use it when you have a precise problem such as sealing foam or attaching a strap. Advanced tools, heat forming, solvents, respirators, and workshop processes require their own instructions and safe space; they are not implied by making a small badge.
Test the costume as clothing
Wear the full outfit at home for 30 minutes. Walk through doorways, sit in several chairs, raise your arms, bend to tie a shoe, and use the restroom. Check that closures stay shut and accessories do not catch on furniture. If a costume blocks vision, hearing, breathing, or free movement, redesign it rather than tolerating the hazard.
Notice heat and pressure. Wigs, binders, masks, layered synthetic fabrics, contact lenses, tall shoes, and body paint all introduce separate comfort or health questions. Skip unfamiliar products for the first version. Never bind the chest with elastic bandages or improvised tape. Use only cosmetic products as labeled, patch-test when directed, and do not share eye or lip products.
Pack a small repair pouch appropriate to the costume: spare fasteners, a few safety pins stored closed, fashion tape, and the non-sharp tool needed for your accessory. Also plan water, medication, weather layers, and ordinary shoes. The Cosplay Alliance beginner-tools episode can help distinguish a useful core kit from tools that belong to future projects.
Take three useful test photographs
Ask a trusted person to photograph you or place a phone on a stable support with a timer. Use a plain background and indirect daylight. Take one neutral front view, one side or back view, and one simple character-inspired pose. Do not climb, trespass, block a public path, or imitate a dangerous action for the picture.
Review the photographs for the costume rather than your body. Is the focal accessory visible? Does the jacket hide the scarf? Is a strap twisted? Fix one issue and repeat the relevant view. Camera color and mirror color may differ, so use the result to decide whether two similar shades need more contrast.
Keep the photos private unless you want to share them. Before photographing another cosplayer, ask clearly and accept “no” immediately. Agree before touching a costume, moving a prop, or posting a group image. Credit photographers and other creators according to the terms you agreed.
Prepare for a first event
You do not need a convention to cosplay. A home photo session or small gathering may be the experience you want. If you attend an event, read its current costume, bag, prop, photography, age, accessibility, and re-entry policies. The Comic-Con 2026 cosplay guide is one current US example and explicitly notes that its prop policy can change; it does not substitute for another event’s rules.
For a first event, leave weapon-like props, large wings, stilts, skates, trailing pieces, and vision-limiting masks at home. Plan how you will travel without damaging the costume and identify a place to change if wearing it on public transport would create difficulty. Go with a friend when possible, set meeting points, and know how to contact event staff.
Eat, drink, sit down, and cool off before discomfort becomes a problem. Staff may ask you to remove or modify an item even if it passed at another venue. Cooperating is part of participating safely, not a judgment on your craftsmanship.
Add one skill to the next version
Write down what stayed comfortable, what read clearly in photos, and what failed. Repair the weak attachment, adjust one garment, or remake the badge more neatly. That is a meaningful second session.
When you are ready to learn sewing, wigs, makeup, or foam work, choose one skill and a small practice piece unrelated to an event deadline. The r/CosplayHelp Cosplay 101 reference emphasizes health, safety, and specific questions; read the community rules and search existing answers before posting.
Your next milestone might be altering a thrifted shirt, styling a simple wig on a stand, or wearing the closet costume for two comfortable hours. Keep the character recognizable through a few deliberate choices and let every new version teach one manageable technique.

Plan, build, and wear a costume
- Punished Props Academy video libraryA large, established library of free prop and costume tutorials. Filter by the one technique your project needs instead of treating advanced armor builds as a first-weekend target.
- Essential tools and tips for new cosplayersA beginner-focused Cosplay Alliance podcast episode about selecting useful tools and avoiding an oversized first kit. Check safety instructions for every tool separately.
- Comic-Con 2026 cosplay guideA current example showing that costume and prop rules are event-specific and can change. Always use the policy for the convention you will actually attend.
