Skip to content
How to start
Menu
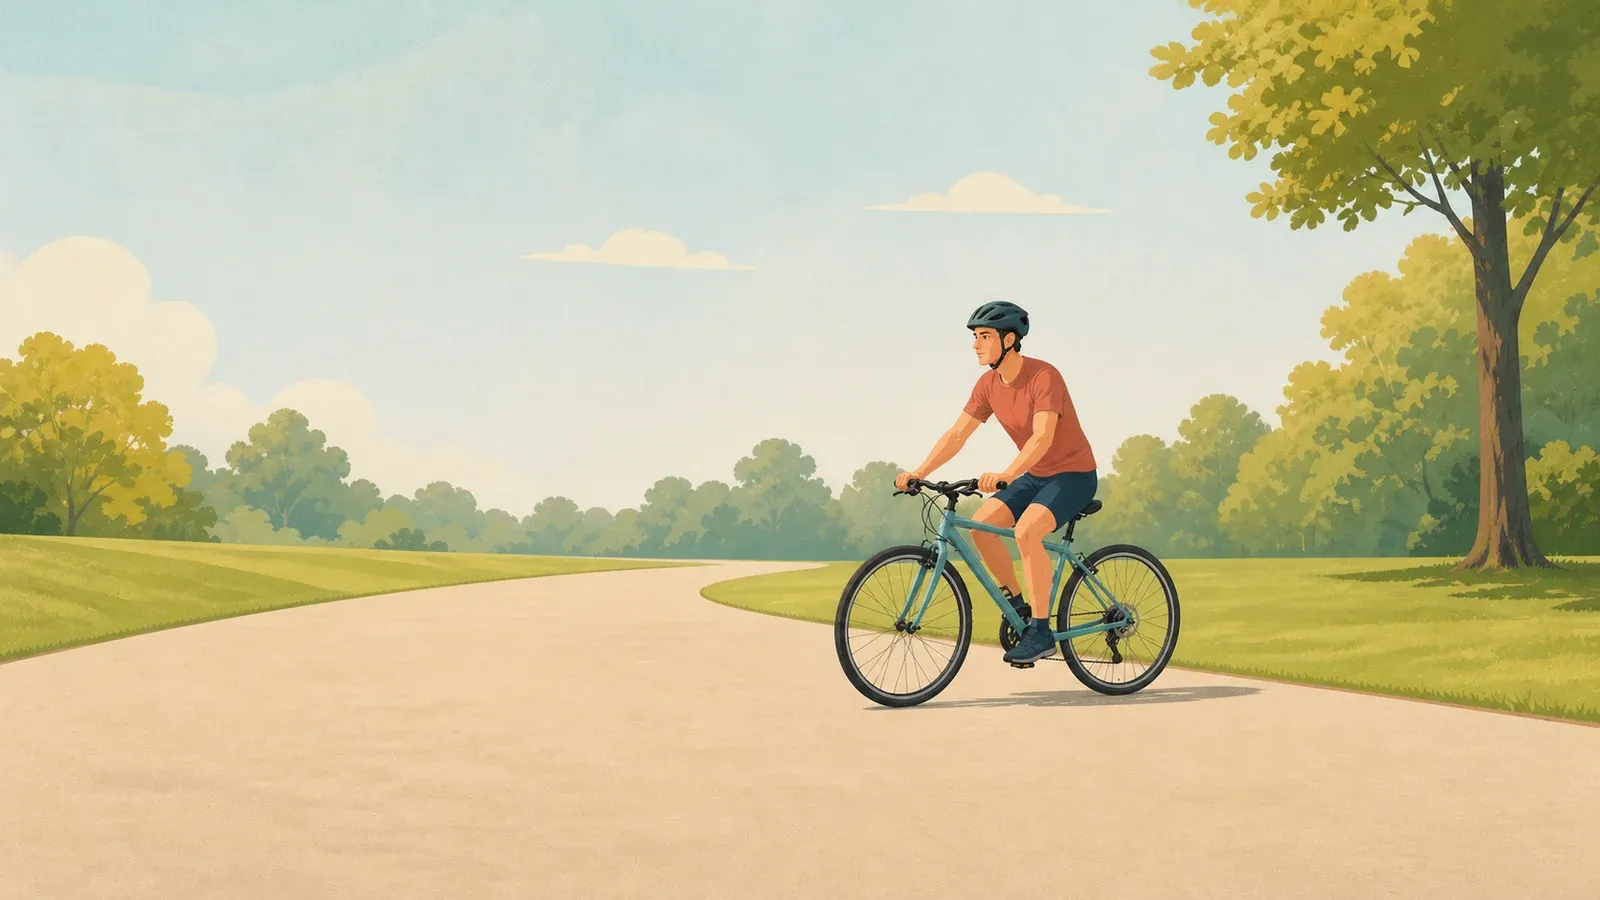
A helmeted beginner practicing controlled braking on a quiet traffic-free path

Sports hobbies

How to start cycling with a calm 20-minute practice loop

By István Vigh
Cost to start
~$0-50

Borrowed bike, helmet and basic repair

Difficulty
Beginner

Control before distance or traffic

First result
30-45 minutes

One calm 20-minute practice loop

Fit and inspect a borrowed or existing bike, rehearse braking and signaling away from traffic, then ride a short familiar loop with a simple safety plan.

What you need to know

  1. Use a bike that fits and fully works

    You must be able to stand over, steer, pedal and stop the bike comfortably. Do not practice around a weak brake, loose wheel or damaged frame.

  2. Fit an undamaged certified helmet

    Wear it level and low on the forehead, with side straps around the ears and a snug buckle. Replace a helmet after a significant impact.

  3. Complete an ABC Quick Check

    Check air, brakes, chain and cranks, wheel retention and a brief test ride. Ask a mechanic when anything is loose, worn, cracked or unfamiliar.

  4. Learn controls in a traffic-free space

    Rehearse starts, progressive braking, straight lines, turns, shoulder checks and signals away from moving vehicles before attempting a route.

  5. Be predictable under local rules

    Laws, required equipment, signals and path access vary by location. Learn them locally, communicate clearly and choose the lowest-stress route.

Your first cycling goal does not need mileage, speed or traffic. It is one calm 20-minute loop after proving that the bike fits, stops and steers in a traffic-free practice area. That sequence turns a ride into observable skills.

Allow 30 to 45 minutes in daylight with a patient companion nearby if possible. Borrow a suitable bike and helmet before shopping. A cheap bike with a hidden fault is not a bargain, and no amount of technique makes a failed brake or loose wheel safe.

Choose a fitting bike and low-stress route

Use a conventional bike whose size and controls you can manage. Standing over the frame should not trap or painfully press you, and you should be able to reach the handlebar and both brake levers without stretching. From the saddle, your knee should retain a comfortable bend at the bottom of a pedal stroke. A bike shop, instructor or experienced owner can adjust saddle height and reach; do not ride a frame that remains too large or small after normal adjustments.

Before mounting, squeeze each brake lever while walking the bike and learn which wheel it operates—the mapping varies by bike and market. Select an easy gear, tie shoes and keep clothing away from the chain, wheels and spokes.

Choose two spaces. The skills area must be legally accessible, flat, dry, paved, well lit and entirely free of moving traffic: a traffic garden, empty court, closed lot or wide quiet path can work when permitted. Walk it first for gravel, glass, potholes, wet leaves, dogs and pedestrians. Empty does not mean private property is available without permission.

The 20-minute loop should feel just as calm. Prefer a familiar separated path or park circuit with good sight lines, few crossings and an easy turnaround. For this first outing, walk the bike across any junction that feels unclear. Tell someone the route and return time, check weather and daylight, and carry a phone without looking at it while moving.

Fit the helmet and complete an ABC check

Use a cycling helmet certified under your local standard. It should fit, show no cracks, crushed foam or damaged straps and have no known significant impact. Set it level and low on the forehead, form a V with the straps around each ear and snug the buckle according to its instructions.

Next perform an ABC Quick Check. For air, inflate each tire within the range printed on its sidewall and inspect for cuts, bulges, exposed casing or a tire that will not hold pressure. Spin each wheel: it should stay seated and turn without a severe wobble or tire contact with the frame.

For brakes, squeeze each lever separately and push the bike. The correct wheel should resist, the lever should feel firm before reaching the handlebar and the brake parts should contact as designed. For chain and cranks, look for heavy rust, stiff links or damage and gently check that the cranks do not knock sideways. Keep fingers away from a moving chain, rotor or wheel.

For the quick part, confirm that wheel quick releases, through-axles or nuts are secured in the correct position. These systems differ, so ask the owner or a mechanic instead of guessing or merely twisting harder. Check that the saddle and handlebar do not rotate under modest hand pressure. Finish with a walking-speed test in the practice area. Stop if a wheel is loose, a brake is weak, the frame is cracked or a control behaves unexpectedly; repair comes before riding.

Drill braking and turning off-road

Lower the saddle temporarily with knowledgeable help if putting a foot down is essential to learning balance, then restore a sound pedaling position later. Mount with one foot on the ground and the other pedal raised forward. Look ahead, press the raised pedal and bring the second foot up. Coast in a straight line with relaxed elbows and fingers ready near the brakes.

Mark a broad stopping zone with flat, visible objects well away from the wheels. At walking pace, stop pedaling and squeeze both brakes progressively. Keep the handlebar straight and shift your weight slightly back as you slow. Avoid grabbing one lever suddenly. Repeat until you can stop smoothly inside the zone, put one foot down and restart without looking at the front tire.

Then ride large circles in both directions. Look through the turn, keep a gentle arc and avoid a sharp handlebar twist. Make wide figure eights only after circles feel balanced. Practice riding over a painted line while glancing briefly over each shoulder; if the bike veers, return your eyes ahead and repeat more slowly.

Signals come after one-handed control. In a stationary rehearsal, learn the turning and stopping signals recognized in your jurisdiction. While coasting slowly, check behind, signal early, return the hand to the bar and brake with both hands available. Exact legal signals vary, and signaling never replaces a shoulder check or grants right of way.

Ride a short loop predictably

Begin the loop only if the bike check and drills felt ordinary. Set a timer for ten minutes, ride out at conversation pace and turn back when it sounds; that creates a 20-minute ceiling without needing a distance target. A companion can ride behind at a respectful gap, but should not pressure you to match speed.

Hold a steady line, scan several seconds ahead and slow before blind bends, people, animals or loose surfaces. Announce a pass as local custom requires and leave generous space. Keep both hands available except for a signal, carry items in a secured bag or rack and do not use headphones or a screen. If the path is busy, stop somewhere fully off the travel line.

On any road, crossing or shared facility, local law and posted rules control. Direction, path access, equipment, yielding and signals vary across countries, states and cities. Check your transport authority or cycling organization; generic advice does not replace those rules.

At a crossing, slow early and make a deliberate decision. Obey signs and signals, look in every relevant direction and do not assume a driver or pedestrian sees you. Walking the bike is always available. The first loop is successful because it stays controlled, not because every section was ridden.

Handle stop signals and faults

Stop the session for sharp pain, dizziness, unusual breathlessness, loss of balance or vision trouble. Move completely out of the path before attending to the problem. A calm turnaround is good judgment, especially when heat, cold, wind, darkness or a wet surface changes faster than expected.

Also stop for a new rattle, repeated gear skipping, tire softness, pulling steering, brake fade, worsening rub or any impact. Never test a suspected fault at speed; walk the bike and have uncertain safety parts assessed by a mechanic.

If you fall, move out of danger only if you can do so safely. Check yourself before the bicycle, seek appropriate help for injury and replace a helmet that took a significant hit. Even without an obvious crack, impacted helmet foam may not be fit for another ride. Inspect the bike before it returns to use.

At an ordinary stop sign or signal, follow the law where you are. Plan the stop early, brake in a straight line, put a foot down if required and restart only after checking the intersection. Do not copy another rider’s rolling behavior or assume a special bicycle rule exists in your jurisdiction.

Plan the next rides

After the loop, note three facts: where braking felt smooth, where you tensed and which route feature caused uncertainty. Recheck the tires and look for anything that loosened or rubbed. One specific adjustment—a wider turn, earlier scan or mechanic visit—becomes the focus of the next session.

Repeat the same loop two or three times before adding minutes. When it feels easy, extend by five calm minutes or join a truly beginner-friendly, no-drop ride that explains its route and pace. An on-bike skills class can teach lane position, hazard avoidance and group communication before you mix with complex traffic.

Buy equipment in response to a demonstrated need. A fitted helmet, working lights for the conditions where they are required, a simple pump and the correct tools for your bike matter more than performance clothing or upgrades. Learn a flat repair later, but never let carrying tools substitute for the pre-ride check.

The first loop establishes a durable order: fit, inspect, practice, plan, ride and review. Keep it as distance grows. Working equipment and repeatable control matter more than speed.