How to start a small pressed-flower collection
- Cost to start
- Reuse flowers and heavy books
- Difficulty
- Easy
- First result
- 30 minutes, then 2-4 weeks
Optional purchases include blotting paper and acid-free storage paper
Arranging is easy; moisture control and fragile petals need care
A small labeled batch once the flowers are completely dry
Press a few flowers in a heavy book, manage moisture as they dry, and keep a labeled collection with photos and notes about where each sample came from.
What you need to know
-
Choose a few permitted flowers
Use three small, fairly flat flowers from bought stems or a garden with permission; avoid protected wild plants and unknown irritating plants.
-
Use a spare heavy book
Pick one you can accept staining, plus two or three books for weight; a dedicated wooden press can wait.
-
Prepare absorbent paper
Use plain uncoated paper or blotting paper with spare sheets for changes; avoid glossy paper and embossed textures against petals.
-
Save the sample information
A phone, pencil, and paper folders let you match fresh-flower photos, dates, and source notes to each dried sample.
A pressed-flower collection suits people who enjoy plant details and seasonal records. Practice with replaceable flowers before preserving an irreplaceable bouquet.
Collect and arrange the first batch
Choose fresh flowers with dry surfaces, after dew or rain has dried. Press them promptly. Photograph each flower before flattening it, including any label that identifies the plant.
Give each sample a code such as F01. Record its name, date, source, and fresh color. Write “unidentified” when the plant’s name is unknown.
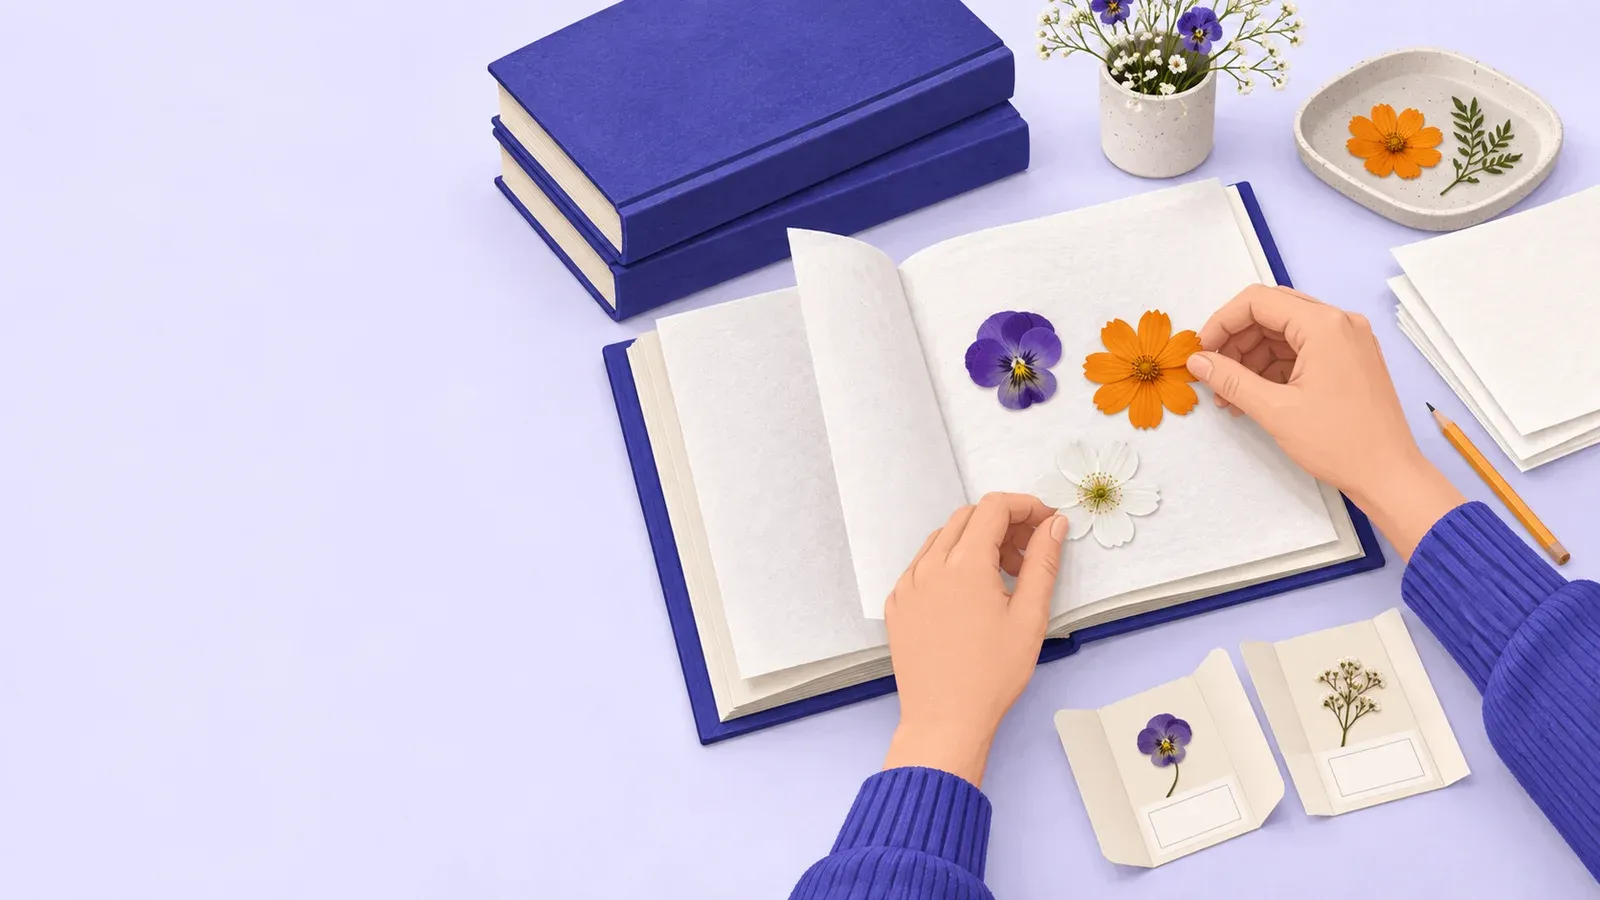
Open your spare book near the middle. Place absorbent paper on the page and arrange the flowers in one layer, leaving space between them. Spread petals carefully and keep bulky stems from overlapping blooms. For a thick flower, practice with separate petals instead.
Cover with another sheet, close the book gently, and stack the extra books evenly on top. Keep it in a dry indoor place. Put the sample-code note beside each flower.
Manage moisture and allow enough time
Check after the first day. Replace damp paper with dry sheets, supporting the flower rather than pulling a stuck petal. Recheck regularly and change paper whenever it becomes damp.
The RHS book method allows two to four weeks. Thickness and room conditions affect drying; the calendar alone does not prove a flower is ready. Keep pressing until the whole sample feels dry and papery.
If mold appears, discard that sample and affected paper. Try a thinner flower, dry starting material, and more frequent paper changes. Some fading or browning can happen even without mold; compare the result with your fresh photo.
Keep the collection together
Slide each dried flower onto clean paper, supporting it from beneath. Store flat in a labeled paper folder, preferably acid-free, away from damp and direct sunlight. Avoid repeatedly handling brittle petals.
Add the pressing dates and result to the record. Next, try a different flower or leaf. Once you have reliable dry samples, follow the RHS mounting guidance to make a collection page or display.

Follow the method and keep useful notes
- Kew's flower-pressing guideFollow a simple book method using permitted flowers, paper, and a warm dry place.
- RHS specimen preparation and recordsLearn what to record before pressing and how dried specimens can later be mounted and stored.
- JamJar Flowers' RHS pressing demonstrationWatch floral specialists arrange flowers for pressing and see examples of pressed botanical artwork.
Explore techniques and ask questions
- Slow Flowers with Kate PunnettListen to a pressed-flower artist discuss her techniques, with a video demonstration for preparing thicker blooms later.
- r/PressedFlowersAsk about a pressing problem using photos of real samples, following rules against advertising and AI-generated or manipulated images.