How to start fossil hunting with a legal surface search
- Cost to start
- ~$0-35
- Difficulty
- Beginner
- First result
- 60-90 minutes
Sturdy footwear, water and packing paper
Rules and context matter most
A complete site log; a find is optional
Plan a lawful beginner site, scan loose rock without digging, document geological context, and know when a possible fossil should stay exactly where it is.
What you need to know
-
Confirm the exact land manager and rules
Physical access does not grant collecting rights. Check current boundaries, hours, permission, allowed finds, quantity limits and tool rules.
-
Make the first trip surface-only
Leave hammer and chisel at home. Search loose material only where written rules permit it; never dig into a cliff, bank or protected outcrop.
-
Plan an exit before looking down
Check weather, official tide times, terrain and closures. Stay well away from cliff bases and edges, and tell someone your route and return time.
-
Record context before moving anything
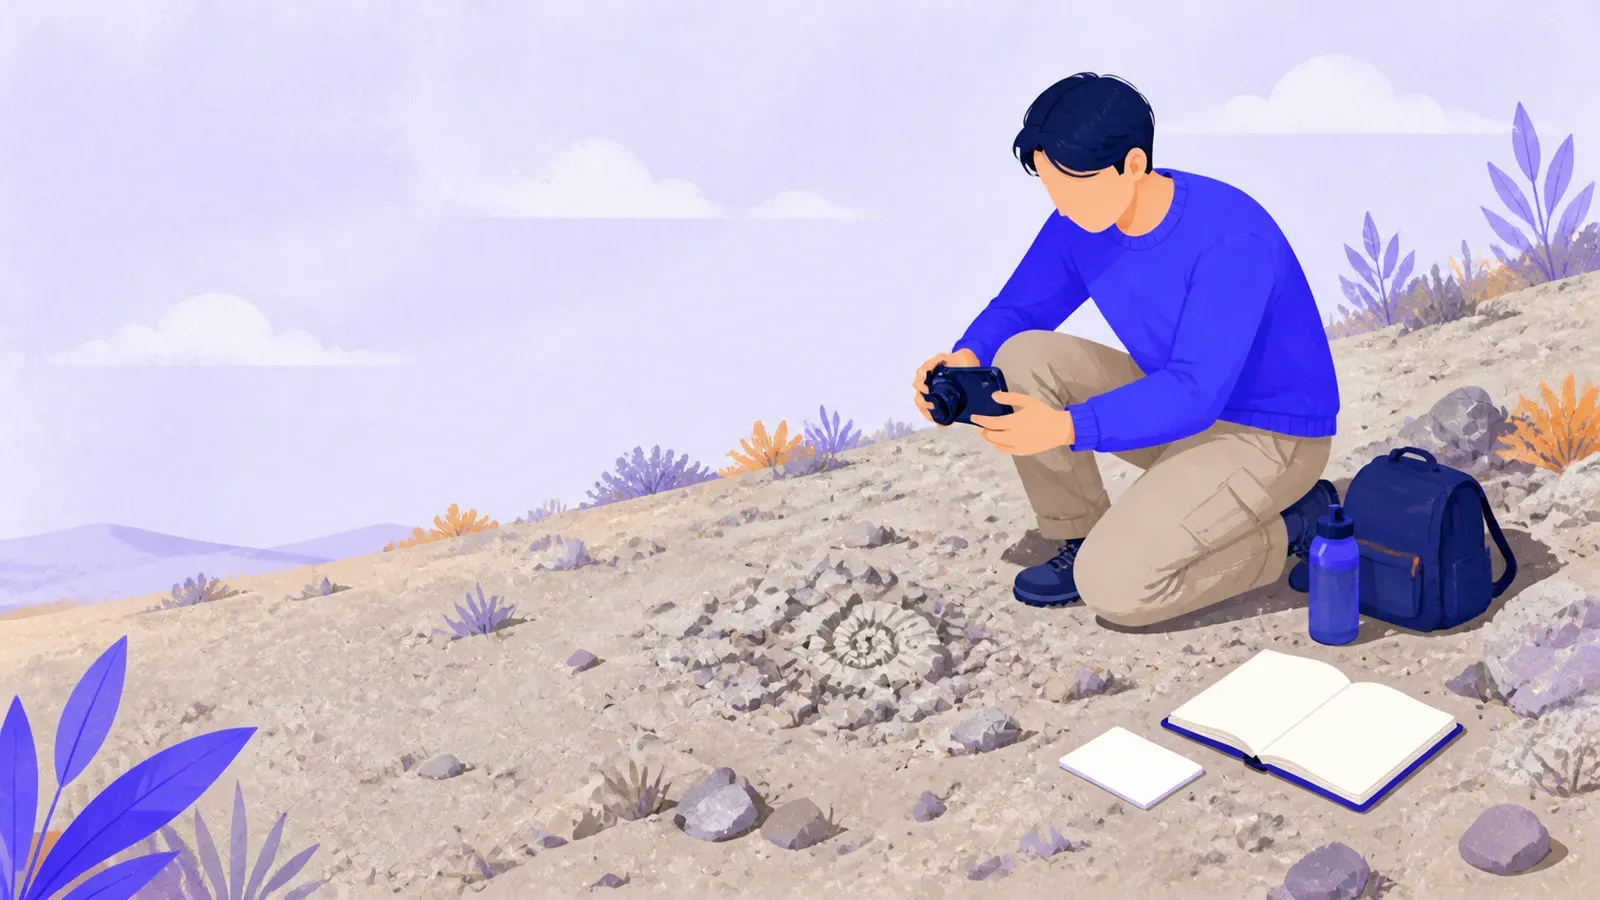
Photograph the find in place with scale, then note its coordinates, date, rock type, land unit and whether it was loose or embedded.
-
Leave and report uncertain important finds
Do not move possible vertebrate fossils, tracks, human remains, artifacts or an unusual specimen. Protect the location and contact the land manager.
Fossil hunting is the search for preserved evidence of past life: shells, leaves, bones, burrows, tracks and other traces in rock. A useful discovery includes its location, rock layer and legal context, not only the object.
Make your first outing a 60–90 minute surface survey at one authorized site, not an excavation. Look through naturally loose material and make a complete field note. Finding nothing is valid; you still practice the decisions that protect people, places and specimens.
Choose a place where looking is allowed
Start with a managed fossil park, museum-led walk, public beach with a current collecting code or commercial site with clear visitor rules. A local guide can show which fossils are ordinary and which discoveries must be reported.
Identify the owner and land manager for the exact search area, not merely the nearest place name. Before leaving, use the manager’s current website or contact staff to answer six questions:
- May the public enter this area on your date and at your planned time?
- Is looking allowed, and is taking anything allowed?
- Which fossil types and quantities may a visitor collect?
- Is collection restricted to loose surface material?
- Are any tools, digging, trading or commercial use prohibited?
- How should a potentially important find be recorded and reported?
“Public land” is not one universal permission. In the United States, for example, the Bureau of Land Management allows limited personal collection of reasonable amounts of common invertebrate and plant fossils on eligible BLM-managed land under stated conditions. Vertebrate fossils, uncommon resources and commercial collection are excluded. Recreational fossil collection is generally prohibited in National Park Service units. State, local, tribal, Indigenous, private and other federal lands can all have different rules.
Retain written permission for private land. Check protected designations, seasonal closures, wildlife restrictions and parking separately. If a boundary or rule remains unclear, choose a site where looking is expressly welcomed.
Prepare for a surface-only outing
Check the forecast, daylight, route and official alerts. At a coast, record tide times and keep an open retreat route. Cliffs can fail without warning, so stay well back from their base and edge. Never climb, stand below a fresh fall or dig into a face. Enter quarries, mines, caves, construction sites or road cuts only through explicitly managed public access.
Take a companion on a remote first trip and tell someone your route and return time. Carry a phone, offline map, water, weather layers, sun protection, first-aid kit and personal medication. Wear sturdy closed footwear. Children need close adult supervision; ask ahead about accessibility when needed.
Bring a pencil, notebook, ruler or scale card, and phone or camera. Add paper, small boxes and labels only if collection is confirmed. A backpack leaves both hands free; separate fragile pieces so they cannot rub together.
Leave hammers, chisels, picks, shovels and power tools at home. Striking rock creates sharp fragments and can destroy a specimen or violate site rules. Learn tools later only where expressly permitted, with eye protection and an experienced leader.
Complete a 60-minute search pattern
On arrival, read every sign. Cancel if access is closed, weather has worsened, water is rising, rock is falling or the route feels unsafe. A long journey does not make a warning negotiable.
Use ten minutes to orient the map, boundaries, exit and exposed rock. Note whether material is embedded in situ or has weathered loose. Only loose material is a candidate today, and only when collection is permitted.
For 40 minutes, walk a short safe line, then return on a parallel line. Scan from your feet to a few metres ahead. Low angled light can reveal relief, but never climb or reach into danger. Do not pry slabs, roll heavy rock or disturb natural and archaeological features.
Look for repeated biological structure: shell symmetry, growth lines, pores, segments, leaf veins or a consistent trace. Fossils can be casts, molds, mineral replacements or traces. Concretions, mineral dendrites, crystals and modern shells can look biological, so use “possible fossil” until reliable evidence supports more.
Use the final ten minutes to finish notes and leave on time. Success is a safe return with a usable record, whether the find count is zero or three.
Document before touching or moving
Give a possible find a field number such as FH001. Before lifting it, photograph
its position and nearby rock, then take close views with a scale. Never lick a
specimen to test for bone; it is unreliable and unhygienic.
Record date, site, land manager, private coordinates, a durable landmark, surface conditions and tentative identification. Note whether the object was embedded or loose, and describe the host rock. A geological map or Rockd can suggest a unit and age, but resolution and displaced material make that a hypothesis.
Keep coordinates private when a site is sensitive; public check-ins can expose a finite resource. Back up the note and original photographs with their metadata.
If a find is embedded, disallowed or possibly important, leave it. Bones, teeth, fish, eggs, coprolites, trackways and unusual material deserve caution. Photograph without molding, note the location privately and contact the manager or a local museum. Do not handle or publicize possible human remains or artifacts; follow local reporting law promptly.
Decide whether a find can come home
Collect only when every answer is yes: you are inside the verified boundary; current rules allow it; the specimen is loose, common and within the permitted type and amount; your method causes negligible disturbance; and it is for an allowed purpose. Permission to look is not permission to take, and a loose object does not become legal merely because someone else dislodged it.
Take a small representative example rather than every piece. Leave an object that is too heavy, fragile or uncertain to carry safely. Never sell, trade or export a find when the site or jurisdiction prohibits it, and do not assume a purchase erases cultural-property or provenance requirements.
Wrap each permitted specimen separately in paper or tissue, place it in a rigid box and add a pencil label with its field number. Keep the matching context in the notebook; an unlabeled fossil quickly becomes a decorative rock with little scientific value. Do not glue fragments in the field unless a qualified conservator has advised the exact material and method.
If you cannot collect, the record is still yours to learn from. A clear report with coordinates and scale photographs lets the land manager decide whether the find needs monitoring or professional recovery. Reporting something ordinary is not embarrassing when the observation is careful and the location is accurate.
Preserve the record and choose a next outing
At home, photograph an allowed specimen again beside its field label before doing anything to its surface. Begin with no cleaning. Water can split some rocks and shales, acids dissolve carbonate fossils, and household brushes, bleach, oil, varnish or glue can erase fine structure. A soft dry brush may be suitable for a robust common specimen only after identification; important or unstable material belongs with a conservator or museum specialist.
Store each piece padded and separated in a stable, dry place. Put the field number on its container and in a digital catalog containing photographs, private coordinates, permission, geological context, tentative identification and every later opinion. Wash your hands after handling rock and dust, and keep specimens away from food and young children.
Compare multiple views with a regional museum, geological survey or local fossil guide. Shape alone is weak evidence: age, rock type and known local fauna narrow the possibilities. An image app, forum or artificial-intelligence response can suggest search terms, but it cannot establish ownership, stratigraphic context or a confident identification from one photograph.
Common mistakes are arriving without permission, searching beneath cliffs, bringing extraction tools too early, overcollecting, losing location data, cleaning before identification and announcing a sensitive site. Another is expecting a dinosaur on every trip; common shells, plant impressions and even pseudofossils teach more repeatable field skills.
For the next outing, join a museum, geological society or established guide at a site with published rules. Learn the area’s geological time period and two common fossil groups, then repeat the same surface-search and recording pattern. Only after several documented trips should you consider preparation or tool skills, and then only with training and explicit permission. A careful empty notebook page is better paleontology than a spectacular specimen stripped of its place.
Check access, rules and field safety
- BLM fossil collecting rulesCurrent U.S. rules for casual collection on BLM-managed land, including eligible fossils, personal-use limits and prohibited finds.
- National Park Service permit guidanceExplains why recreational collection of fossils and other geological specimens is generally prohibited throughout U.S. national parks.
- Natural History Museum beach guideBeginner equipment, access and permission checks, plus practical warnings about cliffs, rising tides, slippery rock and field tools.
Document and identify a find
- Natural History Museum discovery guideA museum workflow for context notes, scale photographs, coordinates, geological maps, preliminary research and identification requests.
- Rockd geological field mapExplore mapped rock units, time intervals and nearby fossil records, and save private field observations without treating the map as a permit.
Apps for your phone
-
Rockd
Preview mapped geology and log a private field observation; verify its suggestions with local sources and never use the map as proof of access.