Skip to content
How to start
Menu
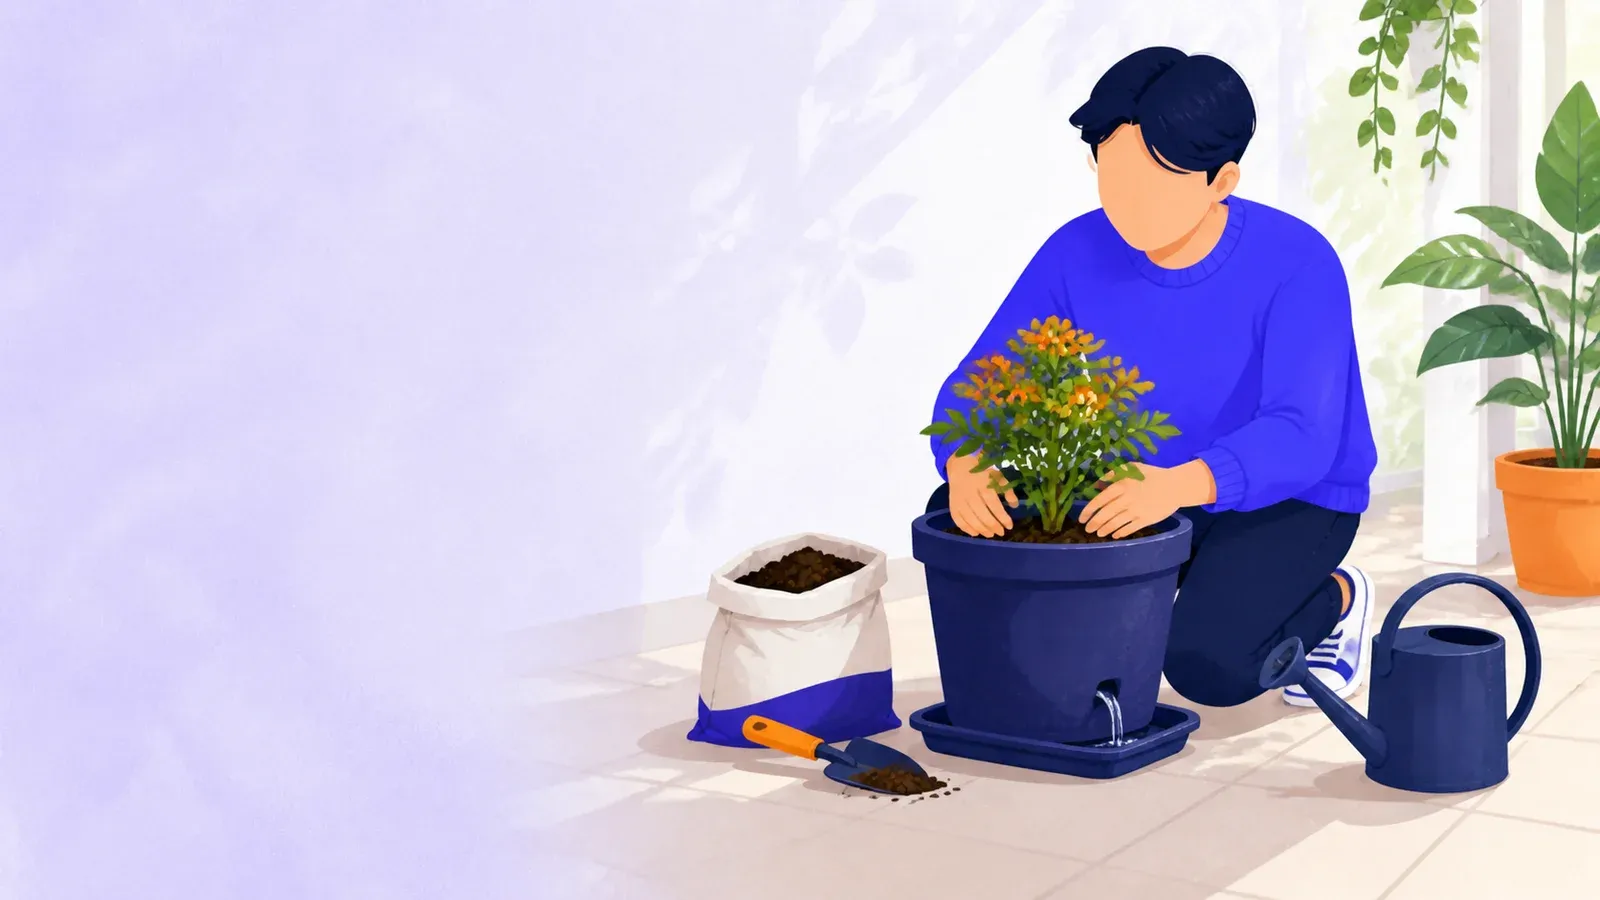
A beginner planting one healthy plant in a drained container on a sunny patio

Outdoor hobbies

How to start gardening with one well-chosen container

By István Vigh
Cost to start
~$15-40

Pot, potting mix and one plant

Difficulty
Beginner

Match the plant to the place

First result
45-60 minutes

One planted and watered container

Match one outdoor container to your light and season, plant it with proper drainage, learn a reliable watering check, and expand only after it settles.

What you need to know

  1. Observe the site before shopping

    Record direct sun, shade, wind and reflected heat for several days. Plant labels are useful only when their requirements match the real location.

  2. Start with one locally suitable plant

    Choose a healthy compact plant or seasonal seed recommended for your current conditions, available space and level of care.

  3. Use a container with drainage holes

    Roots need both moisture and air. Use container potting mix and an open drainage route rather than garden soil or a decorative pot with no hole.

  4. Check the mix before watering

    Feel below the surface and learn the pot's weight. Weather and plant use change faster than any fixed calendar or app reminder.

  5. Check soil and plant safety

    Use clean growing media if ground contamination is possible, protect cuts and lungs from soil dust, and verify toxicity around children and pets.

Gardening becomes manageable as one plant in one place, observed often enough to notice change. A container controls the growing medium and lets you learn watering without preparing an entire bed.

Your first result is a correctly planted container, not a harvest or a burst of flowers. Choose a plant suited to current local conditions, give excess water a way out and record how the mix feels after watering. Those decisions teach the same skills a larger garden will require.

Read the site before choosing a plant

Pick an accessible spot and check it several times over three days. Record when direct sun begins and ends, plus shade, wind, rain shelter and reflected heat. “Bright” is not the same as direct sun, and glass can make a balcony hotter than the forecast.

Confirm that a container is permitted and stable. On balconies, consider the wet weight, drainage onto neighbors and the risk of anything falling; keep pots off narrow railings. At ground level, avoid blocking doors, paths and utility access. Put a heavy container in its final position before filling it, and ask for help rather than lifting beyond your ability.

Take the notes to a reputable local nursery, seed library or extension service. Ask for one compact plant or seed suited to the light, season, temperature and pot size. No single suggestion works across climates. Check winter hardiness for a perennial or days to maturity for an annual crop.

Use the botanical name on the label to check local invasive-species rules and toxicity. If children or animals may reach the container, choose a species confirmed safe for that situation. The ASPCA database covers commonly encountered plants for dogs, cats and horses, but it is not exhaustive; use a local veterinary source when uncertain. Do not assume “natural” or “edible for people” means harmless to every animal.

Gather a small, safe kit

You need a stable container with open holes in its base, container potting mix, one plant or seed packet, water and a label. Add a scoop or hand trowel, gloves and a saucer or pot feet if the surface needs protection. Choose a pot sized for the mature plant or the nursery’s recommendation. A slightly larger container usually dries more slowly, while an oversized pot around a small root ball can stay wet for too long.

For food plants, use a container intended for them, never one that held unknown chemicals or paint. Wash reused pots. Garden soil is too dense and unpredictable for most containers; potting mix holds moisture while retaining air. Stones cannot substitute for a drainage hole.

Handle dry mix gently so it does not form a dust cloud. Work outside, dampen it lightly, avoid breathing the dust and use suitable respiratory protection if the product label or your health needs call for it. Cover cuts with waterproof gloves, wash hands afterward and keep soil away from food. Wear sturdy footwear and place sharp tools where nobody can step or reach into them.

Unknown ground deserves caution, especially near older painted buildings, busy roads or former industrial and orchard sites. Do not use it to fill the pot. Before creating an in-ground food garden, ask a local soil-testing service what contaminants and nutrients to test. Clean purchased growing media in a container is a sensible first boundary, not proof that the surrounding soil is safe.

Plant the container in 45–60 minutes

Check every drainage hole. Add moistened potting mix until the root ball will sit at its nursery depth, leaving space below the rim so water can soak in without washing mix over the edge.

Slide out the plant while supporting its base. Do not pull by the stem. If roots circle tightly around the outside, loosen only the outer layer with your fingers; otherwise disturb them as little as possible. Set the plant upright, fill around it and press lightly enough to remove large gaps without packing the mix hard. For seed, follow the packet’s depth and spacing rather than planting every seed in one crowded pot.

Water slowly until water emerges from the base. Add mix if it settles below the root ball, let the pot drain and empty standing water. Record the date, plant, position and how the watered pot feels when lifted or gently tip-tested.

Take a photograph from the same angle you can repeat. Note the number and color of leaves, any buds and existing blemishes. This baseline prevents you from mistaking an old mark for a new problem. Keep the label; it carries the exact variety and care requirements that a generic identification app may miss.

Learn when the container needs water

Check the plant daily at first, but do not automatically water it. Put a finger or wooden stick a short distance into the mix, away from the stem, and compare the moisture with the plant’s stated needs. Lift a manageable pot or feel its balance: wet mix is noticeably heavier than dry mix. Combine these signals with the plant’s appearance and recent weather.

When needed, water slowly across the mix until a little drains out. Morning is convenient, but plant need matters more than the clock. Rain may miss an eave, while heat, wind and porous clay speed drying. Cool weather does the opposite.

Do not give small daily sips just to satisfy a reminder; they may wet only the surface. Do not leave most plants in a full saucer either. Clear blocked holes and adjust the watering decision rather than adding gravel after planting. If you will be away, arrange a real watering test with a helper before the trip.

Many potting mixes already contain nutrients. Read the bag and plant label before adding fertilizer, then wait for the recommended interval. If feeding becomes appropriate, measure exactly and follow the product label. Extra fertilizer does not create extra health; it can burn roots and wash nutrients into drains and waterways.

Respond to problems without guessing

Inspect the plant twice a week. Look at new growth, stems, both sides of leaves and the mix surface. A yellow leaf is a symptom, not a diagnosis. First check moisture below the surface, drainage, recent heat or cold, wind and whether the site still provides the expected light. Compare with the baseline photo and write down what changed.

Photograph an insect, egg, spot or web and identify it before treating. Many insects are harmless or beneficial, and care problems can resemble disease. Ask a local expert with the plant name, clear images and your log. Clean tools before and after removing affected growth.

Do not buy a pesticide for the starter kit. Correct placement, watering and physical removal often solve early problems. If expert identification later supports a product, check whether it is legal and suitable for that plant, location and edible crop, then follow the entire label and required protective measures. Store all garden products away from children and animals.

Plant decline is information. Check whether roots were waterlogged, the mix became bone dry, or the site was outside the plant’s temperature and light range. Record the likely cause before replacing it with a plant better matched to the same site.

Avoid common mistakes and grow the next step

The expensive beginner mistake is buying many attractive plants before reading the site. The exhausting one is using several tiny pots that dry at different rates. One adequately sized container makes cause and effect visible. Avoid changing light, water, fertilizer and pot size simultaneously; change one factor, note the date and observe.

After two weeks, review how the pot feels when it needs water and how weather changes that interval. After a month of stable growth, add one compatible container or repeat the same plant without assuming both need water together.

Move into the ground only after measuring the site’s sun, learning the local season and testing soil as appropriate for food growing. Start with a small bed rather than clearing a whole yard. Ask local experts about native, climate-ready plants and water restrictions; local knowledge is more reliable than a universal planting calendar.

Use an app to keep dated photos and custom reminders, not to outsource the decision. When its alert appears, inspect the mix and weather first and record what you actually did. A garden develops through that feedback loop: observe, act once, record and return.