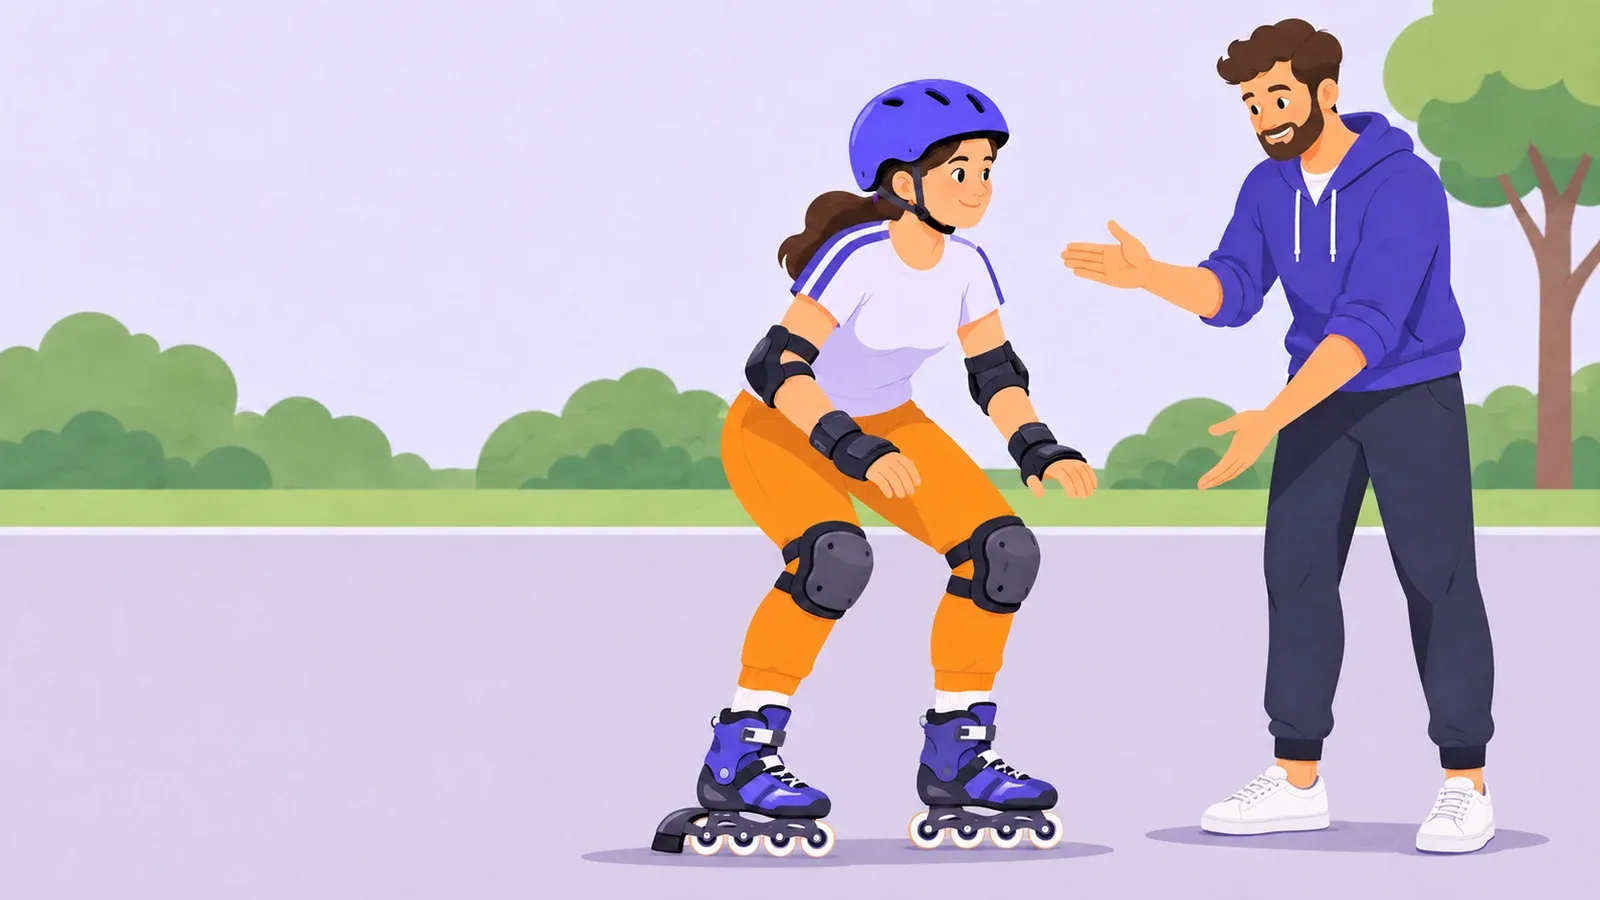
Inline skating: practise your first glide and stop
- Cost to start
- US$50–150 planning budget
- Difficulty
- Beginner
- First result
- 45–60 minutes
For a lesson and hired gear; confirm local prices and inclusions
Balance and braking need patient practice
A coached attempt at short glides and heel-brake stops
Start inline skating with fitted protective gear, a beginner lesson and short glides on a level practice area, learning to stop before adding distance.
What you need to know
-
A beginner instructor
Arrange a lesson for complete beginners. Ask whether it covers inline skates with a heel brake, equipment hire and a suitable practice venue.
-
Fitted recreational inline skates
Use skates with secure fastenings and a working heel brake. Your heel should stay in place inside the boot without pressure pain.
-
Helmet and protective pads
Wear a fitted skating helmet, wrist guards, knee pads and elbow pads. Ask the instructor to check that they stay in place.
-
A clear practice area
Use a permitted, smooth, level, dry paved space away from traffic and obstacles. Bring water and socks that reach above the skate cuffs.
Inline skates have wheels in one row. For the first lesson, aim for a short glide that ends with a coached heel-brake stop.
Get steady before rolling
Use the ICP instructor directory to find a beginner teacher. Confirm that the lesson uses inline skates with heel brakes, and ask what the fee includes. The US$50–150 figure is a suggested allowance for a lesson with hired gear; buying your own equipment may cost more.
Put on the helmet and pads before the skates. Have the instructor check the boot fit, fastenings, wheels and brake; refit anything loose or painful. The AAOS fit and safety guide explains the gear and surface hazards. Follow the instructor’s demonstration of balance, falling and getting up before you roll. Stand with knees bent and feet about hip-width apart. Pads reduce harm from a fall but cannot prevent every injury.
Glide a little, then stop
On the clear, level area, copy the instructor’s small V-shaped steps. Bring your skates parallel for a very short glide. First practise the brake position without rolling: move the skate with the heel brake slightly ahead, bend the supporting knee and lift the front toes enough to touch the brake pad to the ground.
Now try a slow glide and apply the brake gradually as the instructor shows you. Repeat a few short roll-and-stop attempts, resting between them. If you lean backward, gather speed or miss the stop, shorten the glide and return to supported or stationary practice. Keep the heel brake fitted. The US CPSC Skate Safely guide (PDF) explains the basic brake action and safe practice conditions.
Pause if you feel tired, feel pain or lose control, and tell the instructor. Keep this session away from roads, slopes, crowded paths and wet surfaces, and leave headphones off. Next time, repeat the short stopping practice. Add gentle turns and distance with instruction once you can stop reliably.

Find instruction and check equipment
- Inline Certification Program instructor directorySearch by location for an instructor who can teach a first inline-skating lesson.
- AAOS: inline-skating injury preventionCheck boot fit, protective gear and common surface hazards using US orthopaedic guidance.
- CPSC Skate Safely guide (PDF)Review the heel-brake principle and suitable practice conditions in this US safety guide.