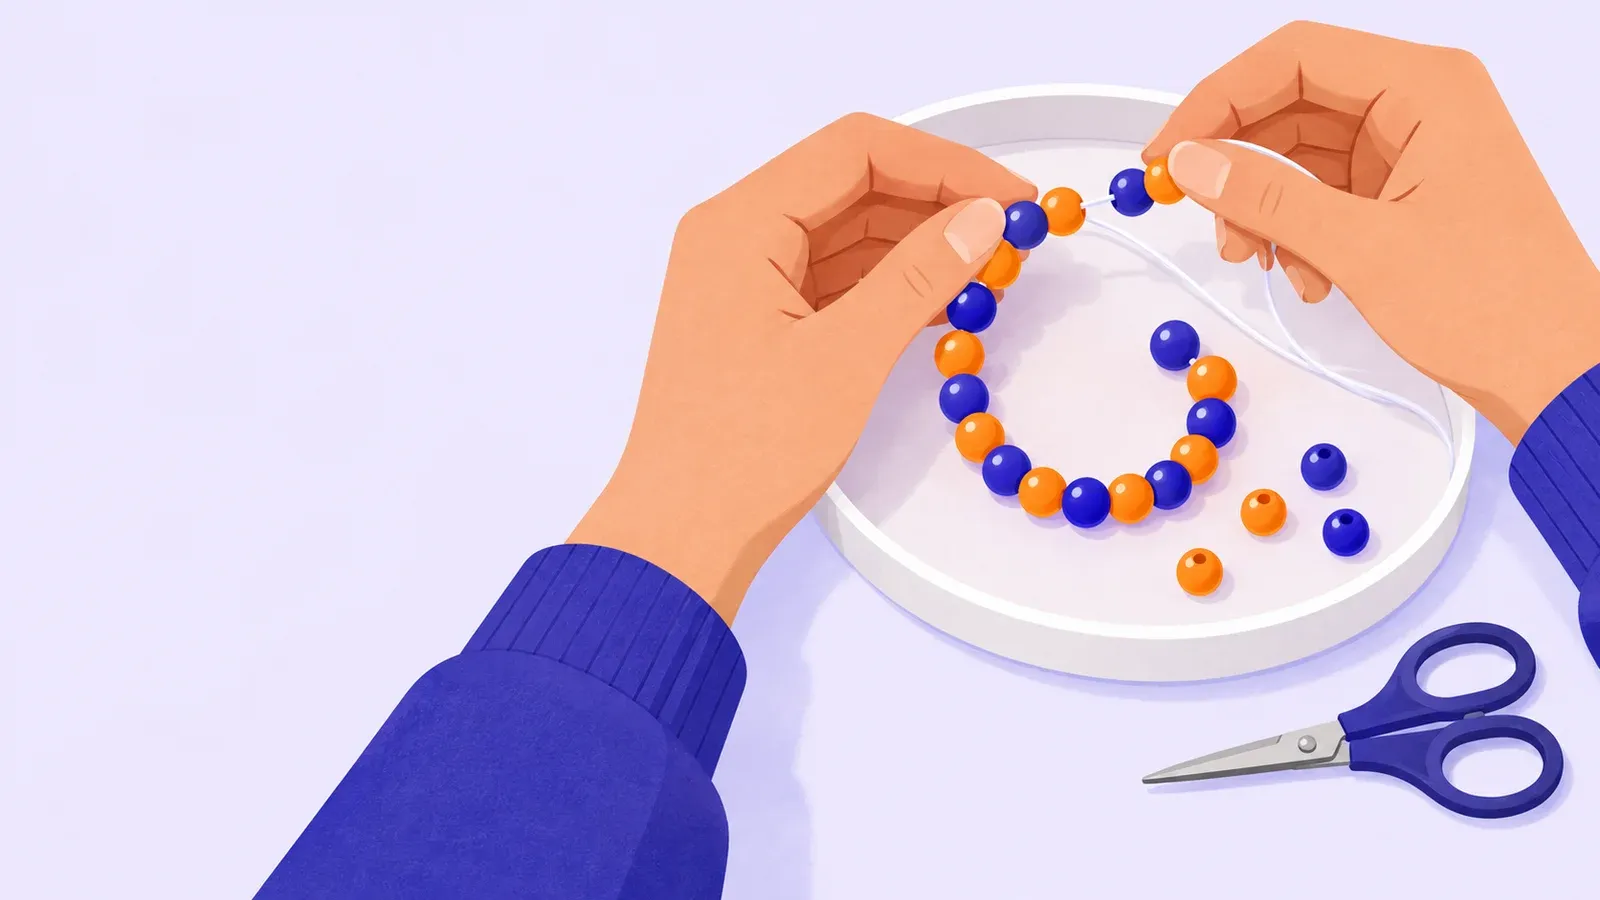
How to start jewelry making with a stretch bracelet
- Cost to start
- Plan up to US$25
- Difficulty
- Beginner
- First result
- 30-60 minutes plus curing
Supply budget for beads, cord, and compatible adhesive; reuse tools
Threading is simple; practice the knot before using your beads
One bracelet, ready to wear after the adhesive fully cures
Make a simple beaded bracelet, check its fit before tying, and learn how to secure and test the cord without buying a full jewelry toolkit.
What you need to know
-
Match beads and elastic
Choose smooth, lightweight beads and jewelry stretch cord that passes easily through their holes; test one bead before buying a large pack.
-
Prepare a contained workspace
A shallow tray lined with a cloth keeps beads from rolling away. Add scissors, a ruler, and tape to hold the cord end.
-
Read the cord's finishing directions
Use its recommended knot and compatible jewelry adhesive, following the adhesive label for ventilation and curing time.
-
Keep small parts out of reach
Store loose beads and cut cord away from young children and pets; this first project is an adult bracelet.
Bead stringing suits anyone who enjoys arranging colors and working with small parts. A single stretch bracelet gives you a wearable first project without metalworking tools. Pick two bead colors and repeat a short pattern you can check at a glance.
String it and check the fit
Lay out your pattern in the tray. Cut about 45 cm of cord so you have generous ends to hold. Prepare or pre-stretch it as the cord manufacturer directs, then tape one end to stop beads sliding off.
Thread the pattern slowly. Set aside beads with chipped or rough holes. If threading needs force, choose thinner suitable cord or larger holes.
Bring the ends together around your wrist without stretching the elastic. Add or remove beads until the loop sits comfortably. Bead size affects the inside space, so measuring the flat strand alone is not enough. Keep hold of both ends while checking.
Secure the ends
Practice on spare cord first. In the Beadaholique bracelet demonstration, the ends cross and loop under, then cross again with an extra pass through the second loop before tightening. Follow the knot recommended for your particular cord, using the demonstration to see how the strands move.
Bring the beads together without stretching the bracelet tight. If the knot slips when gently pulled, retie it before adding adhesive. Apply only the small amount recommended for your materials. Leave the tails long during the full curing period, then trim according to the cord instructions. Avoid cutting flush against the knot.
Test before wearing
Over the tray, gently stretch the finished bracelet enough to pass over your hand. A moving knot, damaged elastic, or bunching beads means it needs repair. Resize an overly tight bracelet instead of forcing it on.
Roll it over your hand when putting it on, and remove it before swimming or showering. For the next bracelet, change just the color pattern or bead size so you can compare the result and fit.

