Skip to content
How to start
Menu
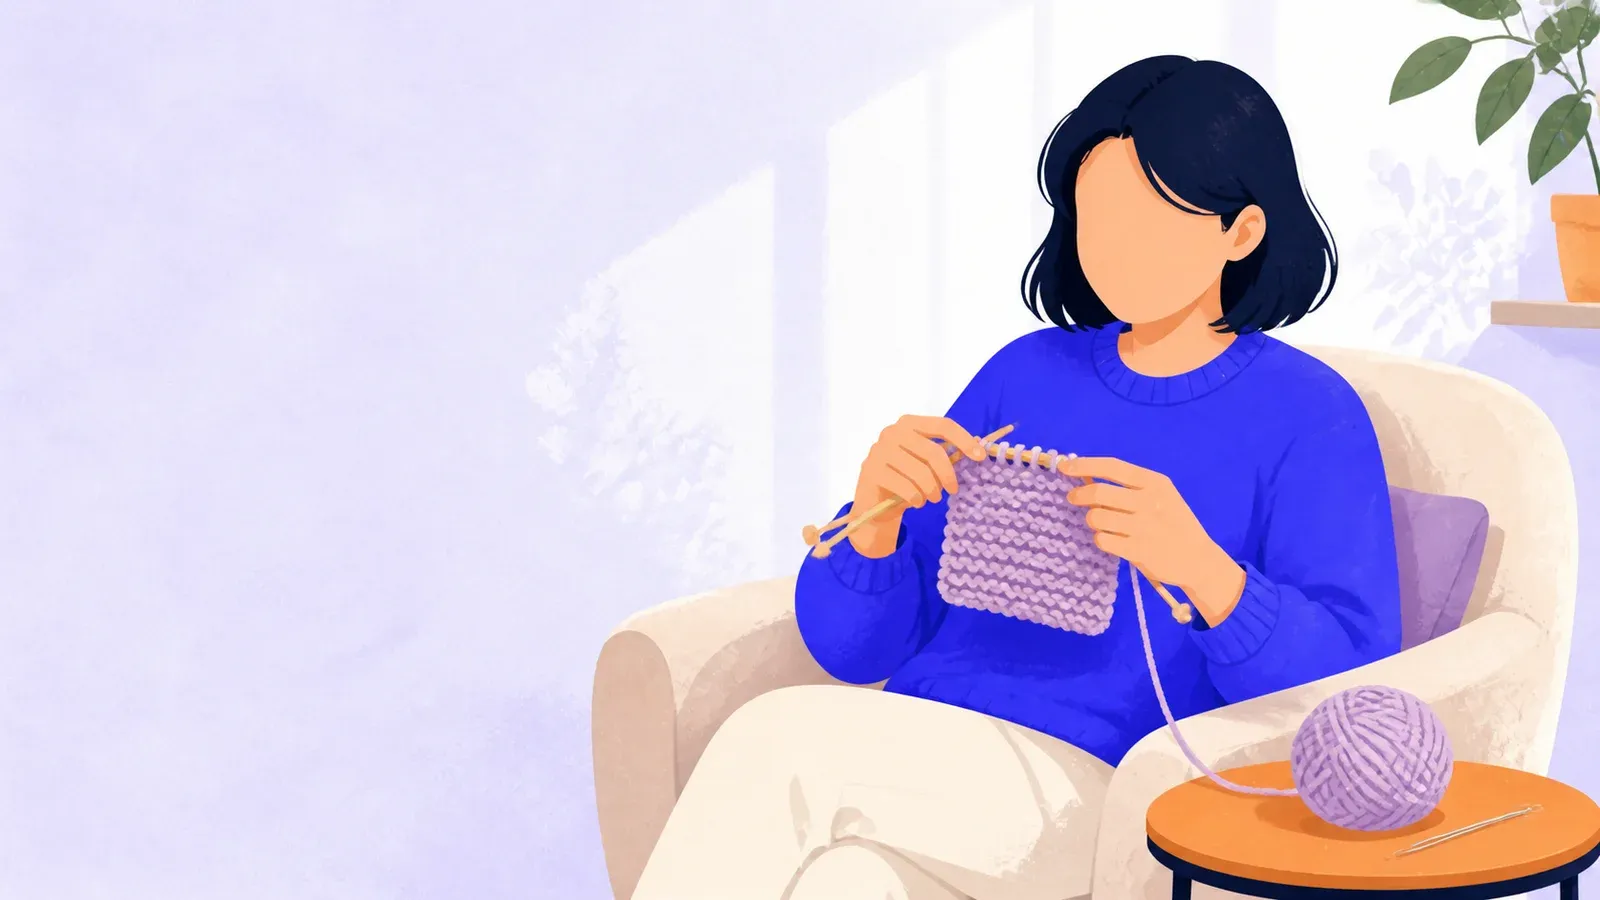
Hands knitting a small purple garter-stitch square with light-colored yarn

Indoor hobbies

How to start knitting with one small garter-stitch square

By István Vigh
Cost to start
~$20-35

Yarn, 5 mm needles, tapestry needle

Difficulty
Beginner

Repeat one stitch every row

First result
2-3 hours

A bound-off practice square

Choose friendly yarn and needles, learn the knit stitch, recognize common mistakes, and finish a compact first project without chasing perfect tension.

What you need to know

  1. Start with smooth, light-colored yarn

    Medium-weight yarn makes each loop visible. Avoid fuzzy, very dark or novelty yarn until you can recognize a stitch and repair it.

  2. Match 5 mm needles to the yarn

    Check the label's suggested range. Bamboo or wood offers useful grip; straight or circular needles can both work back and forth.

  3. Knit every row for the first square

    Eighteen stitches of garter stitch teach the complete cycle—cast on, knit, turn, count, bind off and finish the ends.

  4. Count stitches at the end of every row

    Keeping the same count catches an accidental increase, decrease or dropped loop while it is still close enough to inspect.

  5. Keep hands relaxed and take breaks

    Let the needle shafts size the loops instead of pulling the yarn tight. Pause if your hands tire, and stop if you feel pain or numbness.

Knitting makes fabric by drawing loops of yarn through other loops. Finished sweaters and patterned socks can make that mechanism look complicated, but the first useful lesson is only one stitch repeated across a row. Once you can form that stitch, turn the work and keep the loops on the needles, you already understand the engine behind the craft.

Make a small garter-stitch square for your first project. It is short enough to finish before uneven tension becomes exhausting, and every row uses the knit stitch. Treat it as a record of learning rather than a test piece: the early rows will probably look different from the last ones.

Choose yarn and needles that let you see

Look for one ball of smooth, light-colored medium-weight yarn, marked 4 or Medium in the Craft Yarn Council system. A basic wool or wool blend has some elasticity and grip. Acrylic is a practical alternative, especially if wool irritates you; cotton is useful but less springy and can be harder on a tense beginner’s hands. Check the fiber and care label for allergies, washing and intended use.

Pair it with 5 mm (US 8) needles, or a nearby size suggested on the yarn label. Wood or bamboo needles hold the loops more securely than a very slick metal pair. Two straight needles work, but a circular needle with two tips joined by a cable can also be used back and forth.

Add small scissors, a blunt tapestry needle and an optional removable stitch marker. Store needle points, closed scissors and loose yarn away from children and pets, preferably in a closed project bag.

Skip chenille, eyelash yarn, loosely spun singles and dark colors for now. They make it difficult to see which loop belongs to which row. Very fine yarn makes progress slow; extremely bulky yarn can hide the structure you are trying to learn.

Cast on eighteen visible loops

A stitch is a live loop held on a needle. A row is one trip across all the live stitches. The yarn attached to the ball is the working yarn; the short free end is the tail. Learning these four terms prevents much confusion in videos and patterns.

Use the knitted cast-on because its repeated motion resembles the knit stitch:

  1. Make a slip knot, place it on the left needle and count it as stitch one.
  2. Insert the right needle into that loop from front to back.
  3. Wrap the working yarn counterclockwise around the right needle at the back.
  4. Draw the new loop through to the front, then place that loop onto the left needle.
  5. Repeat through the newest loop until the left needle holds 18 stitches.

Keep each new loop on the full-width shaft, not tightened around the tapered tip. The needle determines stitch size; yanking the yarn only makes the next row hard to enter. Leave a tail about 15 cm (6 in) long for finishing.

Long-tail cast-on is popular, but it adds yarn estimation and a different hand motion. One reliable cast-on is enough for this square.

Knit every row and count before turning

Hold the loaded needle in your left hand and the empty needle in your right. The working yarn should come from the last cast-on stitch near the left needle tip. For a standard knit stitch:

  1. Insert the right needle through the front of the first loop, moving front to back so the needle tips cross.
  2. Wrap the working yarn counterclockwise around the right needle behind the work.
  3. Use the right tip to draw that wrapped yarn through the old loop.
  4. Let the old loop slide off the left needle; keep the new loop on the right.

Repeat until the left needle is empty. That is one row. Turn the work by moving the full needle to your left hand and the empty needle to your right, without flipping the fabric over an edge. Count the loops: there should still be 18. Knitting every row creates the horizontal ridges of garter stitch, a fabric that normally lies flat.

English and Continental knitters hold the yarn in different hands but make the same structure. Follow one demonstration long enough to learn its sequence, then experiment if another grip looks more comfortable.

Aim for relaxed, repeatable motions rather than speed. Rest your forearms, lower your shoulders and take a short break every 20–30 minutes. Change position and gently open your hands. Ordinary awkwardness is expected, but pain, tingling or numbness is a signal to stop rather than knit through it.

Read mistakes before trying to erase them

Your stitch count is an early warning system. Nineteen loops often means the yarn passed over a needle and created an accidental yarn-over, or the first stitch was pulled so far backward that both of its legs looked like separate stitches. Seventeen may mean a loop dropped or two stitches were knitted together. Compare the last correct-looking row with the newest one before continuing.

If a live loop falls, stop and place a removable marker through it so it cannot run farther down. A crochet hook can rebuild a dropped column, but securing the loop and asking an experienced knitter for help is a sound first repair. Do not pull the fabric to see what happens.

To undo one stitch, tink—“knit” backward—by inserting the left needle into the old stitch immediately below the new one before sliding the new loop off. Work slowly so another stitch does not drop. Pulling the needle out and unraveling many rows is called frogging. For a first square, restarting is sometimes faster and teaches the cast-on again; it is not failure.

Uneven loops are not an error to fix individually. Tension settles as your hands learn the motion, and washing can even the fabric further. Avoid compensating by tugging every stitch tight. If stitches will not slide along the needle shaft, relax the working yarn and make the next few loops without pulling.

Bind off and finish the square

Continue until the piece is roughly square or you have knitted about 30–36 rows. The exact number depends on your yarn and tension. End after completing a row, with all stitches ready on the left needle.

Knit two stitches. Insert the left needle into the first stitch on the right needle, lift it over the second stitch and off the tip. Knit one more stitch and again lift the older stitch over the newer one. Repeat until one loop remains. Cut the yarn, leaving a 15 cm tail, pull the tail through that last loop and snug it gently. A tight bind-off can pinch the top edge, so keep those loops as relaxed as the rest of the fabric.

Thread each tail through the tapestry needle. Weave it back and forth through several nearby ridges on the wrong side, change direction once, then trim the excess. Follow the yarn label when washing. Many fibers can be gently soaked, pressed in a towel without wringing and laid flat to dry, but heat and agitation affect fibers differently. Never use an acrylic practice square as a potholder or hot-pan protector.

Look at the result before hiding it in a drawer. Are there still 18 columns? Did the sides widen, narrow or acquire loops? Which grip felt easiest? Write that down with the yarn and needle size. This turns a quirky square into useful evidence for the next project.

Learn purl, gauge and one short pattern next

Repeat the square if the motions still require full concentration. Otherwise, learn the purl stitch and make a second sampler with alternating knit and purl rows. That produces stockinette, whose smooth face makes stitch anatomy clear but whose unsupported edges naturally curl. Add a garter border when you want it to lie flatter.

Patterns abbreviate common instructions: CO means cast on, k knit, p purl, sts stitches and BO bind off. Read the entire pattern, circle the size you are making and confirm that you have enough yarn before starting. A phone counter is optional; marks on paper work just as well.

Gauge is the number of stitches and rows in a measured area. It barely matters for this square, but it determines whether a hat or sweater fits. For a sized project, make a swatch larger than the pattern’s measuring area using the specified stitch, yarn and needles, wash it as the finished item will be washed, then measure the center. Change needle size when your stitch count does not match.

A plain cotton dishcloth is a compact next project once your hands are relaxed. After that, choose one beginner pattern from a learn-to-knit collection and add only one or two new skills—perhaps purling and ribbing for a hat. Finishing small pieces builds better judgment than buying yarn for an advanced sweater before you know the required techniques.

Turn this into income