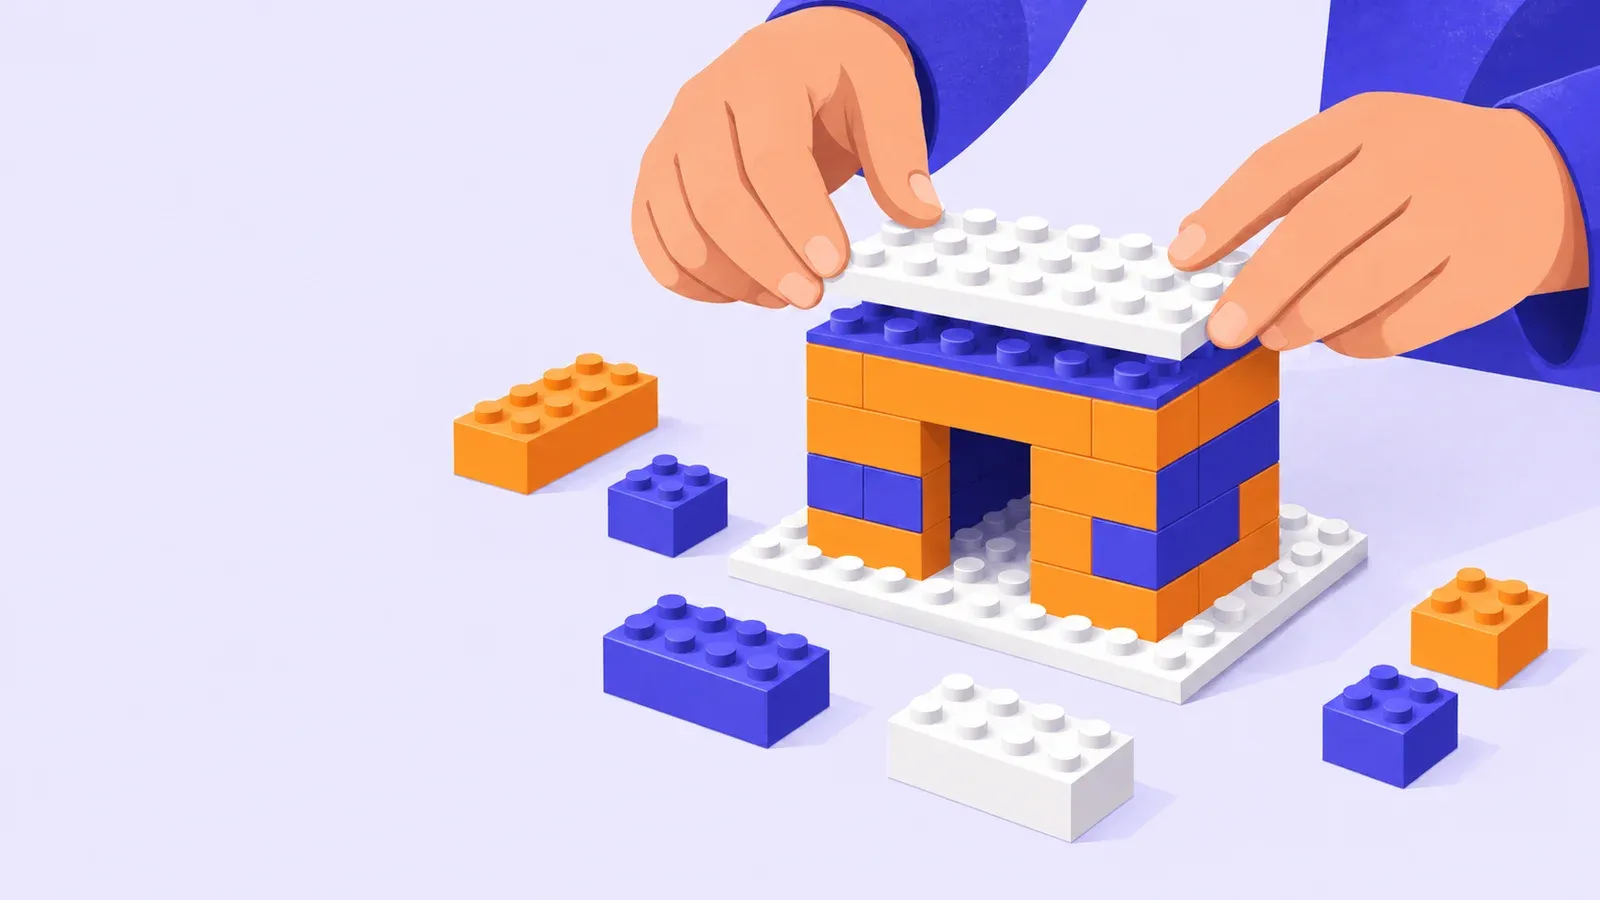
How to start LEGO building with a small brick house
- Cost to start
- $0 with borrowed bricks
- Difficulty
- Easy
- First result
- 30-60 minutes
Use an existing collection; check parts before buying anything
Basic stud connections and a small, adjustable design
A tiny house with a doorway, flat roof, and stronger wall joints
Turn a handful of LEGO bricks into a small house, learn to overlap wall joints, and rebuild weak spots using pieces you already have.
What you need to know
-
Gather ordinary bricks and plates
Find a handful of rectangular bricks, a base plate, and flat plates for a roof; colors can be mixed and special doors are optional.
-
Sort by shape
Separate bricks from thinner plates in shallow trays so you can compare lengths without searching the whole collection.
-
Clear a firm building surface
Work on a table with enough room to press pieces together and store loose parts away from young children and pets.
-
Have a way to undo mistakes
Borrow a brick separator for tightly joined pieces; avoid using teeth or knives to prise them apart.
LEGO building suits short sessions of assembling, testing, and changing a model. Start with a tiny house that fits in your palm. Mixed colors work fine; the first goal is a structure you can pick up without the walls separating.
Make the walls fit your pieces
Choose a base around eight studs square, or adapt the footprint to your available plates. Studs are the round bumps on top. Lay out a rectangular wall outline on the base, leaving a gap about two studs wide for a doorway.
Before stacking higher, check that your roof plates can span the walls. Make the house narrower if necessary. A door opening is enough; you do not need a hinged door or window pieces.
Add another layer of bricks. Offset the joins so an upper brick connects two lower bricks wherever possible. At corners, alternate which wall extends to the outer edge. This ties the walls together instead of leaving separate towers.
Press each layer down evenly while supporting the base. Build the walls three or four bricks high, keeping the doorway open.
Add a roof and test the weak spots
Place a long brick across the top of the doorway, with support at both ends. Attach roof plates across the walls. Where two roof plates meet, a small plate on top can connect them. Keep the roof light for this first build.
Lift the house by its base and gently nudge a wall. If it separates along a vertical seam, rebuild that area with overlapping bricks. If a part will not sit flat, remove it and check the stud alignment and pieces underneath before pressing again.
Use the official separator guide when pieces are difficult to remove.
Rebuild one feature
Photograph the finished house, then try a wider doorway or a taller wall. Notice which connections need to change. If you prefer following steps, pick a small model from the Classic instructions and compare its parts list with your collection before committing to the build.

Official building and rebuilding help
- LEGO Classic free building instructionsChoose a small model and check which pieces it requires before starting.
- LEGO building instruction searchFind the instructions for an existing set by its name or set number.
- How to use a LEGO brick separatorFollow the manufacturer's demonstrations for removing bricks, plates, and tiles.
