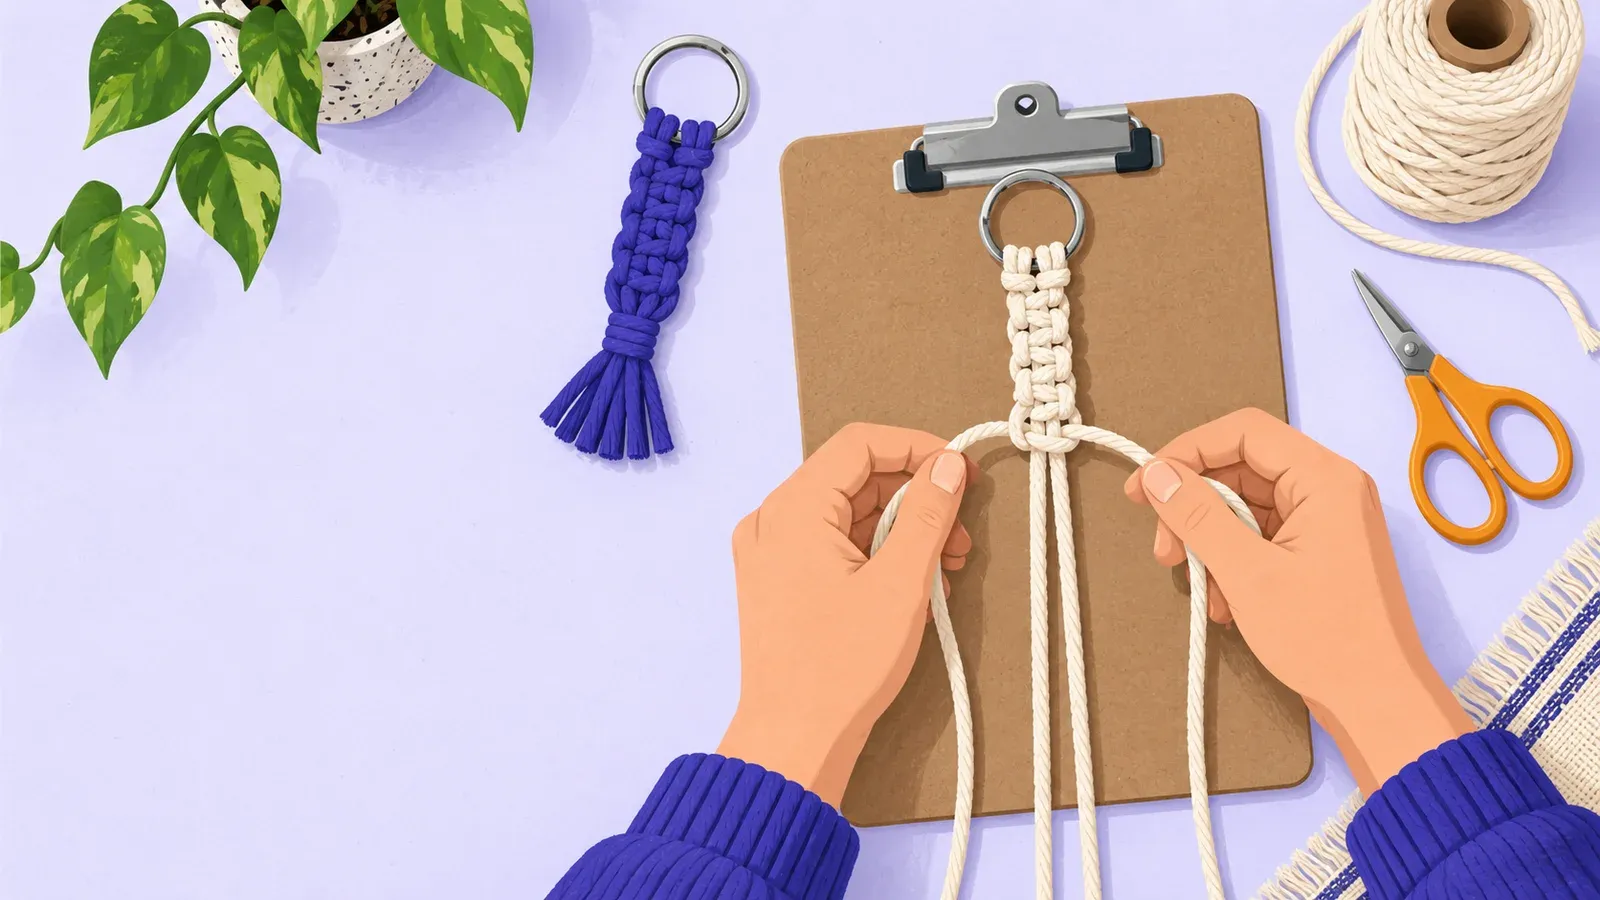
How to start macramé with a small knotted key fob
- Cost to start
- A small roll of cotton cord
- Difficulty
- Beginner
- First result
- 30-45 minutes
Reuse a ring, scissors, and an anchor; beads and dowels are optional
Two mirrored movements make each square knot; work slowly
A short key fob with four square knots and a trimmed fringe
Use two lengths of cotton cord to practice mounting and square knots, make a small key fob, and learn how to correct twisting or uneven tension.
What you need to know
-
Start with plain cotton cord
Cut two one-meter lengths of roughly 3 mm macramé cord; a light color makes the crossings easier to see.
-
Reuse a metal key ring
A spare ring is enough for this small practice piece; remove any keys before attaching the cords.
-
Anchor the work
Hold the ring with a clipboard or tape it to a protected table so it stays still while you pull the cords.
-
Measure and trim
Use a ruler or measuring tape and scissors; leave trimming until the knots are finished.
Macramé suits people who enjoy repeated hand movements. A key fob teaches knots used in larger patterns.
Mount two cords on the ring
Fold one cord in half. Pass the folded loop through the ring, then feed both loose ends through that loop. Pull gently to secure a lark’s head knot. Repeat with the second cord and align the four hanging strands.
The middle two strands are fillers. Keep them straight; the outer strands do the knotting.
Tie four complete square knots
For the first half, take the left outer cord over both fillers and under the right outer cord, leaving a loop on the left. Bring the right cord under both fillers and up through that left loop. Pull both working ends evenly toward the ring.
Mirror the movement: take the right outer cord over the fillers and under the left cord, leaving a loop on the right. Bring the left cord under the fillers and up through that right loop. Tighten evenly. Those two halves make one square knot.
Repeat the paired movements until you have four square knots. Keep each knot snug against the previous one. Compare your crossings with the photos or video if a cord’s route is unclear.
Finish and fix common problems
Gather all four ends below the last square knot. Tie a simple overhand knot by making a loop with the bundle and passing its ends through. Tighten it, then trim the ends into a fringe about 3-4 cm long. Check the mounting and finishing knots with a gentle tug.
If the strip spirals, you probably repeated the same half instead of alternating sides. Loosen the latest half and retie its mirror. If a knot looks lopsided, loosen it and pull both outer cords evenly; pulling one much harder shifts the center.
Make a second fob with a different color or six square knots. Once the sequence feels familiar, follow a small coaster pattern to learn how neighboring cords join together.

See how the cords cross
- Sarah Maker's beginner macramé guideFollow photographed instructions for mounting cords, square knots, spirals, and finishing knots.
- Gathered's basic macramé knotsCompare the left and right halves in step-by-step photos when a square knot starts to twist.
- BOCHIKNOT's three essential knotsWatch slow demonstrations of lark's head, square, and double half hitch knots, starting at the listed timestamps.
