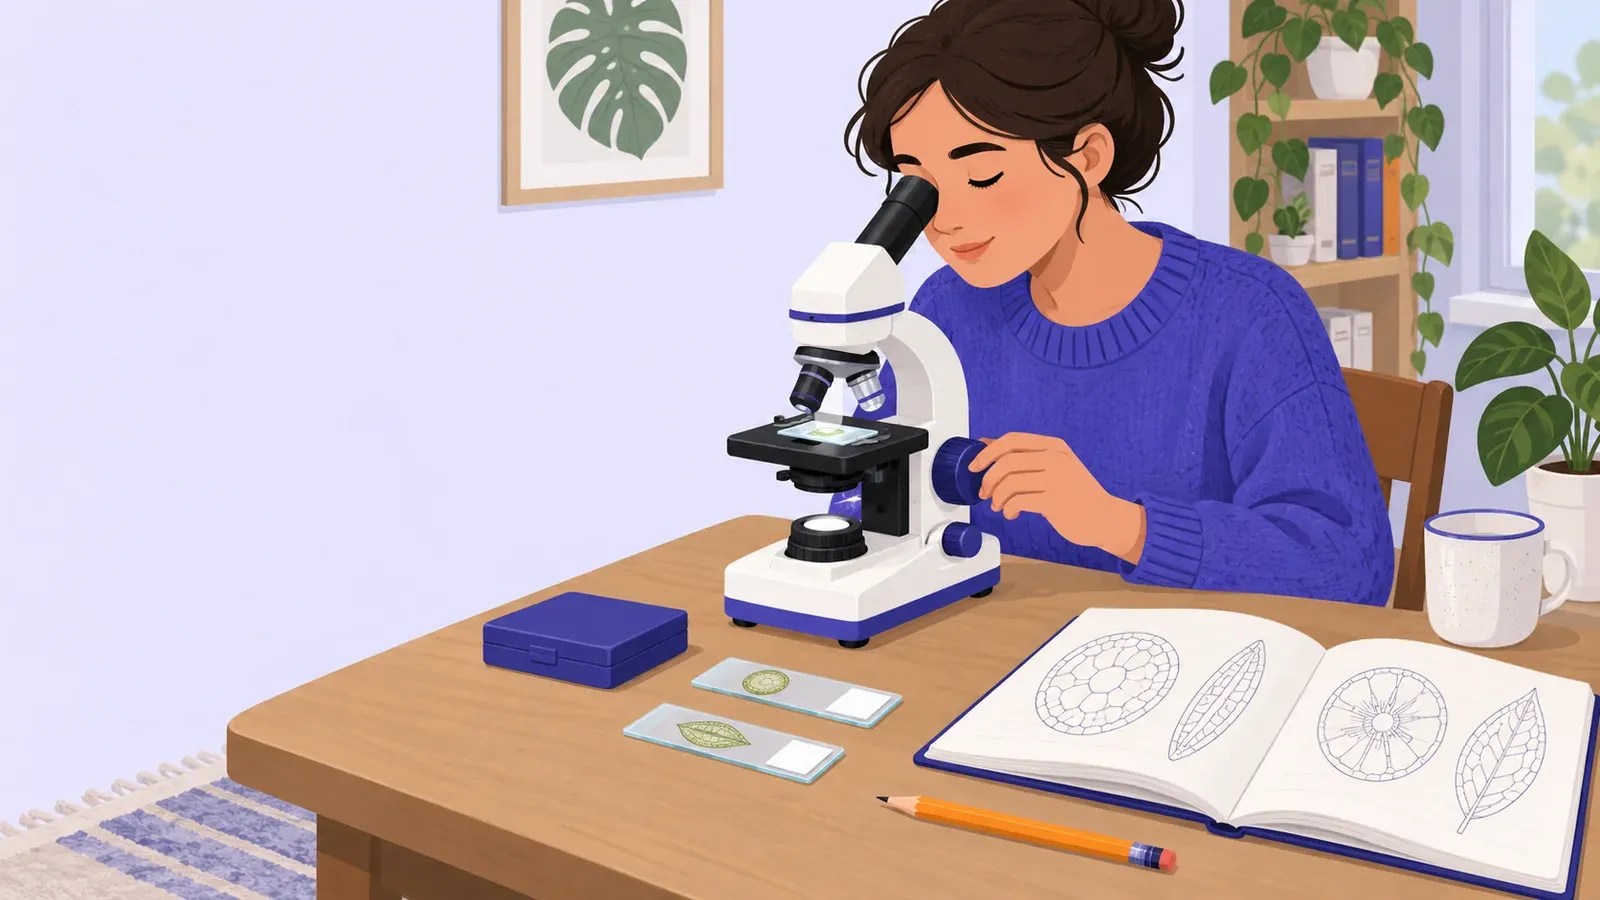
How to start microscopy with prepared plant slides
- Cost to start
- Borrow a microscope and slides
- Difficulty
- Beginner
- First result
- 45-60 minutes
Buying a microscope is a separate cost; try borrowed equipment first
Learning focus and illumination takes a little practice
Two slide observations and a low-to-higher-power comparison
Borrow a compound microscope, focus on a prepared plant slide at low power, and compare two magnifications while keeping a simple observation record.
What you need to know
-
Borrow the right microscope
Use a compound light microscope with 4× and 10× objectives, a 10× eyepiece, and coarse and fine focus controls; ask for its manual.
-
Choose two prepared plant slides
Pick labeled slides with visible specimens, such as thin stem sections; handle glass by the edges and leave coverslips attached.
-
Set up a steady workspace
Use a firm table, suitable power supply, and comfortable chair; ask the owner how to carry and operate the instrument.
-
Record what you see
Paper and pencil are enough for sketches, slide names, and lens settings; a camera adapter is optional.
Microscopy reveals small patterns. Prepared slides let you learn the instrument before preparing samples, using light passing through thin plant material.
Find and focus the specimen
Identify the eyepiece, objective turret, stage, light control, and both focus knobs using the manual. Put the 4× objective into position and create enough clearance to load a slide.
Place the slide label and coverslip upward. Secure it with the holder and center the visible specimen over the stage opening. Turn on the light at a comfortable brightness.
Follow the manual’s starting-focus position while watching the lens and slide from the side; never let them touch. Look through the eyepiece and slowly adjust coarse focus to move them farther apart until an image appears. Refine with fine focus.
Move the slide slightly; the image travels in the opposite direction. Scan an area, then center a feature before changing objectives.
Compare the same area at two powers
Total magnification is eyepiece power multiplied by objective power: a 10× eyepiece and 4× objective give 40×.
Sketch the broad pattern at 40×. Rotate the 10× objective into place without disturbing the focused slide, then use fine focus only. You now have 100× total magnification and a smaller field of view. Sketch the centered feature again.
Describe outlines, repeating shapes, and colored areas before assigning names. Prepared slides may be stained; their colors need not match a living plant. Record the slide label and lens settings alongside each drawing.
If you lose the specimen, return to 4×, recenter, and refocus. If the view is dark or washed out, check the light and adjust the aperture diaphragm according to the manual. More magnification will not repair poor focus or illumination.
Repeat and put the equipment away
Repeat with the second slide and note one difference. Finish by selecting the lowest objective, creating slide clearance, removing the slide, and switching off. Return slides to their box; clean optics only as the owner or manual directs.
Next, compare more prepared specimens or attend a microscopy session before making slides.

Learn the controls and first observations
- Microbehunter's first-use guideFollow a microscopy educator's sequence for choosing a visible specimen, focusing, and recovering a lost image.
- Quekett Microscopical Club's compound microscope introductionUnderstand what compound microscopes show and why sample thickness and illumination matter.
- Microbehunter's new-microscope walkthroughWatch demonstrations of microscope parts and first slides, using the timestamps to find the relevant controls.
