How to start scale modeling with a snap-fit kit
- Cost to start
- One kit and any required tools
- Difficulty
- Beginner
- First result
- One assembled section
Check the kit's instructions before buying supplies
Read diagrams and check fit before pressing parts together
Allow 30–60 minutes; a full build may take longer
Choose a simple snap-fit display model, follow its diagrams, and assemble one clean section while learning to identify parts and check their fit.
What you need to know
-
Choose a small car kit
Look for colored snap-fit parts, a manageable parts count and clear instructions. Check whether glue or paint is optional, how parts leave their frames, required tools and age guidance before buying. Keep the kit number.
-
Set up a clear table
Use good light and a shallow tray for small parts. Bring only the tools the kit requires. Keep cutters and small pieces away from young children and pets; follow the tool's warnings and ask for help with unfamiliar cutting work.
-
Read and check the contents
Find the first step and see how the maker labels frames and pieces. Check that the needed parts are present, then leave unused ones attached and identifiable. Contact the supplier if a required part is missing.
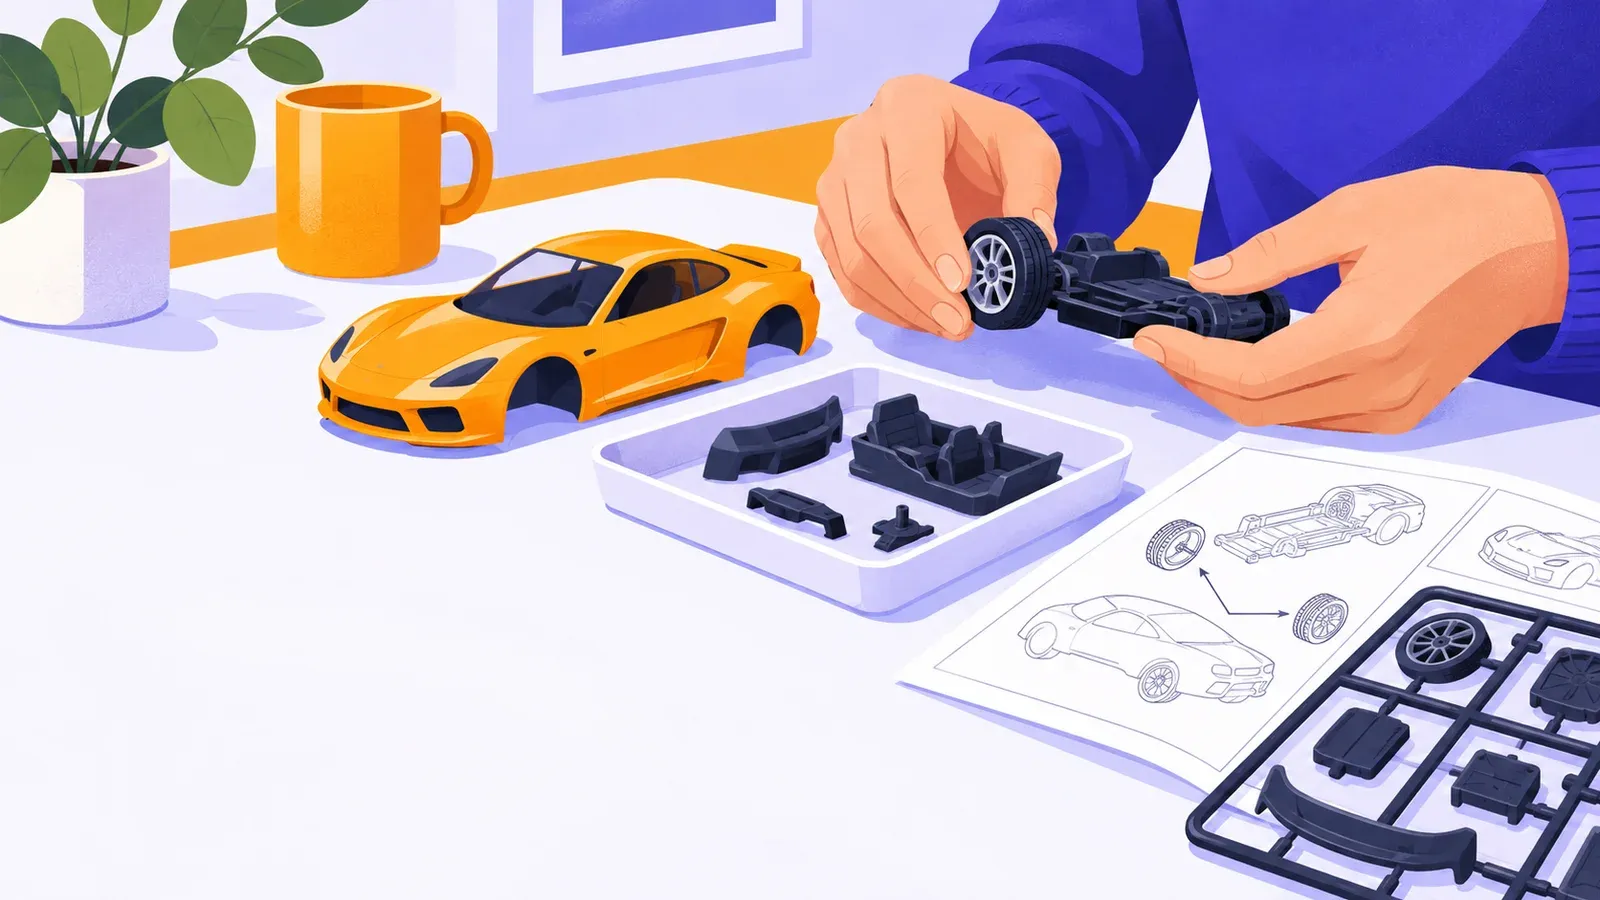
Build a small static display car from purpose-shaped kit parts. Spend 30–60 minutes on one recognizable section; the rest can wait.
Follow the first diagram
Find the part number and shape in the instructions, then locate it on its plastic frame, or runner. Remove only the pieces needed now, using the kit’s method. Snap-fit joints do not guarantee hand-removable parts. If cutters are required and unfamiliar, ask for a demonstration.
Revell’s kit guide distinguishes its colored click-together range from glue-and-paint models. Bandai’s assembly guide shows part labels and orientation on character kits; follow your car kit’s own removal instructions.
Check the fit before pressing
Compare each piece with the drawing, including its left or right orientation and any locating peg. Align it gently, then press close to the joint rather than on a thin mirror or axle. Some snap joints are hard to undo. If a piece will not seat, stop and check its number, direction and any leftover attachment stub. A locating peg belongs on the part; a leftover stub from the frame may obstruct the fit. Do not force the joint or add glue to cover a mistake. Ask for help if it needs cutting or disassembly.
Leave a clear next step
Check your finished section against the drawing before adding another layer. Add supplied stickers only when the instructions call for them; painting can wait. Mark the last completed step and store loose pieces safely. A photo of the section can help you spot progress and explain a problem.
If a fit problem persists, share the kit number, instruction step and a clear photo with the manufacturer or an experienced builder. The r/modelmakers beginner resources and question threads are another place to ask after reading the rules. Continue the same kit next session before buying more tools.

Choose, build and ask
- Revell's kit difficulty guideDistinguish its colored click-together kits from models requiring glue and paint.
- Bandai's illustrated assembly guideSee part frames, instruction-led removal and orientation, including which ranges allow hand removal.
- r/modelmakersRead the beginner resources or ask a specific fit question with the kit number and instruction step.