How to start pottery with a handbuilt pinch pot
- Cost to start
- US$50 example workshop
- Difficulty
- Beginner
- First result
- One studio session
New Jersey listing checked Oct 2026; local quotes vary
A tutor helps with clay handling and the firing process
Shape a pot first; drying, firing and collection come later
Make a small pinch pot in a beginner studio session, learn to shape even walls, and arrange drying and firing before bringing your finished pot home.
What you need to know
-
A coached handbuilding session
Ask the studio whether clay, tools, glazing and firing are included, and when and how work can be collected.
-
The studio's moist ceramic clay
Use its approved clay, a work board and a damp sponge; ask the tutor for a small prepared ball.
-
Clothes for clay work
Wear washable clothes or an apron, keep sleeves clear and follow the studio's footwear and cleanup rules.
Make one small, open pinch pot in a coached studio class. Unlike air-dry modelling clay, this ceramic clay needs studio firing. Leave your shaped pot there; collect it later. Second Fire Studio in New Jersey listed a US$50 pinch-pot session in October 2026, an example rather than a standard price.
Open and pinch the clay
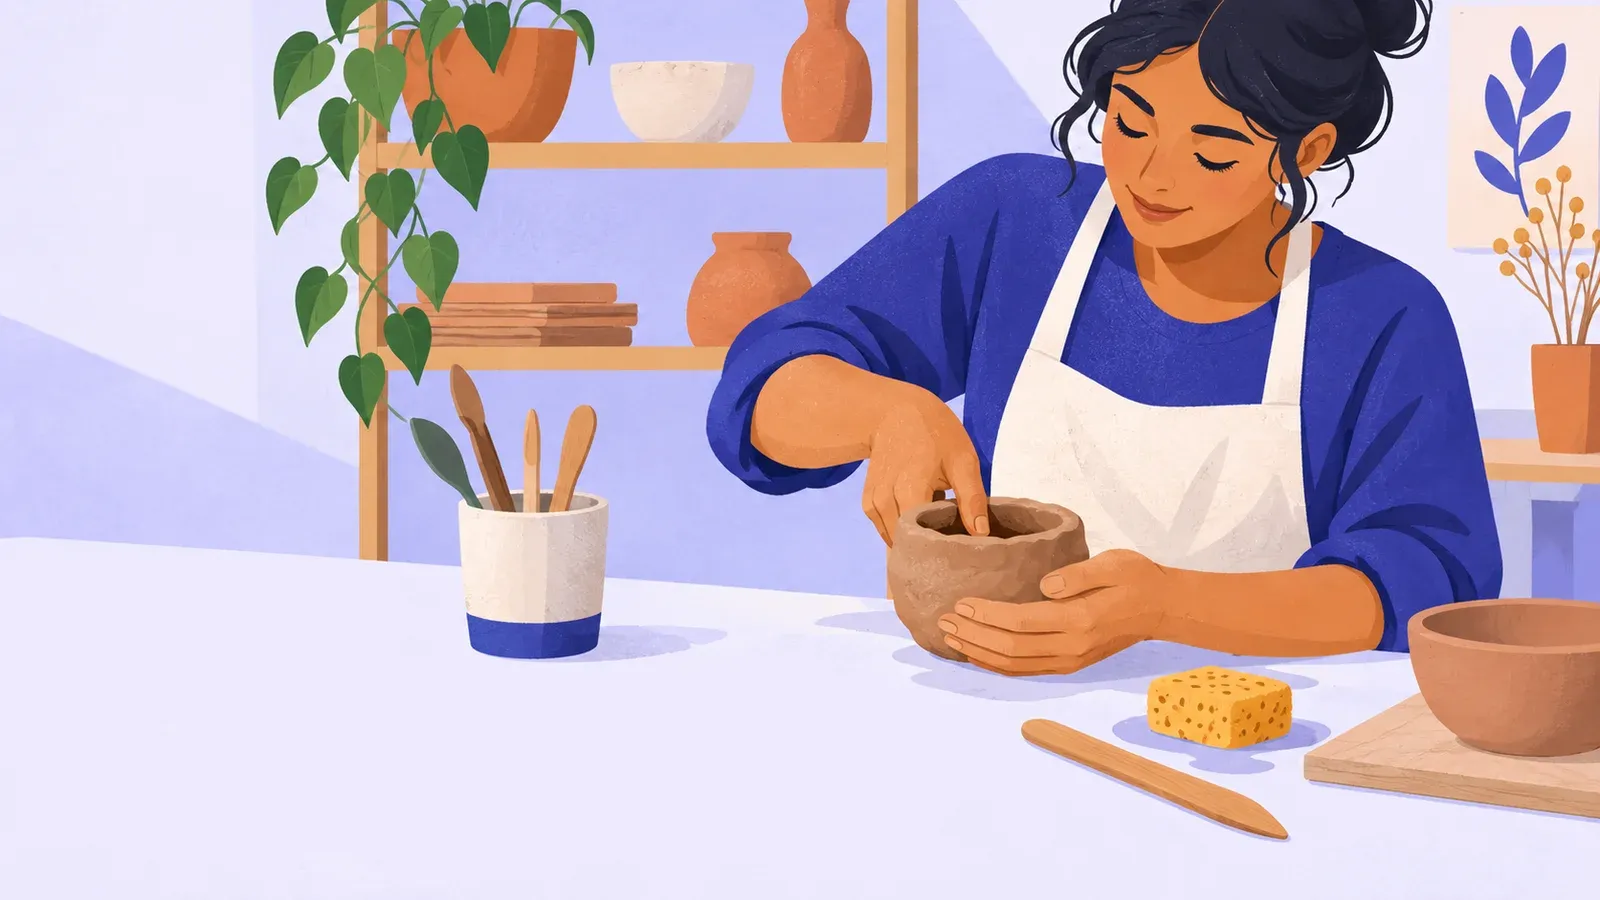
Cup a prepared clay ball about the size of a large egg. Press your thumb into the centre without breaking through the bottom. Pinch gently between the inside thumb and outside fingers. Turn the ball a little, pinch again, and work around its opening. Move up the wall as it widens. Studio 550’s pinch-pot handout shows this rotation. Several light passes help keep the base and walls substantial.
Feel around the wall. Gently thin thicker places, leave thin patches alone, and ask the tutor to show you a suitable thickness. Keep the rim firm. Smooth small cracks with a barely damp finger or sponge. Do not soak it; if the wall slumps or tears, pause and ask the tutor.
Check the shape and leave it for firing
Set the pot on the board and check whether its base rocks. If it does, ask the tutor how to level it while the clay is soft. Have the tutor check the base and rim, then mark and leave it as directed. Confirm whether you must return to glaze it and how you will hear when it is ready. Drying and firing happen later; a piece can still crack or fail.
Wipe clay from tools and the table while it is damp. Princeton’s ceramics guidance favours damp finishing and wet cleanup over sanding or sweeping dry clay. Keep food and drinks out of the work area, wash your hands and follow the studio’s clay-waste instructions rather than tipping slurry into a sink. Leave glaze mixing and kiln operation to the studio.
Treat the pot as decorative unless the studio confirms its materials and firing suit food use. After collection, make a second pot of similar size and compare the two bases and wall thicknesses.

Shape a pot and work safely
- Studio 550 pinch-pot basicsFollow the steps for opening, rotating and thinning a small pinch pot.
- Princeton ceramics safetyRead practical precautions for clay dust, damp cleanup, glazes and kiln work.
- Second Fire handbuilding workshop (US)Compare a New Jersey beginner workshop's format and price with a quote from your local studio.