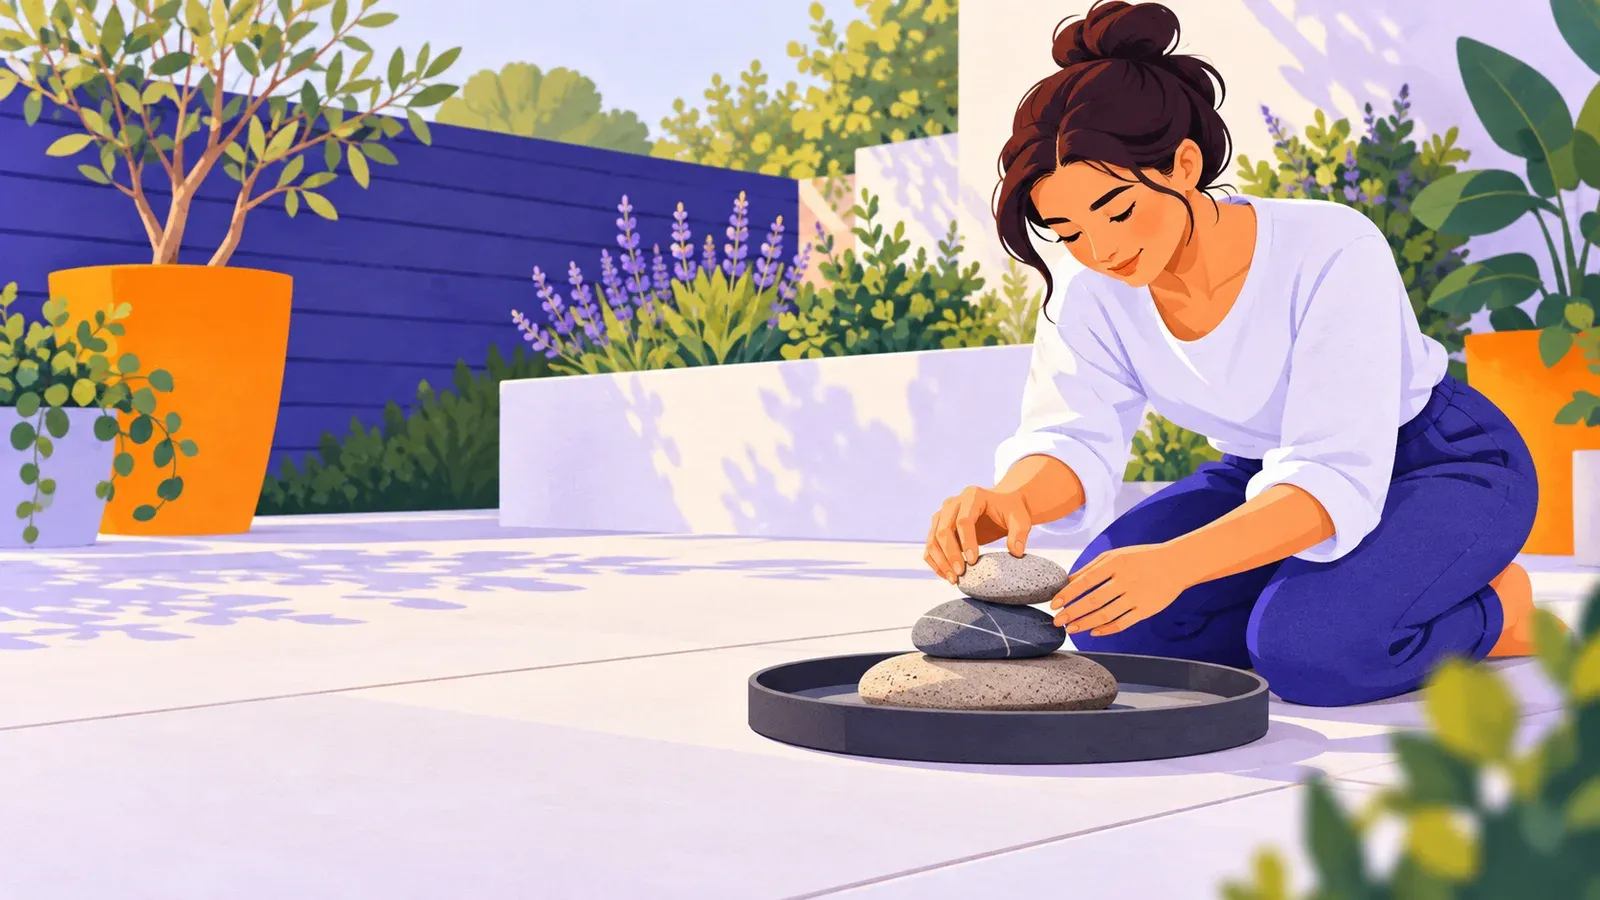
How to start rock balancing with two small stones
- Cost to start
- Free with stones you own
- Difficulty
- Beginner
- First result
- A two-stone balance
Borrow spare stones and reuse a tray; no tools needed
Tiny adjustments and repeated attempts take patience
Allow 20–30 minutes to practise and dismantle
Practise a small, temporary rock balance using stones you own, learn to adjust by touch, and keep wild rocks and trail cairns undisturbed.
What you need to know
-
Choose small stones you may use
Use spare landscaping stones you own or borrow with permission. Pick a broad base that does not rock and one rounded, slightly long stone. Avoid sharp, flaky, heavy or fragile pieces.
-
Set a tray on private level ground
Place a rigid shallow tray at ground level on a permitted private patio, away from doors, paths, pets and small children. Keep the arrangement low and the fall area clear.
-
Allow a short calm-weather session
Wear closed shoes, keep feet outside the tray and supervise children. An existing phone can record the result, but no camera or special tool is needed.
Rock balancing suits people who enjoy patient adjustment. On a private patio, balance one small stone on a stable base in a shallow tray. Take the temporary arrangement down afterward.
Keep wild rocks and cairns undisturbed
Use stones from existing supplies. Moving wild rocks can disturb habitat and soil, as SANParks explains for South African parks. In US national parks, National Park Service guidance says existing trail cairns may mark routes. Leave them untouched; public access does not grant permission to move stones.
Balance one stone on its base
Set the broad base securely in the tray. Find a natural hollow or rough contact for the upper stone’s rounded end. Support it upright, then turn or tilt it a little. Feel which way it wants to fall and adjust the other way. Ease your grip gradually; release when it stands unaided. Peter Juhl’s tutorial demonstrates the technique; use your small patio stones.
If it falls, try another contact or turn the stone. Do not chip a hollow or use glue. Keep fingers out from underneath and let it fall into the clear tray rather than catching it. A few unsupported seconds count.
Repeat and put the stones away
Reset the pair, changing one contact or orientation. Notice which arrangement lets you ease your grip. Stop if your hands tire. A photo records the shape, not its duration.
Take your arrangement down gently from the top and return the stones to their owner or storage. Do not leave it where someone might bump it. Next time, repeat two stones before adding a third.

Balance with care
- Peter Juhl's balancing tutorialLearn small adjustments and gradual release, using your own stones at home.
- National Park Service cairn guidance (US)Understand why existing trail cairns should be left untouched in US parks.
- SANParks on rock-stacking impacts (South Africa)Learn how moving wild rocks can disturb habitats and soil.
