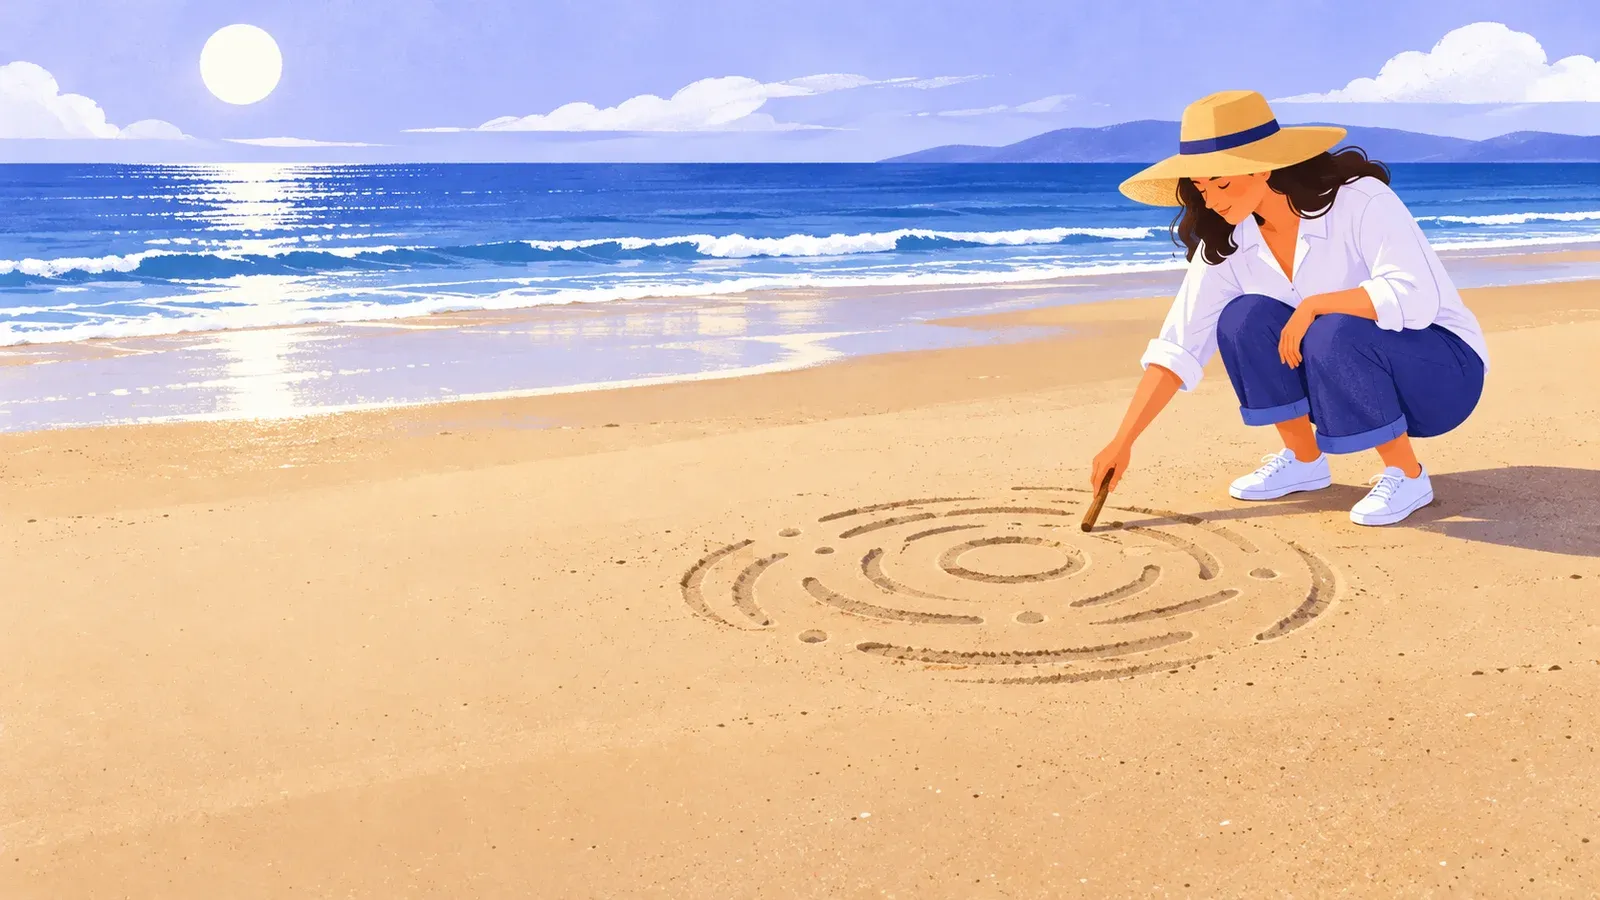
Sand art: draw a first beach pattern
- Cost to start
- US$0 in art supplies
- Difficulty
- Easy
- First result
- 30 minutes
Uses an existing tool; travel, parking or entry may cost extra
Begin with circles and repeated shallow lines
Finish one small temporary pattern
Make a small temporary pattern in damp beach sand, using a blunt tool and a simple design while respecting tides, wildlife and local rules.
What you need to know
-
A permitted beach and tide plan
Check current access rules, wildlife closures, weather and local tide information; choose a broad beach with a clear way out.
-
A blunt drawing tool
Bring an existing wooden spoon handle or similar blunt tool for shallow surface lines, then take it home.
-
Clothing for the conditions
Wear suitable shoes and bring water and sun or weather protection for your visit.
Make a temporary pattern in damp beach sand with shallow lines. This half-hour exercise needs no digging or collected materials. Check that drawing is allowed where you go.
Choose the place before drawing
The RNLI’s UK and Ireland tide guidance explains how rising water can cut off a route around rocks or into a cove. Choose a broad beach with a usable way back. Tide time alone cannot prove your route is safe. If access, ground or your exit is uncertain, choose another place or day.
At the beach, find an already open patch of damp sand away from the water’s active edge and other people’s paths. Stay clear of dunes, plants, birds, nests and visible burrows; leave seaweed and shells where they lie. A U.S. Fish & Wildlife Service example from Washington explains why shorebirds need space to feed and rest. Keep watching the water and your route while you work. Leave early if conditions change.
Make a small pattern
Use the blunt end of your tool to test two or three short lines. Slightly damp sand should hold a shallow mark, as the Thanet coastal activity sheet suggests. If the sand is powdery or waterlogged, look for another permitted open patch; do not move into waves or habitat to find one.
Draw a circle about 40–50 cm across, then a smaller one inside it. Add short curves around the band between them. Work from the outside so your footprints do not cross the design. Keep marks shallow. Vary pressure on one line, then choose a look for the rest. If a line goes astray, smooth that patch with the flat side of your tool and redraw it. An uneven circle is fine.
Look at the finished pattern from its edge and take a photo from safe ground if you want one. Take home the tool and anything else you brought. Leave the sand and natural objects on the beach. On a later visit, try a spiral or change the spacing of the curves.

Plan a beach drawing
- Thanet beach-art activity (UK PDF)Use pages 9–10 for planning shapes and drawing in damp sand while leaving natural objects in place.
- RNLI tide guidance (UK and Ireland)Learn why tide checks and an open route back matter even when you stay on the beach.
- Shorebird space guidance (U.S.)Read a Washington coast example of why resting and feeding birds need undisturbed beach space.