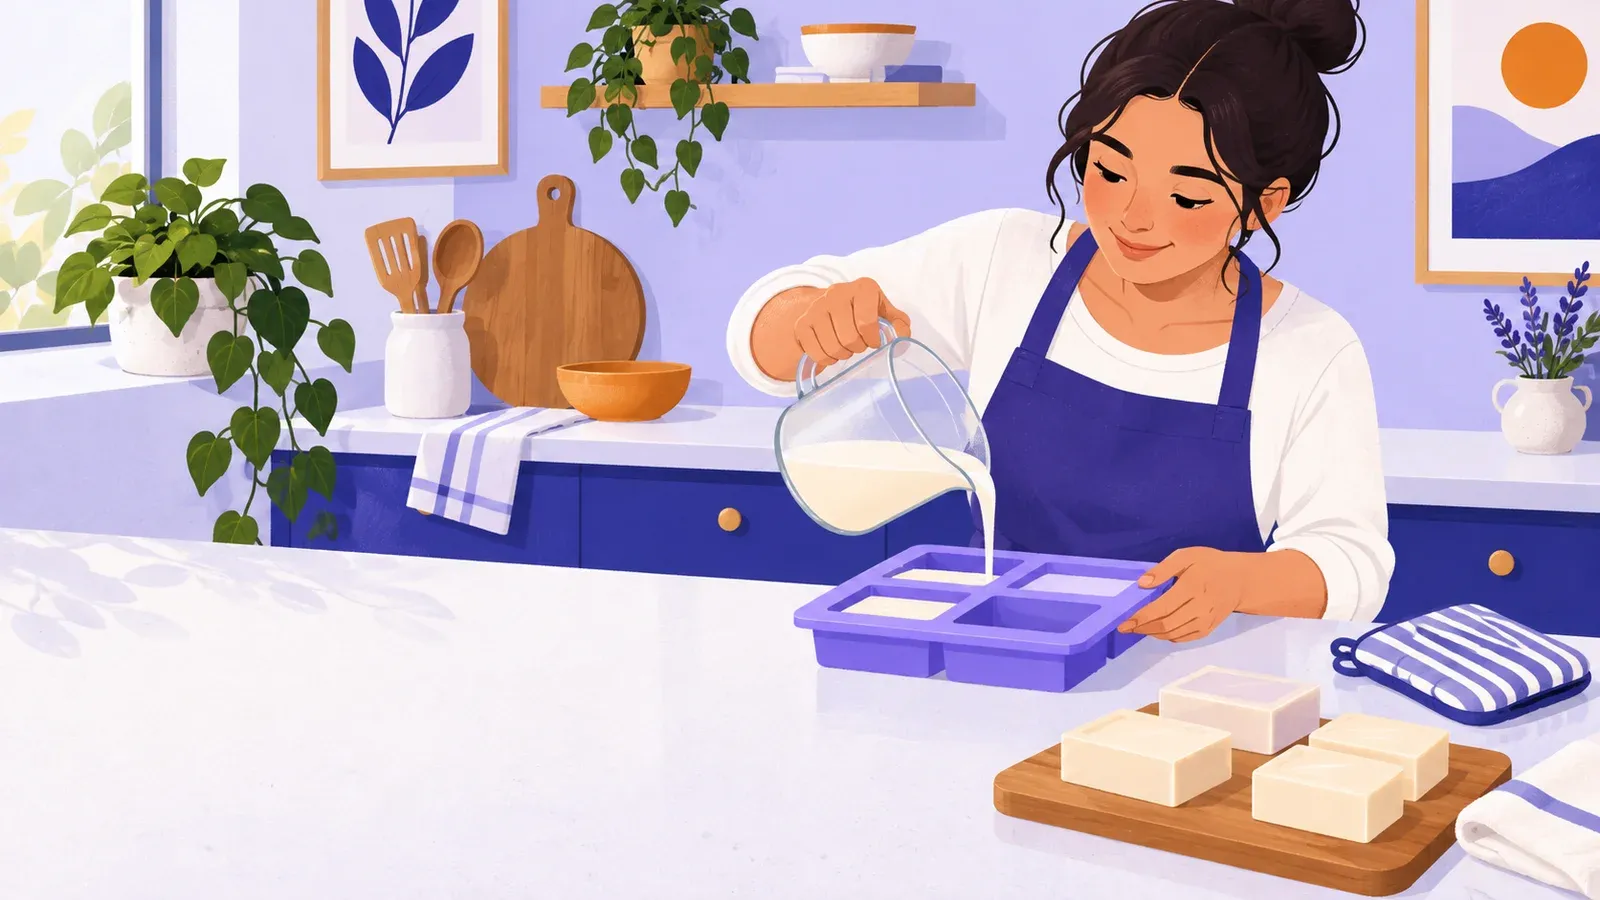
How to start soapmaking with melt-and-pour base
- Cost to start
- US$15–25 with existing tools
- Difficulty
- Beginner
- First result
- Next day
US base-and-mould estimate; tax and delivery extra.
Heat gently and follow the instructions for your chosen base.
About 30 minutes of work, then cool completely overnight.
Mould your first plain soap bars from ready-made base. Learn gentle heating, safe pouring and complete cooling without handling raw lye.
What you need to know
-
Plain melt-and-pour soap base
Choose a sealed, unfragranced base with instructions and an ingredient list; check for known sensitivities.
-
Silicone soap mould
Set a clean, dry, flexible mould rated for hot soap on a stable tray.
-
Heat-safe pouring kit
Have a microwave-safe handled jug, stirring tool and dry oven mitts; avoid unlabelled plastic.
-
Cutting and measuring tools
Use a stable board, knife and scale; add a thermometer if the base specifies a temperature limit.
-
Clear space and wrap
Keep food, children and pets away from the work area, and have wrap ready for cooled bars.
Make one or two plain bars from ready-made melt-and-pour base. The base is already soap made by saponification, so you do not handle raw lye in this method. Allow about 30 minutes of work and overnight cooling. The Handcrafted Soap and Cosmetic Guild explains the distinction.
The allowance covers base and a mould, assuming you already own the tools. Tax, delivery and any missing tools cost extra.
Cut and melt a small batch
Read your base’s heating and cooling instructions first. Check the mould’s stated soap capacity, then weigh enough base for one or two cavities. If each holds about 100 g, 100–200 g is a workable example; use your mould’s actual capacity. Do not treat a fluid-ounce measure as a soap weight.
Cut the base into similar small cubes on the board. Put them in the jug with room to stir. Microwave in short bursts, stirring gently between them, as your base maker directs. Shorten bursts as pieces melt. Stop when the soap is just liquid; do not boil it. If the instructions specify a temperature limit, measure it. CandleScience’s walkthrough shows the cutting and melting sequence, but use the heating directions for your own base.
Pour, cool and wrap
Both jug and soap may be hot. Use dry mitts and pour slowly into the supported mould without overfilling. Keep this first batch plain: no scent, dye, fresh milk or plant pieces. Bramble Berry’s guide covers hot-soap handling and flexible moulds.
Leave the mould still until the bars are cool and firm all the way through, preferably overnight. Flex the silicone gently to release one. If it dents or deforms, wait longer. Once fully cool, wrap each bar closely and keep it cool and dry according to the base’s storage directions. Record the base name and date, and retain its ingredient list. This method needs cooling, not a cold-process curing period. Next time, try the same base in a different simple mould shape.

Learn the method and ingredient limits
- Handcrafted Soap and Cosmetic Guild: melt-and-pourThe Handcrafted Soap and Cosmetic Guild explains ready-made bases and how this method differs from making soap with lye.
- CandleScience's melt-and-pour walkthroughFollow a supplier's illustrated cutting, melting, moulding and cooling steps, with a written video transcript.
- Bramble Berry's beginner melt-and-pour guideCheck mould suitability, hot-soap handling and finished-bar storage before your first pour.