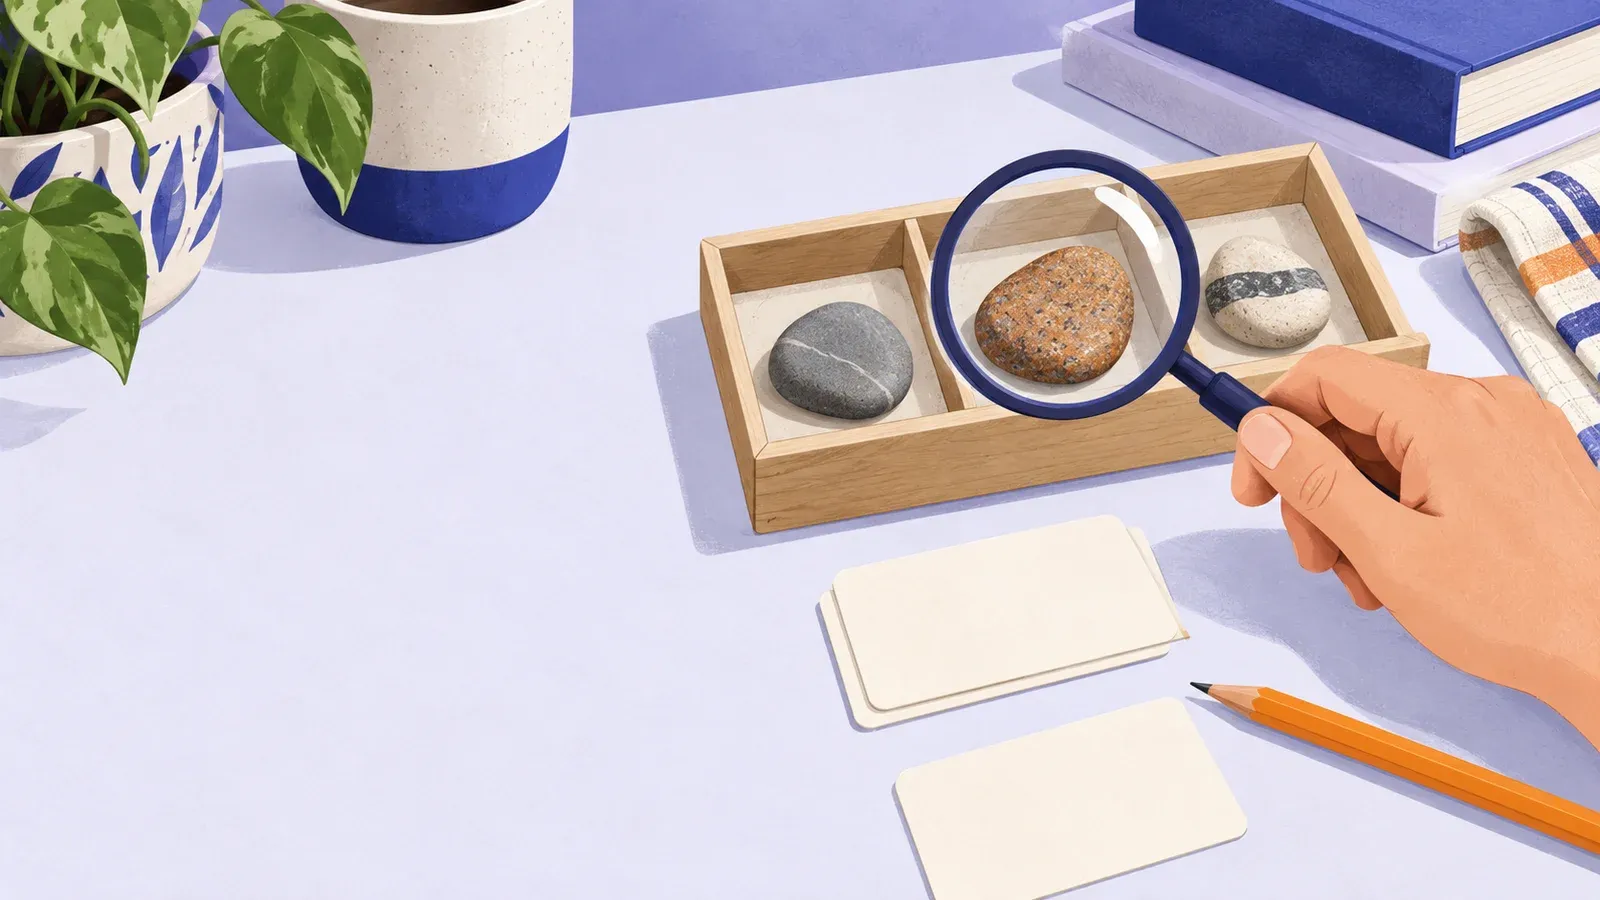
How to start stone collecting with three labelled samples
- Cost to start
- $0 using stones you own
- Difficulty
- Easy
- First result
- 30-45 minutes
Reuse a box, paper, and pencil; a magnifier is optional
Recording differences is easy; exact identification can be harder
Three samples with matching records and observation notes
Build a small collection of ordinary stones, record where each came from, and compare visible features before trying to identify uncertain samples.
What you need to know
-
Start with permitted samples
Use stones you own, a purchased sample, or loose stones offered with permission; check site rules and ownership before taking anything home.
-
Keep a record with each stone
Use paper labels and a notebook to record a sample code, source, date, and what you know about its original location.
-
Reuse a divided box
Small containers or compartments keep samples and labels together; wrap rough stones separately so they do not scratch neighboring pieces.
-
Observe without breaking
Good light and your eyes are enough; borrow a magnifier if available and leave hammering, grinding, and chemical tests for supervised instruction.
A stone collection suits anyone who enjoys comparing texture, pattern, and shape. Begin with three contrasting samples and keep their records as carefully as the stones.
Choose a small theme and record the source
Try banded stones, smooth pebbles, or samples with visible grains. Avoid accumulating a bag of near-identical pieces.
Assign each sample a code such as S01, then put that code on its label and notebook entry. Record where and when you acquired it, who supplied it, and any known collecting location. For a shop-bought or garden-landscaping stone, the acquisition place may differ from its geological origin. Write “origin unknown” when that information is missing.
Before collecting outdoors, ask the landowner or site manager about access and removal rules. Public access does not establish collecting permission. Photograph a stone in place if you cannot take it. The BGS pebble guide covers UK coastal precautions; check the rules and hazards at your own site.
Compare what you can actually see
Examine one dry sample at a time. Note its colors, surface texture, visible grains, bands, holes, and overall shape. Use the BGS observation activity to organize those notes.
Photograph several sides beside a ruler and include the sample code in your records. Avoid licking, crushing, or using acid on an unknown sample. Wash your hands after handling.
Keep uncertain names provisional
Compare your observations with a reliable rock guide. A photograph or color match alone may leave several possibilities. Keep “unknown” on the record until you have supporting evidence; add suggested names separately so you can revise them.
For help, share dry, well-lit photos and the known origin with a geological club or the identification community below. Store each sample with its label, then add one new stone that makes a useful comparison with your first three.

Collecting and keeping records
- British Geological Survey pebble guideRead UK-focused advice on permission, coastal hazards, labels, and protecting samples in storage.
- GEO Podcast on starting a collectionHear an earth-science educator explain equipment and specimen records, checking local permission before following location suggestions.