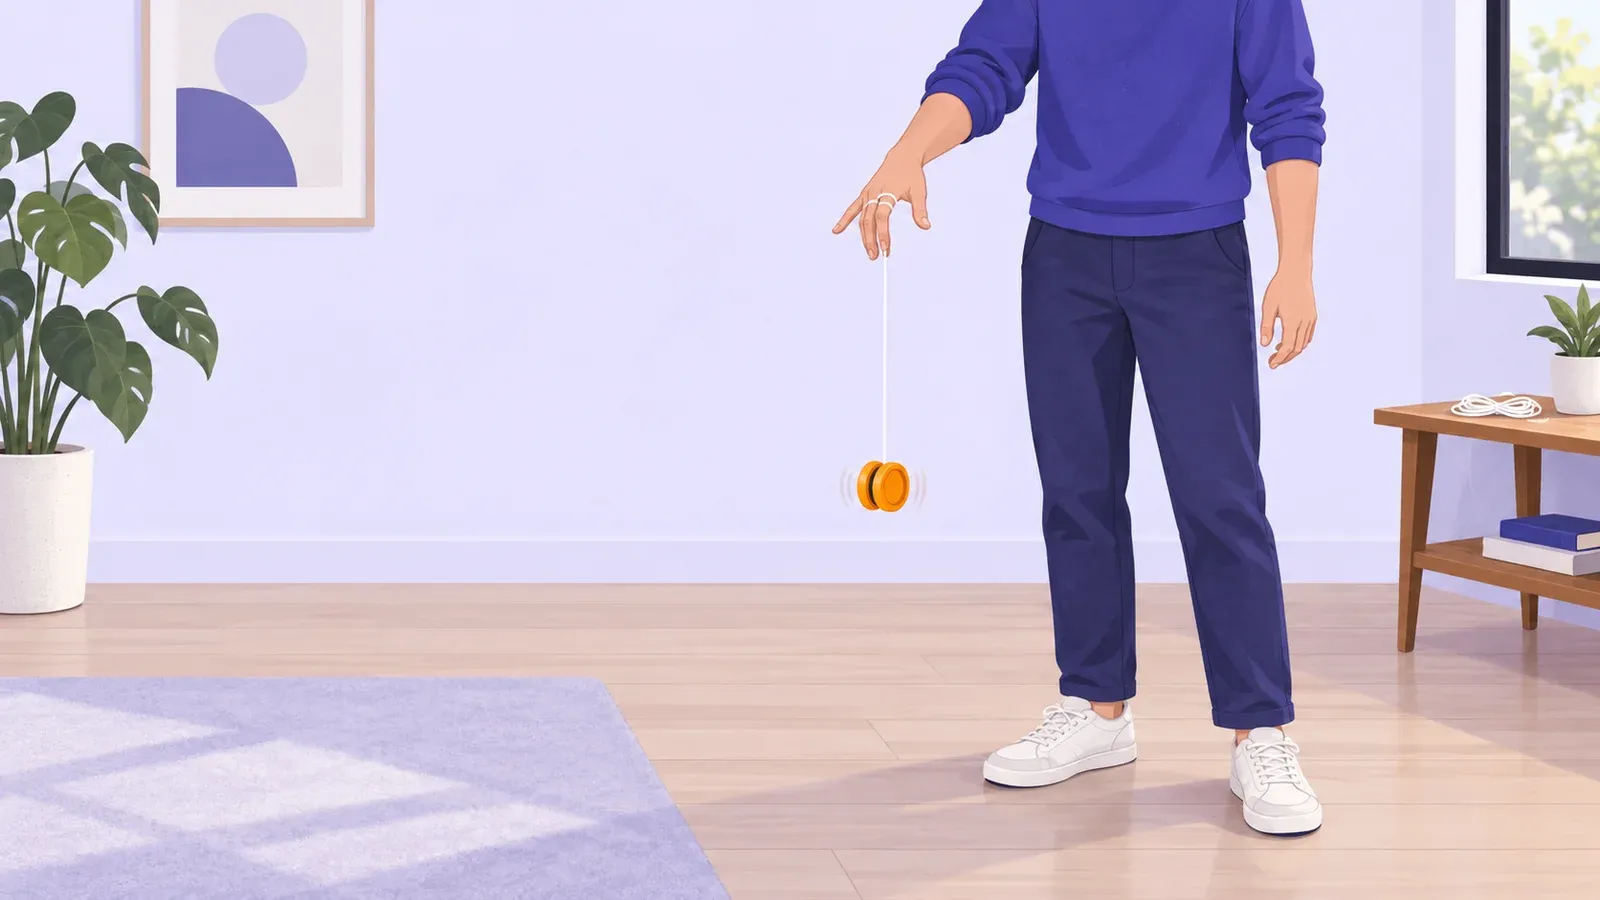
How to start Yo-yoing with a controlled throw and return
- Cost to start
- One yo-yo and spare string
- Difficulty
- Beginner
- First result
- 20-30 minutes
Borrow a responsive model; metal yo-yos and extra bearings can wait
A straight throw and gentle catch improve with repetition
Several controlled throws and returns, with breaks as needed
Set up a responsive yo-yo, adjust its string, and practice returning it to your hand before learning a short sleeper or more complicated string tricks.
What you need to know
-
Choose a responsive yo-yo
Choose a beginner plastic yo-yo that returns with a tug; unresponsive models require a bind trick.
-
Use proper yo-yo string
Use the fitted string and a spare of the manufacturer's recommended type; replace damaged string.
-
Clear your practice area
Stand away from people, pets, lights, and breakable objects, with room for a straight downward throw.
-
Have scissors for setup
Trim excess string after tying its new end loop; put scissors away before practicing.
Yo-yoing suits people who enjoy practicing small movements. Today’s goal is a straight throw that comes back into your hand.
Fit the string and wind it
Unwind the string. With the yo-yo resting on the floor, a starting length reaches roughly your belly button. If it is longer, fold the free end back to form a small loop near that height. Tie an overhand knot through the doubled string, then trim only the excess beyond the knot.
Pull standing string through this fixed loop to make an adjustable slip loop. Put it around your throwing hand’s middle finger, between the two joints nearest its tip. It should stay secure without hurting.
Wind the string into the gap. If it slips around a bearing, lightly hold it against the inside rim with your other thumb for the first three to five turns. Release your thumb and finish winding neatly.
Throw down and catch
Hold the yo-yo in your palm facing up, with the string coming over its top toward your finger. Bend your elbow, then extend your forearm downward so the yo-yo rolls off your hand and unwinds straight below it.
At the bottom, turn your hand palm down. Tug upward and catch gently. Keep throws controlled; stop if the string snags, hurts your finger, or touches the floor.
Practice in short sets, rewinding when needed. If it tilts sideways, check your hand and release stay aligned. If it spins out, check the string comes over the top in your starting grip.
If it never returns with a tug, confirm the model is responsive before changing parts or adding lubricant. Remove knots while the yo-yo is stopped, following its instructions if disassembly is needed.
Try a short sleeper next
When returns feel predictable, follow the basic-throw lesson to let the yo-yo spin at the bottom. Cushion the end of the throw with a small hand movement so it does not bounce and return immediately. Try one or two seconds, then tug and catch before it stops.
Record one thing to practice next. A brief sleeper prepares you for beginner string tricks.

Prepare the string and learn the throw
- YoYoExpert's string tutorialSee how to attach yo-yo string, make an adjustable finger loop, and choose a starting length.
- REWIND's winding guideLearn how to hold the string against the yo-yo briefly when a bearing prevents it from winding normally.
- YoTricks' basic throw lessonFollow the demonstration and transcript for grip direction, returning the yo-yo, and cushioning a sleeper.
- YoYoExpert's gravity-pull demonstrationWatch the first downward throw and hand position used to catch a responsive yo-yo.
